Confluence is de gouden standaard op het gebied van kennisbanken. Het maken van uw eigen Confluence gebruikersmacro’s is ook kinderspel. Vandaag laat ik zien hoe ik een terminal macro heb gemaakt.

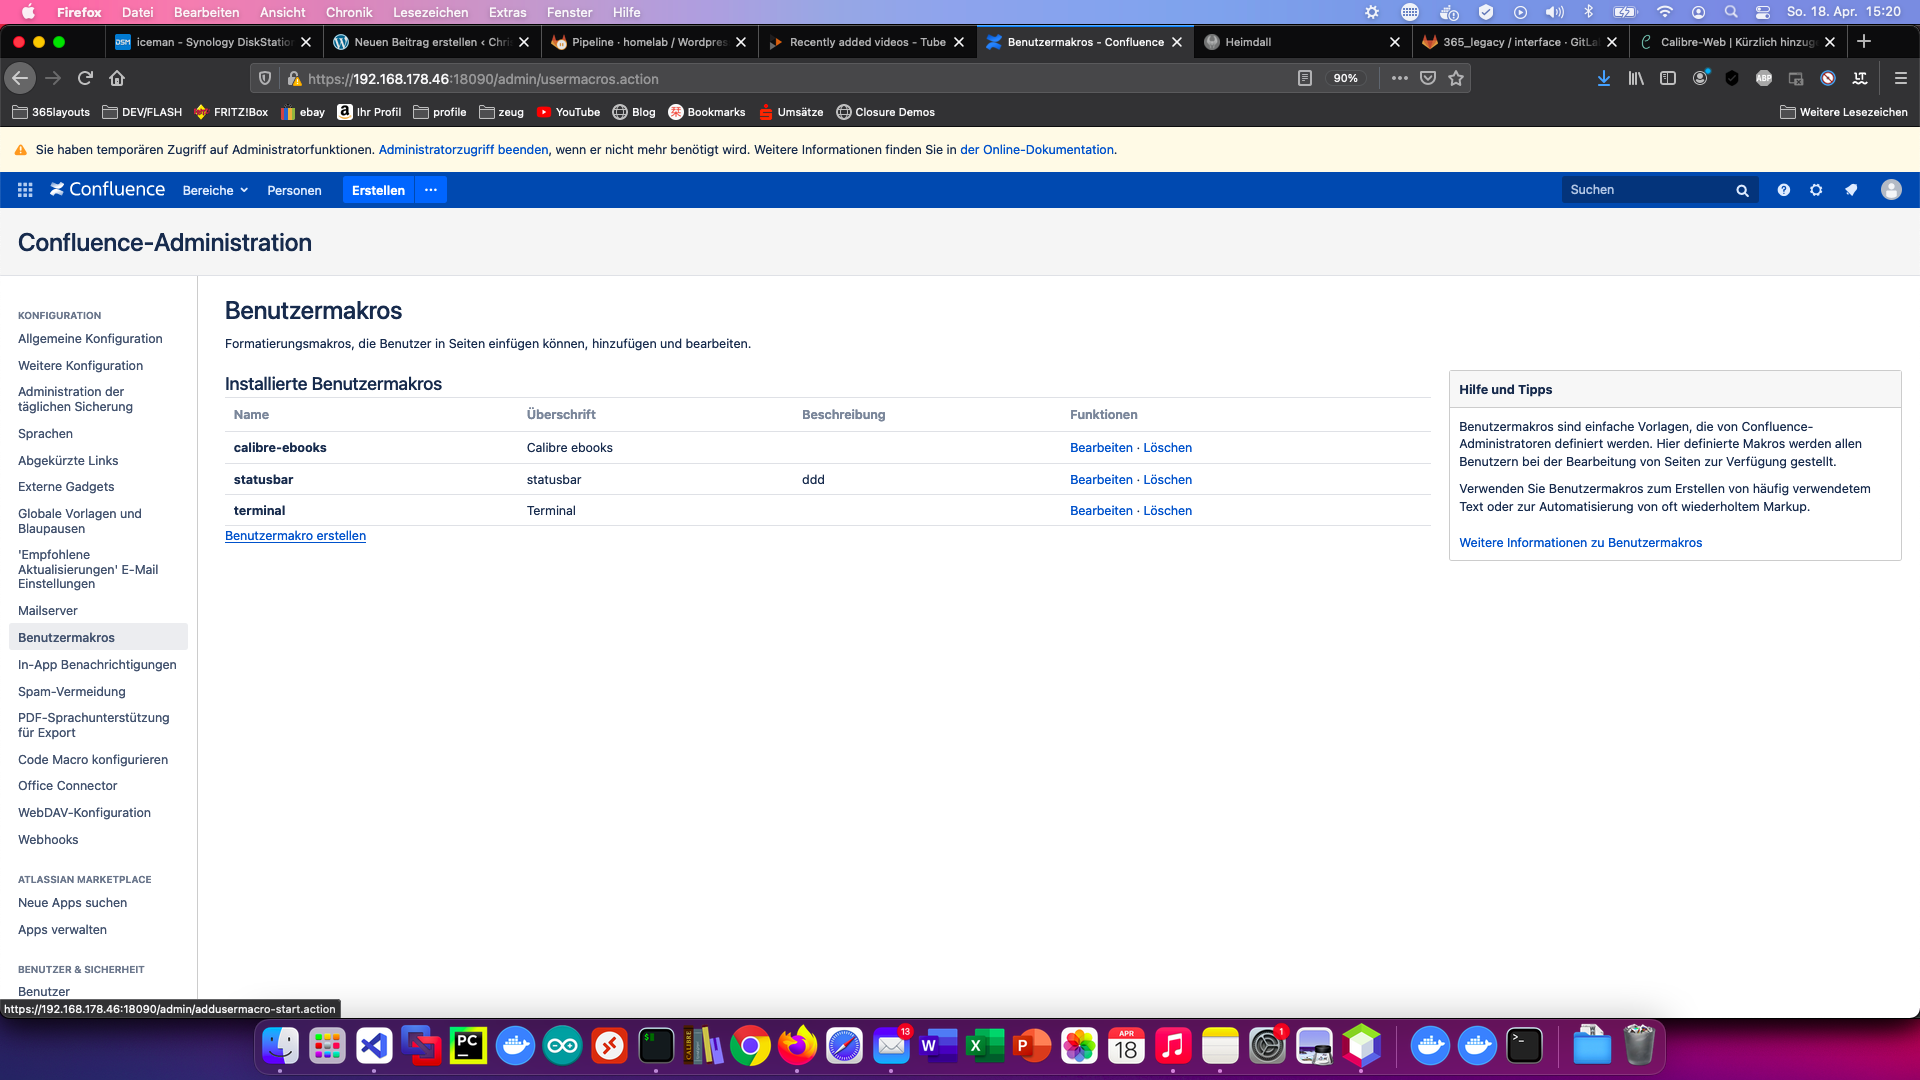
Stap 1: Gebruikersmacro maken
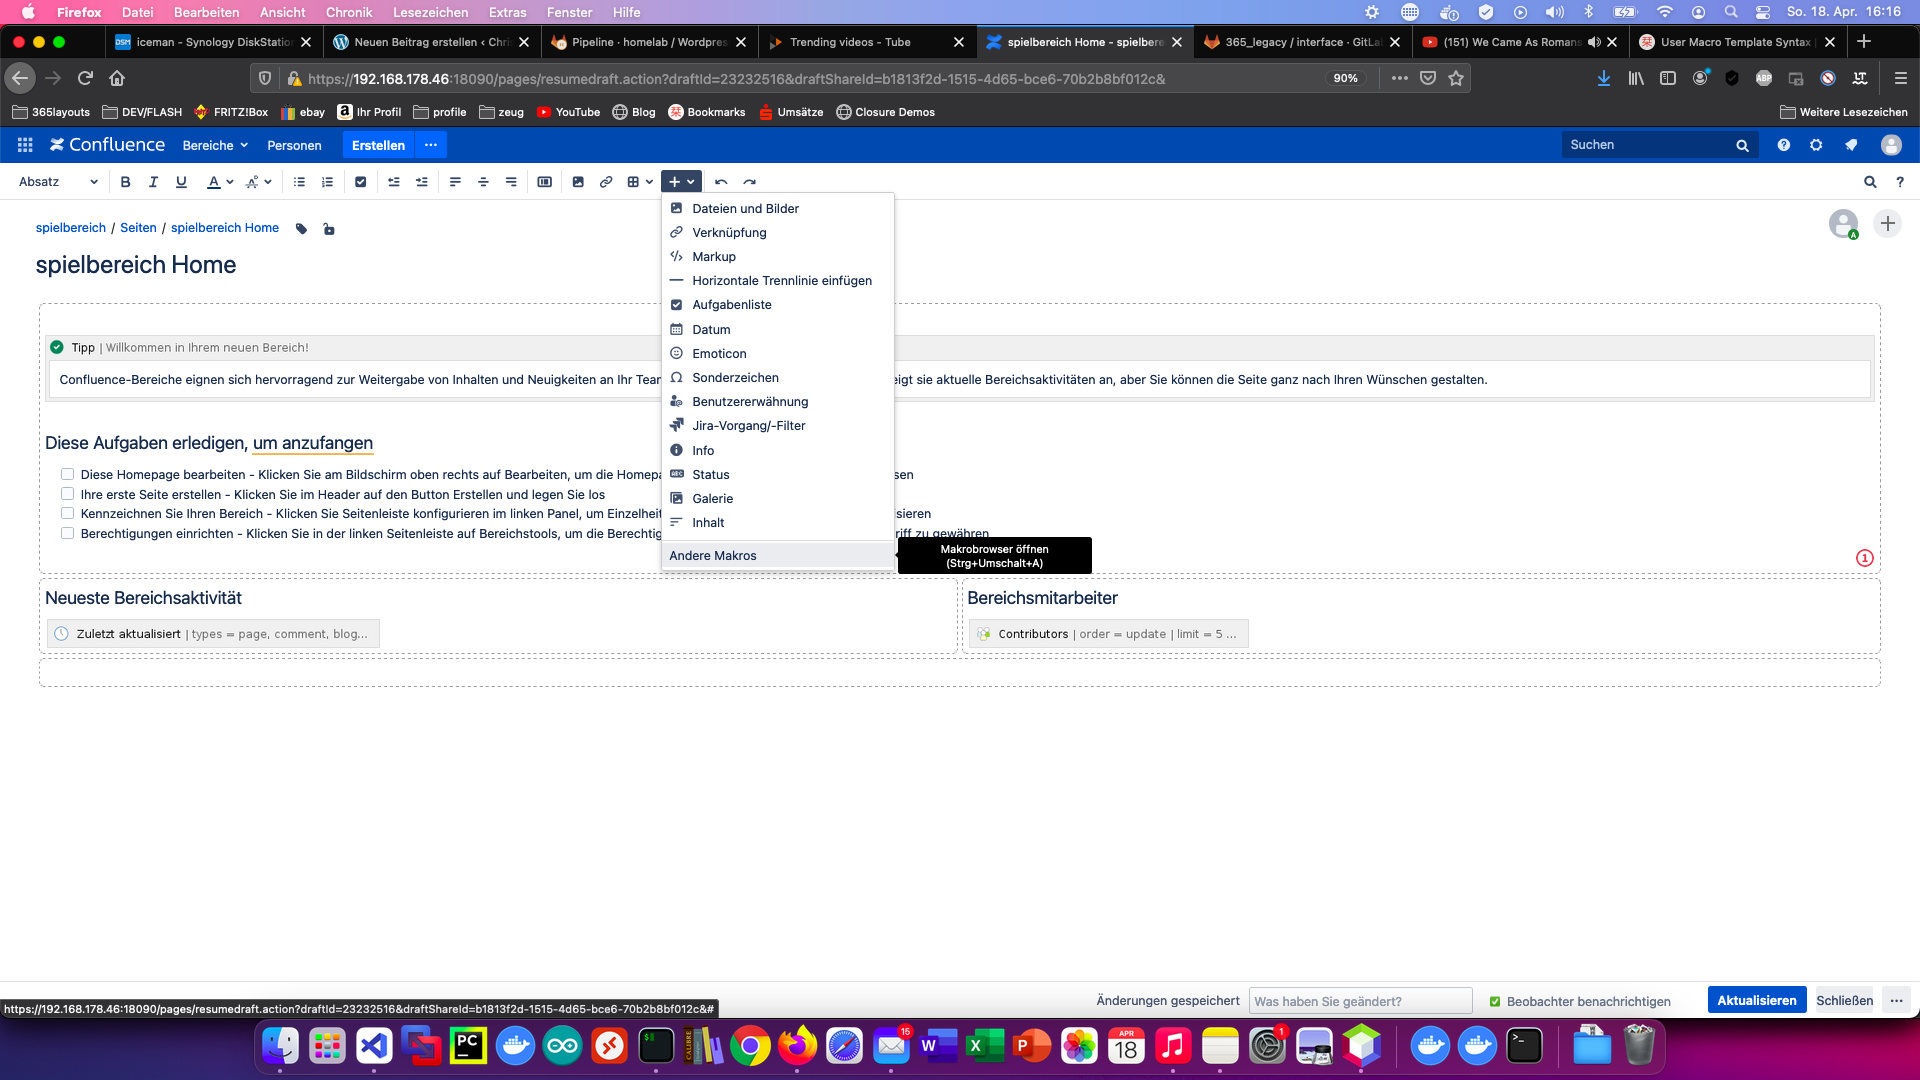
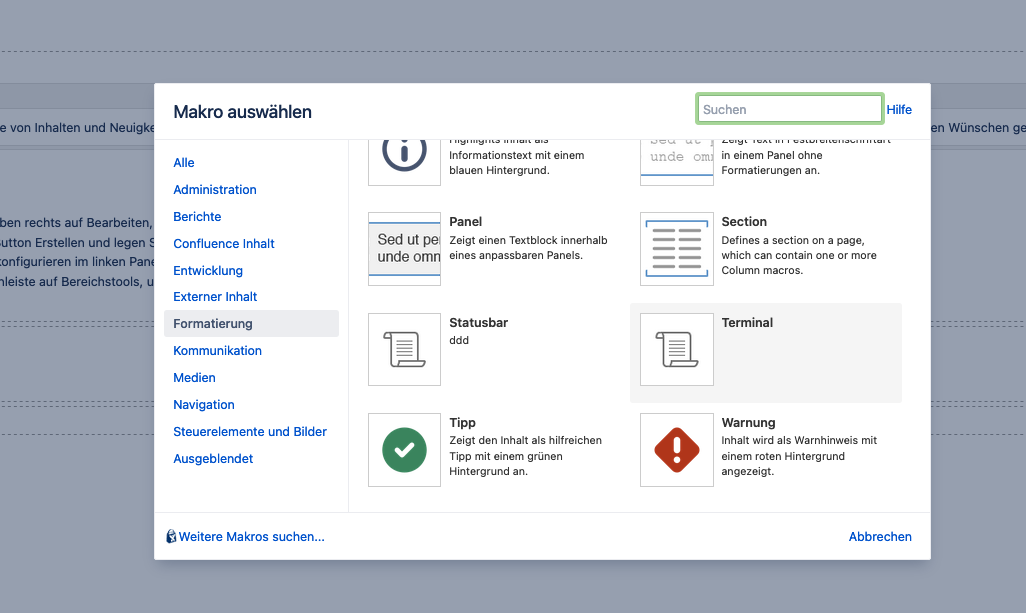
Ik klik op “Gebruikersmacro’s” > “Gebruikersmacro maken” in het gedeelte “Beheer”.
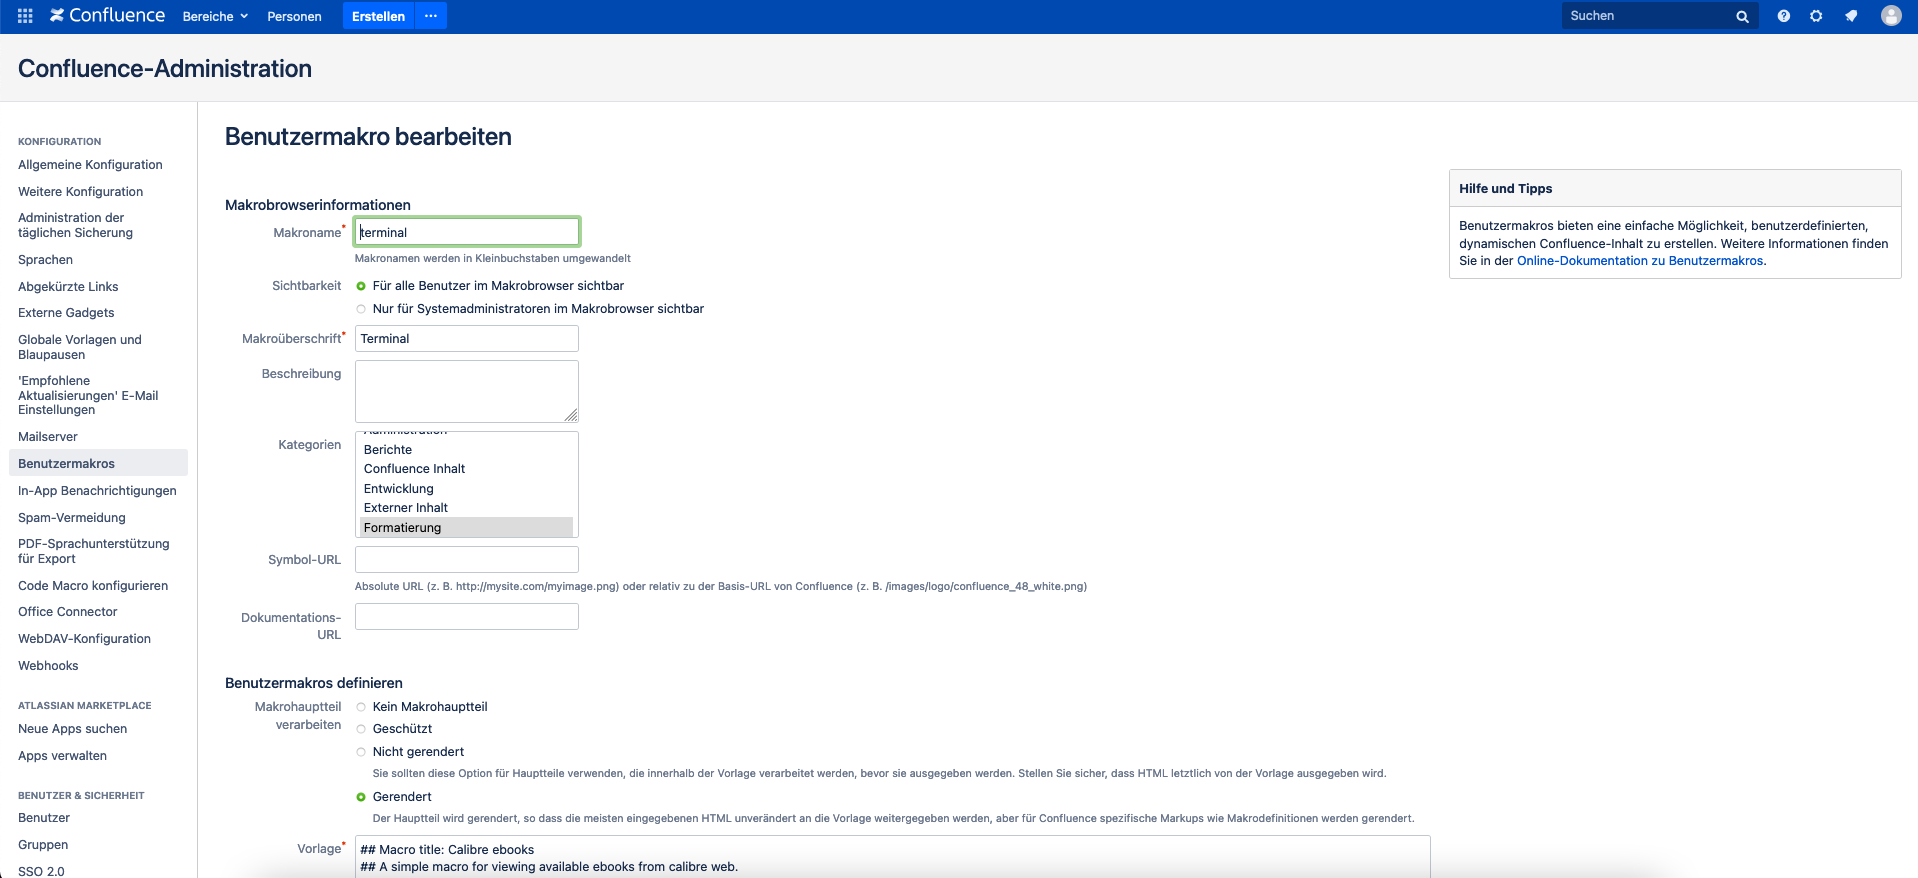
Vervolgens voer ik de naam van de gebruikersmacro in en selecteer de optie “Gebruikersmacro’s definiëren” “Weergegeven”.
Stap 2: Gebruikersmacro ontwikkelen
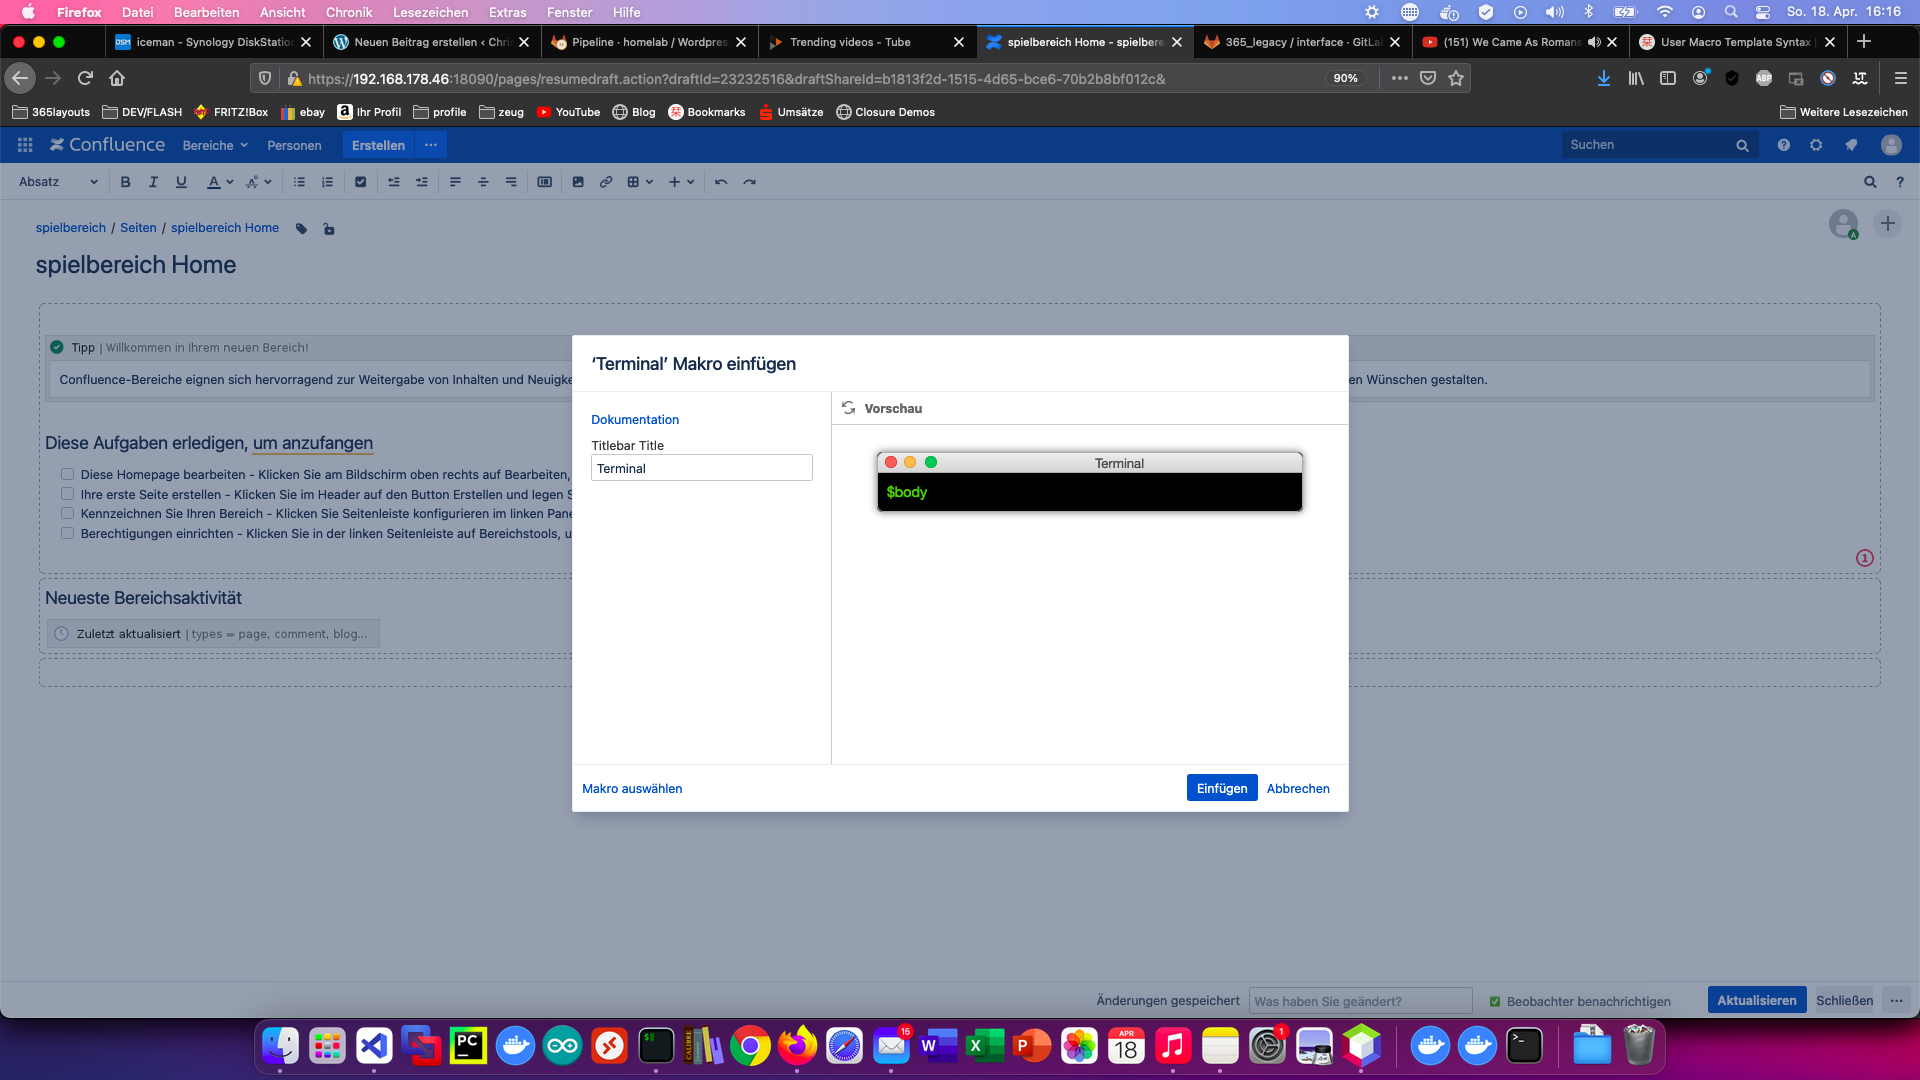
Elke “gerenderde” gebruikersmacro heeft standaard een body-variabele:
Inhalt $body
Alle andere variabelen zijn gedefinieerd in de macro-code. Meer over het onderwerp variabelen
## @param Title:title=Titlebar Title|type=string|required=truel|default=Bash
Nu nog een beetje HTML/CSS en de Marco is klaar! Bijvoorbeeld:
## @param Title:title=Titlebar Title|type=string|required=truel|default=Bash
<style>
.window a {
text-decoration: none;
}
.window span {
line-height: 9px;
vertical-align: 50%;
}
.window p {
padding:0;margin:0;
font-size: 16px;
}
.window {
font-family: HelveticaNeue, 'Helvetica Neue', 'Lucida Grande', Arial, sans-serif;
background: #000;
color: #48cf00;
margin: 10px;
border: 1px solid #acacac;
border-radius: 6px;
-webkit-box-shadow: 0px 0px 8px 0px rgba(112,112,112,1);
-moz-box-shadow: 0px 0px 8px 0px rgba(112,112,112,1);
box-shadow: 0px 0px 8px 0px rgba(112,112,112,1);
}
.titlebar {
background: -webkit-gradient(linear, left top, left bottom, color-stop(0.0, #ebebeb, color-stop(1.0, #d5d5d5)));
background: -webkit-linear-gradient(top, #ebebeb, #d5d5d5);
background: -moz-linear-gradient(top, #ebebeb, #d5d5d5);
background: -ms-linear-gradient(top, #ebebeb, #d5d5d5);
background: -o-linear-gradient(top, #ebebeb, #d5d5d5);
background: linear-gradient(top, #ebebeb, #d5d5d5);
color: #4d494d;
font-size: 11pt;
line-height: 20px;
text-align: center;
width: 100%;
height: 20px;
border-top: 1px solid #f3f1f3;
border-bottom: 1px solid #b1aeb1;
border-top-left-radius: 6px;
border-top-right-radius: 6px;
user-select: none;
-webkit-user-select: none;
-moz-user-select: none;
-ms-user-select: none;
-o-user-select: none;
cursor: default;
}
.buttons {
padding-left: 8px;
padding-top: 3px;
float: left;
line-height: 0px;
}
.close {
background: #ff5c5c;
font-size: 9pt;
width: 11px;
height: 11px;
border: 1px solid #e33e41;
border-radius: 50%;
display: inline-block;
}
.closebutton {
color: #820005;
visibility: hidden;
cursor: default;
}
.minimize {
background: #ffbd4c;
font-size: 9pt;
line-height: 11px;
margin-left: 4px;
width: 11px;
height: 11px;
border: 1px solid #e09e3e;
border-radius: 50%;
display: inline-block;
}
.minimizebutton {
color: #9a5518;
visibility: hidden;
cursor: default;
}
.zoom {
background: #00ca56;
font-size: 9pt;
line-height: 11px;
margin-left: 6px;
width: 11px;
height: 11px;
border: 1px solid #14ae46;
border-radius: 50%;
display: inline-block;
}
.zoombutton {
color: #006519;
visibility: hidden;
cursor: default;
}
.content {
padding: 10px;
}
</style>
<div class="window">
<div class="titlebar">
<div class="buttons">
<div class="close">
<a class="closebutton" href="#"><span><strong>x</strong></span></a>
</div>
<div class="minimize">
<a class="minimizebutton" href="#"><span><strong>–</strong></span></a>
</div>
<div class="zoom">
<a class="zoombutton" href="#"><span><strong>+</strong></span></a>
</div>
</div>
$paramTitle
</div>
<div class="content">
<p>$body</p>
</div>
</div>
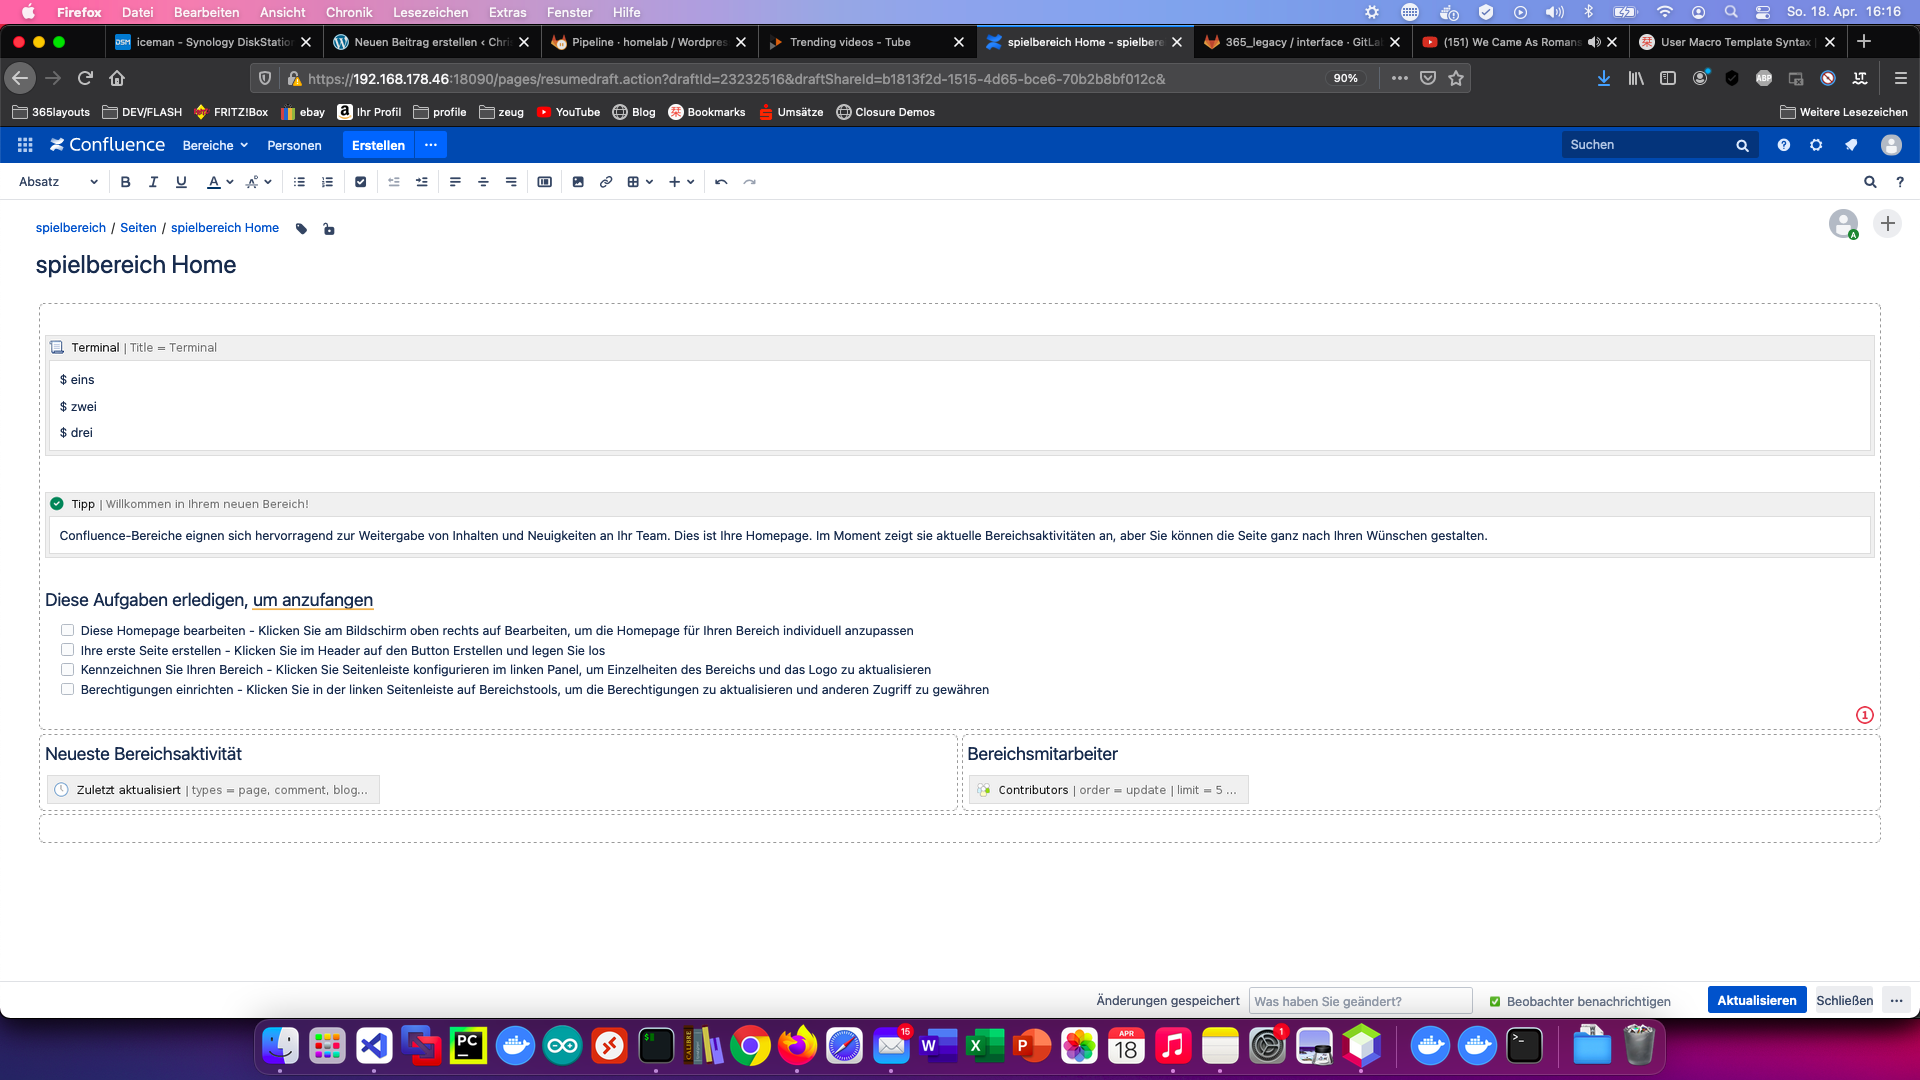
Stap 3: Gebruik gebruikersmacro
Als de gebruikersmarko voorzien is van variabelen, HTML en CSS, kan dit gebruikt worden.