UiPath is an established standard in robotic process automation. With uiPath, you can develop a software-based robot/bot that takes care of complex data processing or click tasks for you. But can such a robot also be controlled with Gitlab?short answer “yes”. And how exactly you can see here. For the following steps you will need some uiPath, Windows and Gitlab experience in addition to administration rights.
Step 1: The first thing to do is to install a Gitlab runner.
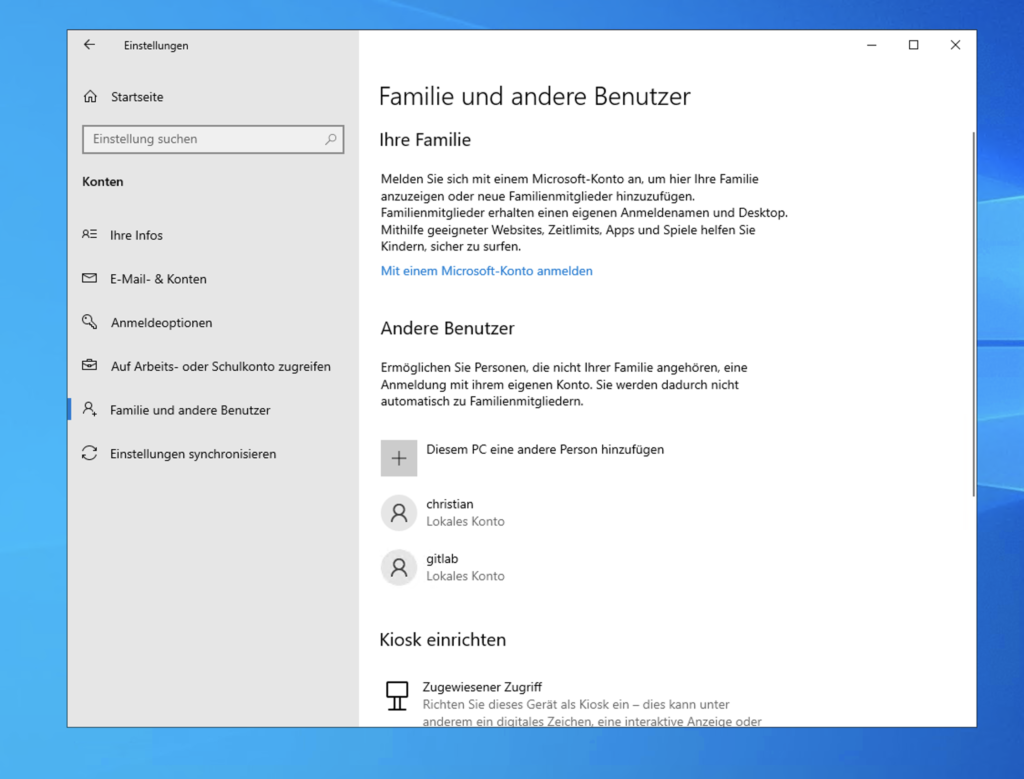
1.1.) Create a new Gitlab user for your target operating system. Please click on “Settings” > “Family and other users” and then on “Add another person to this PC”.
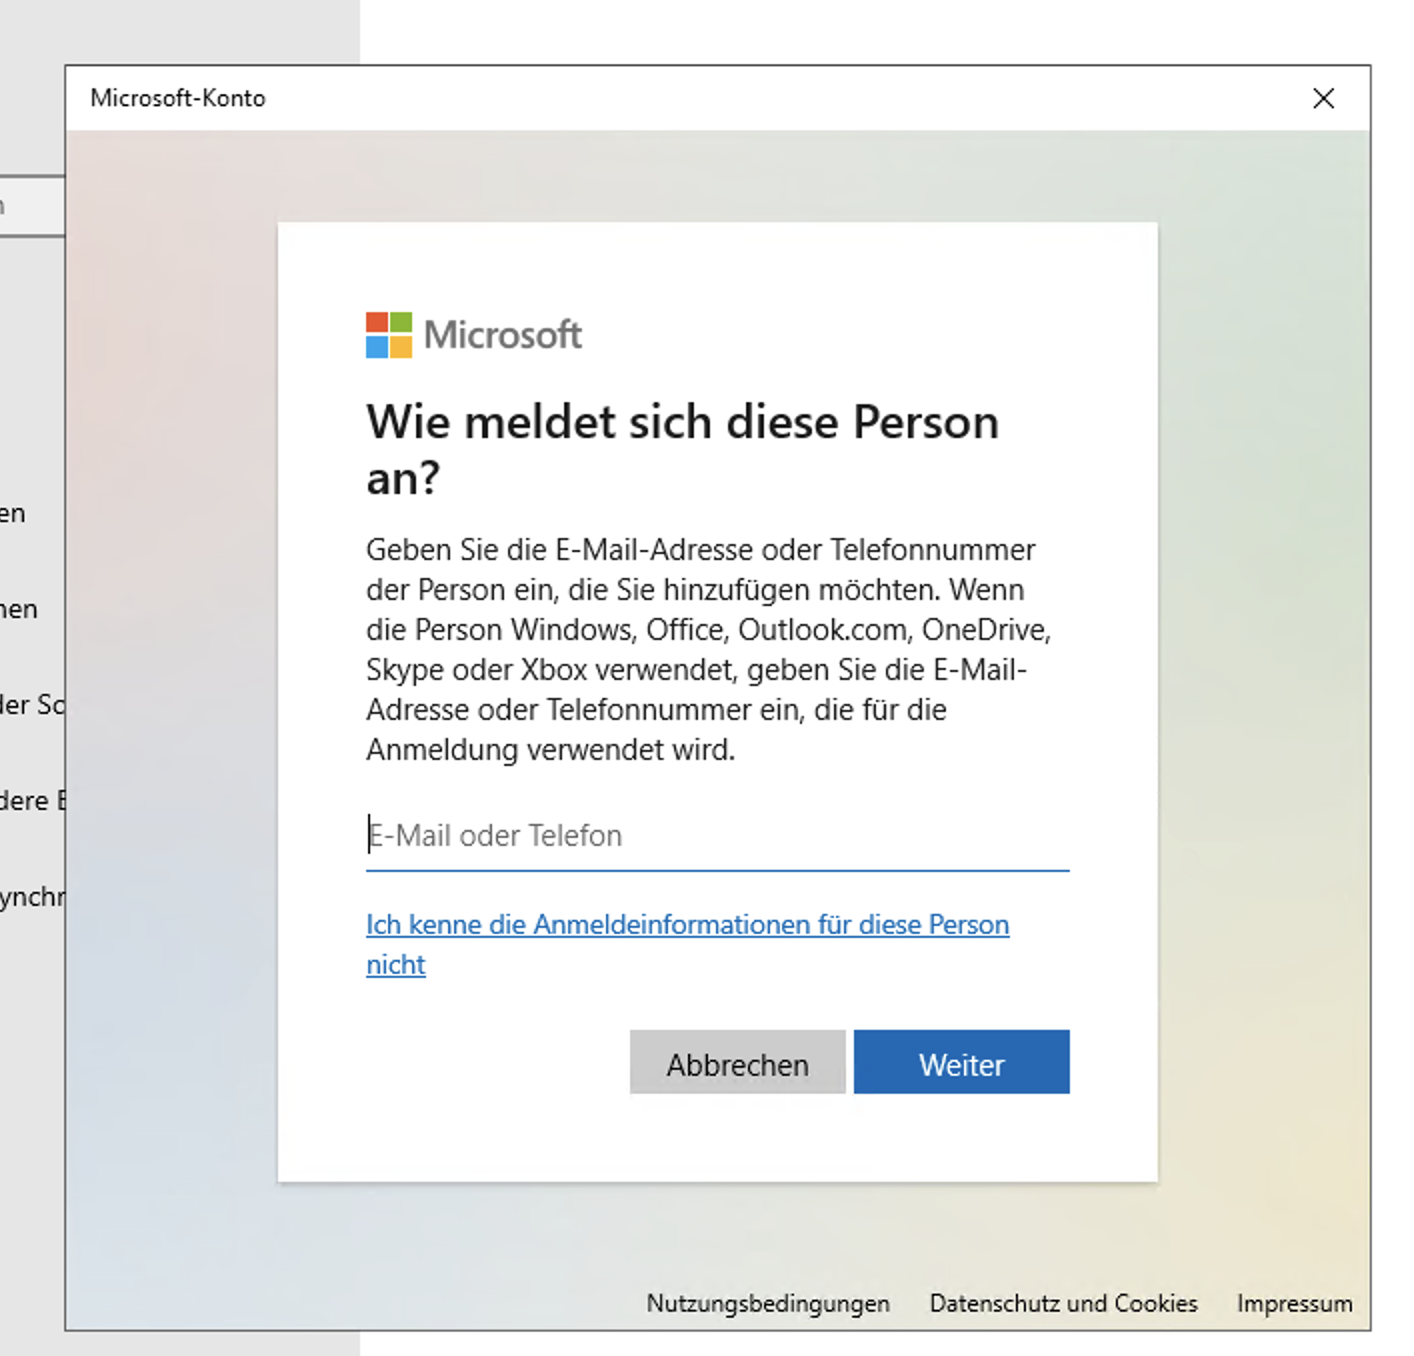
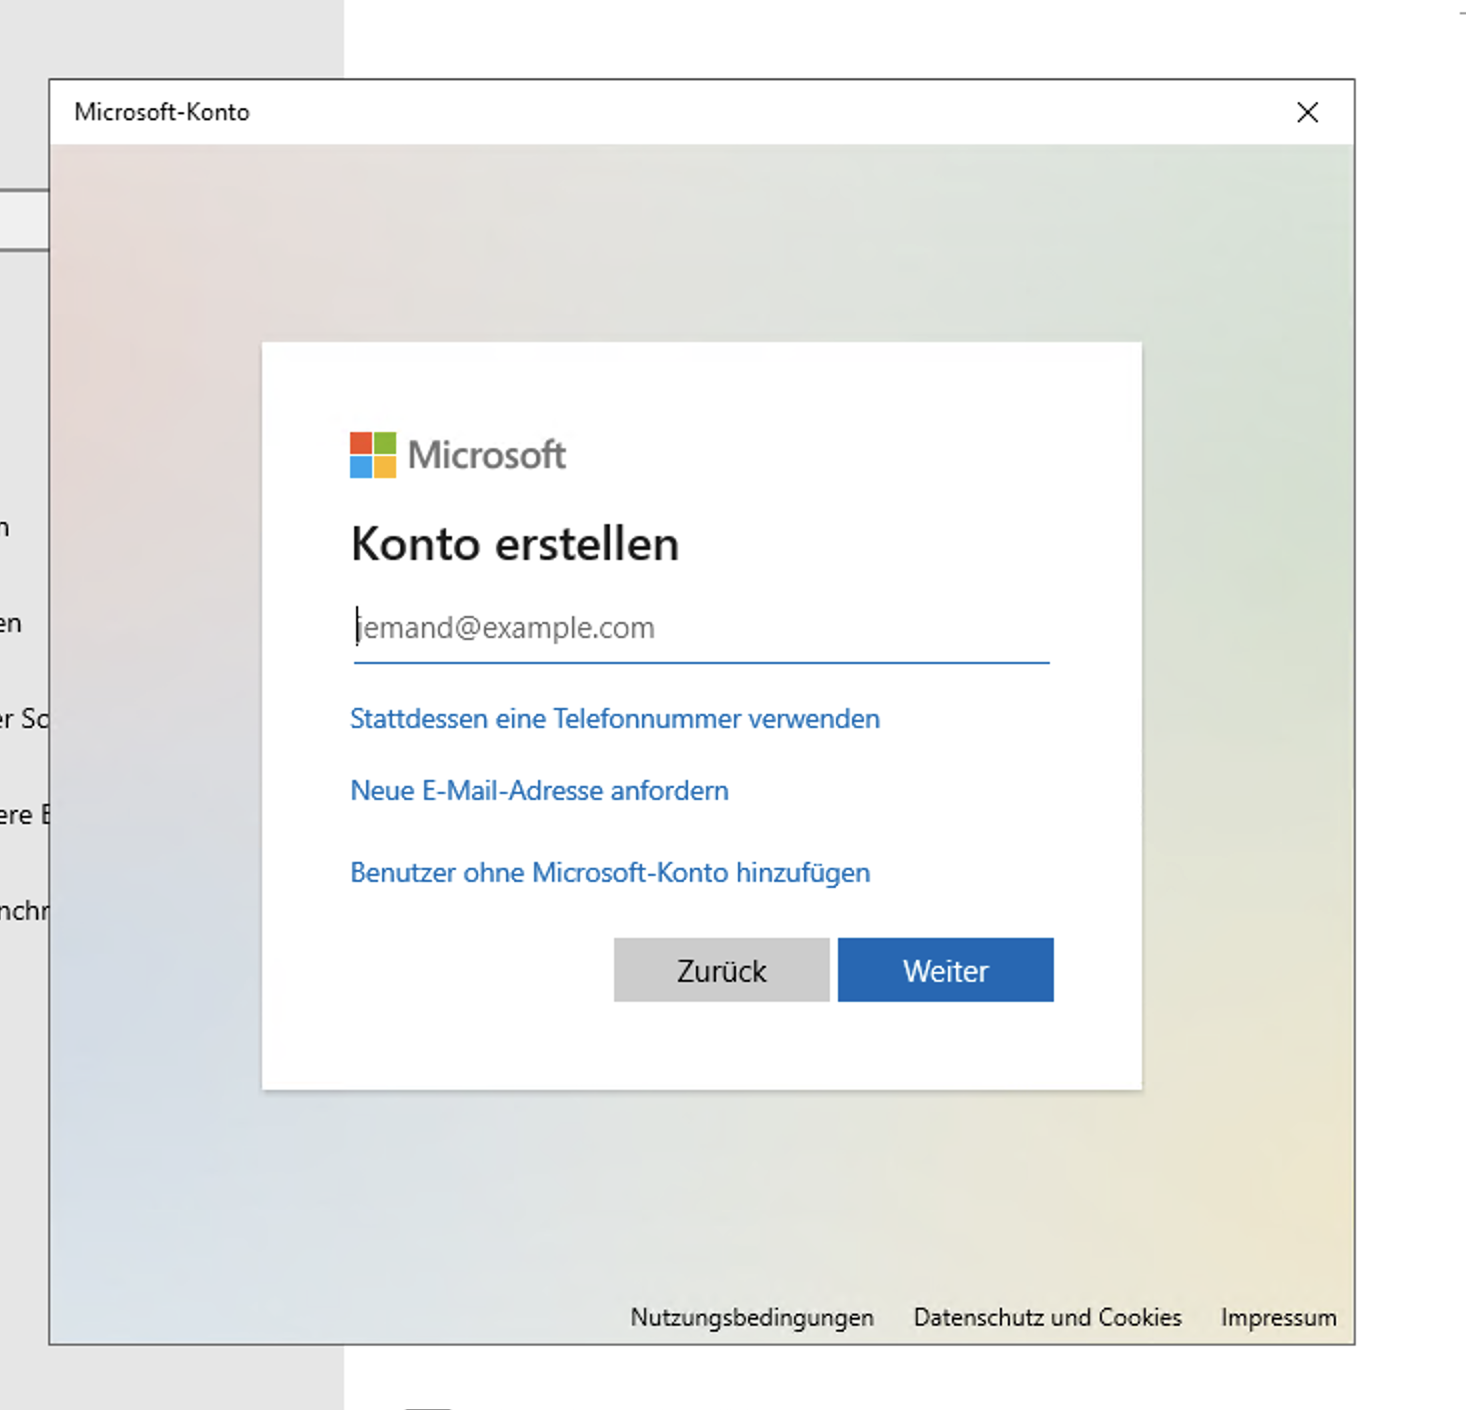
1.2.) Please click “I don’t know the credentials for this person” and then click “Add user without Microsoft account” to create a local user.
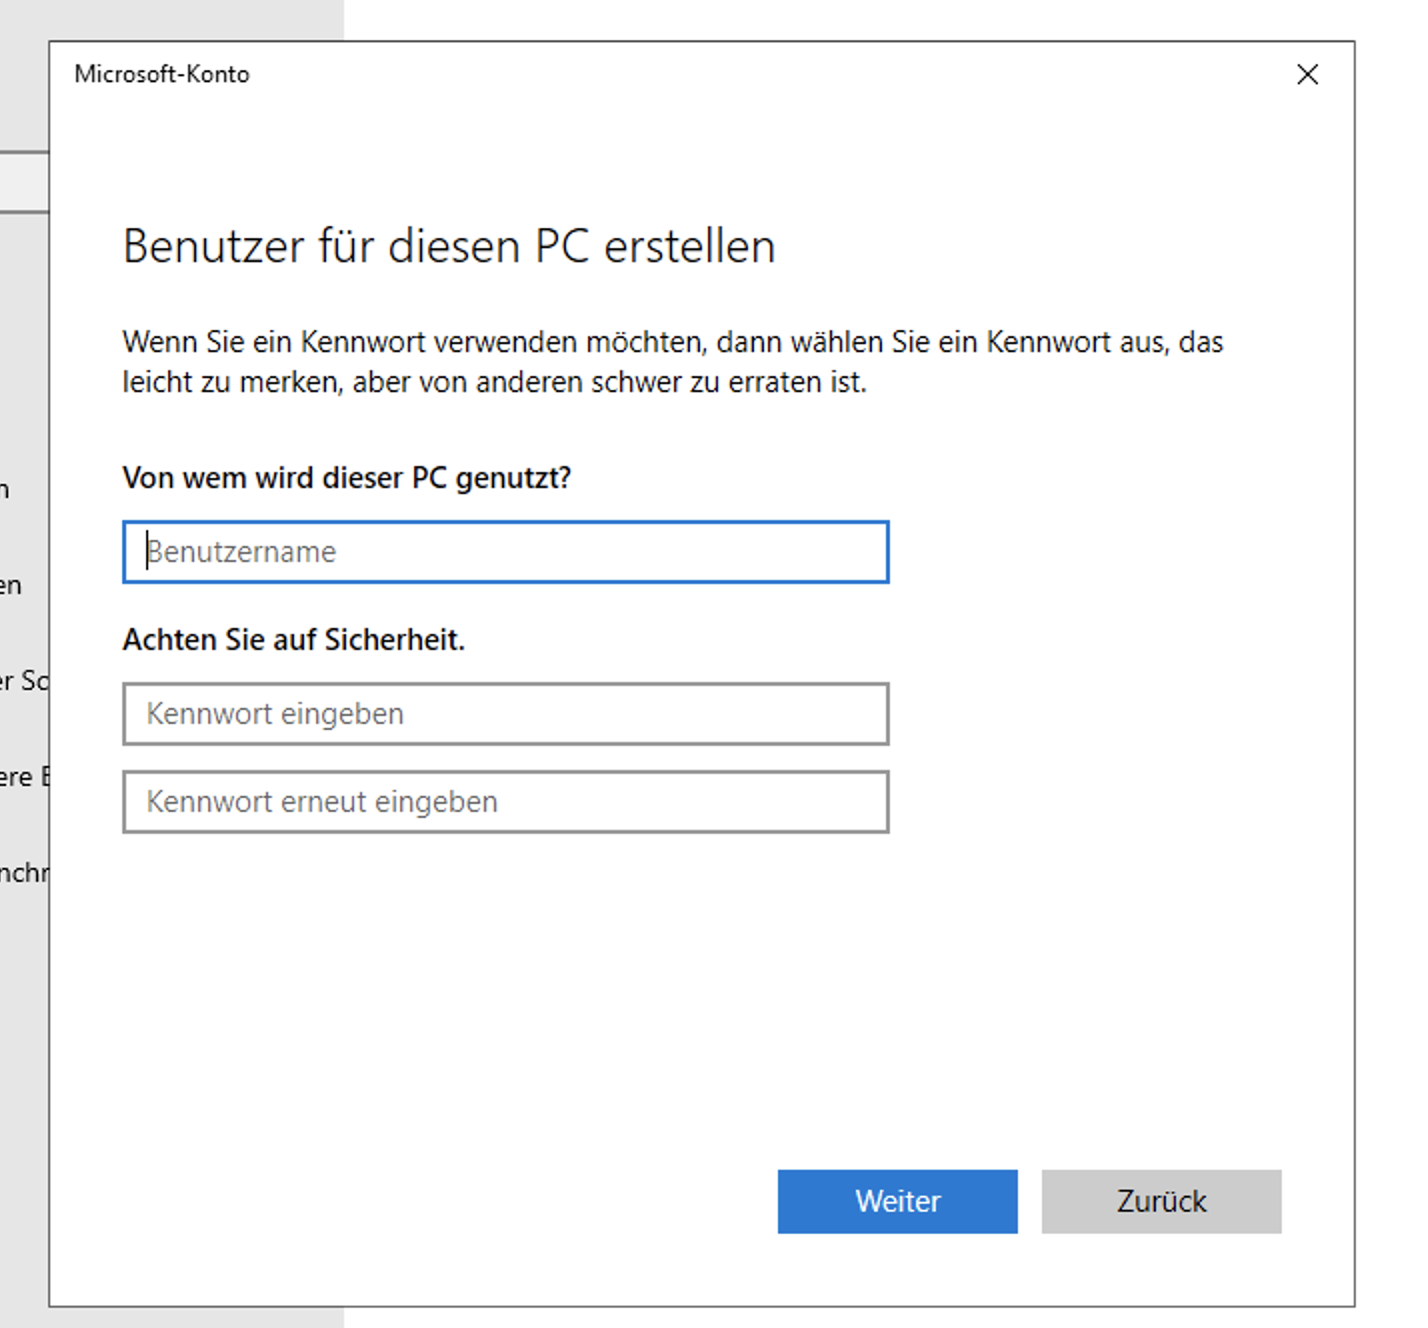
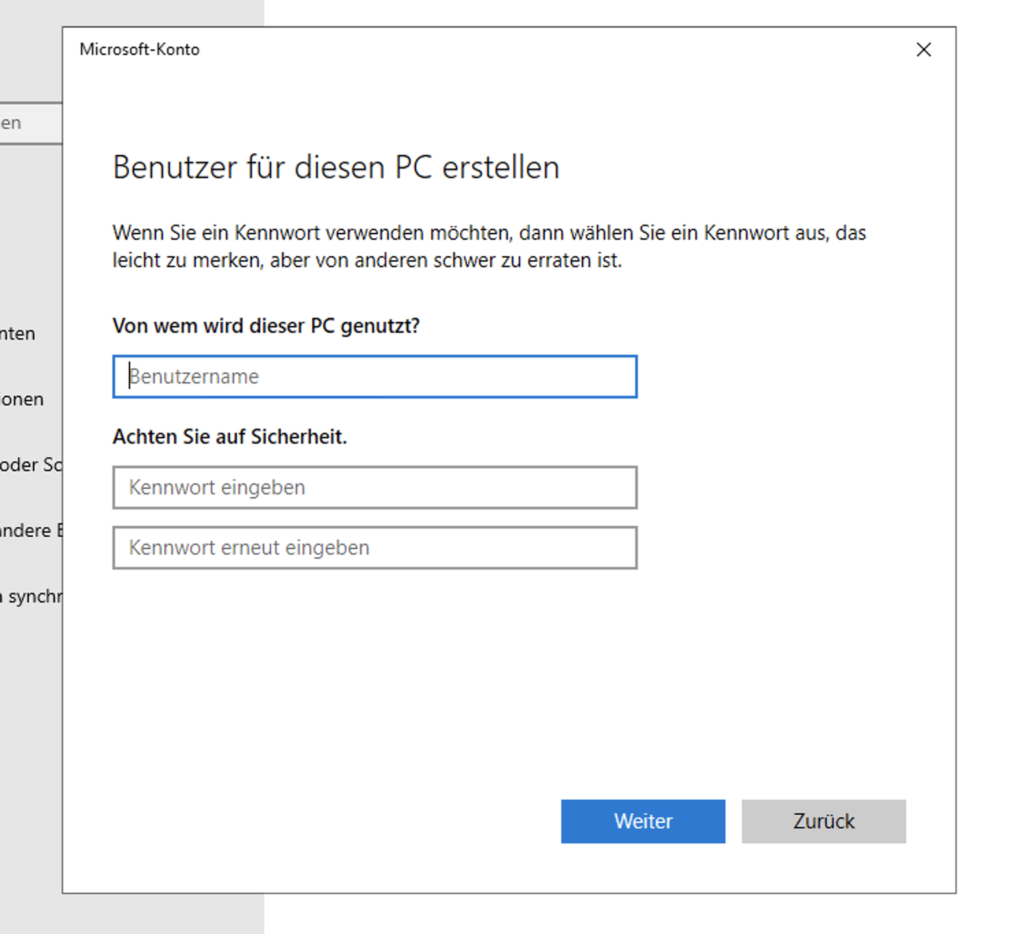
1.3.) In the following dialog you can freely select the user name and password:
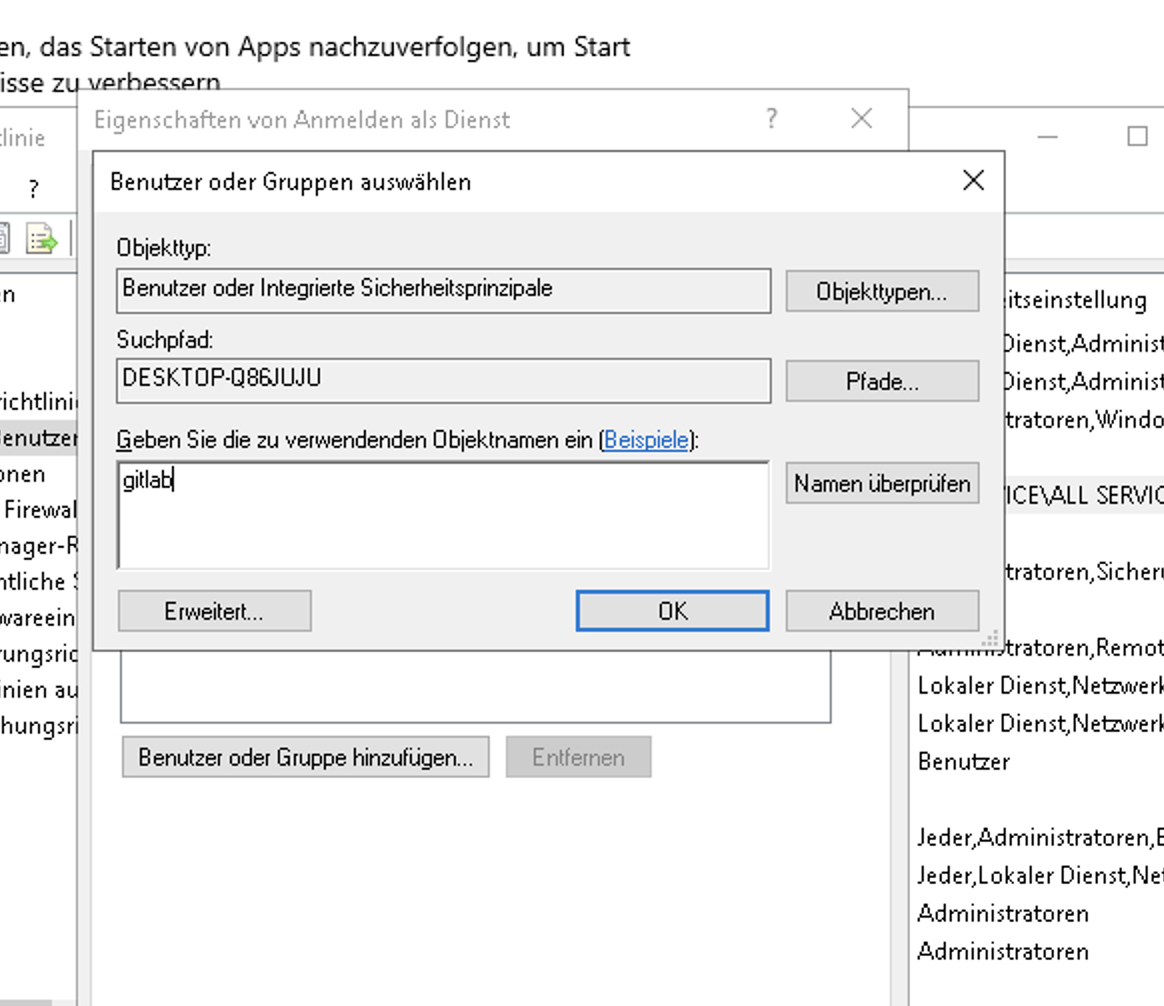
Step 2: Activate service login
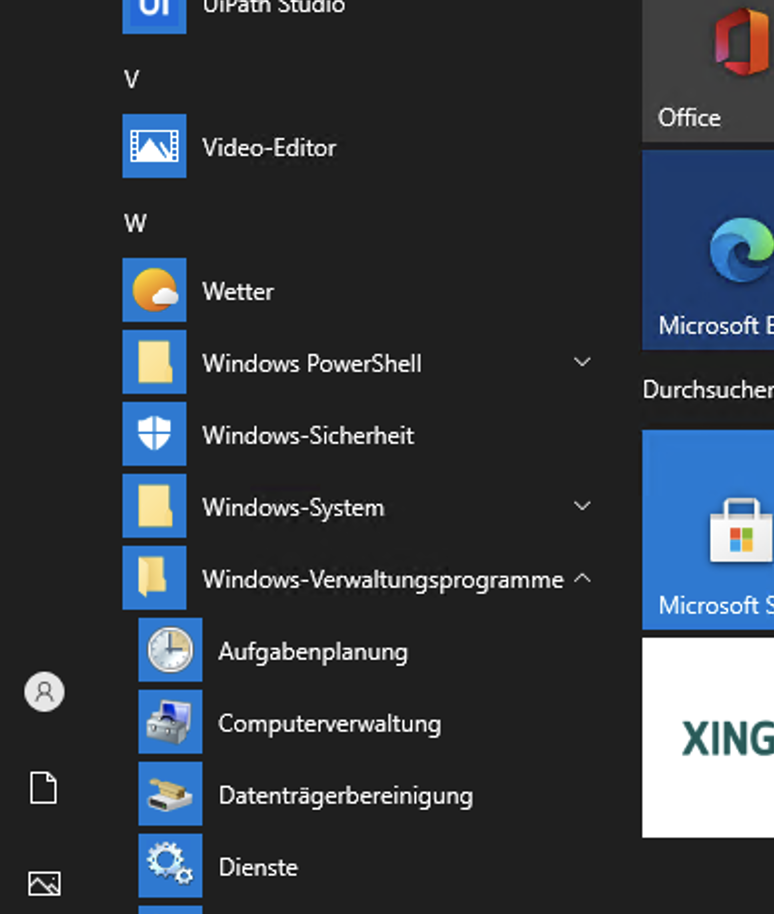
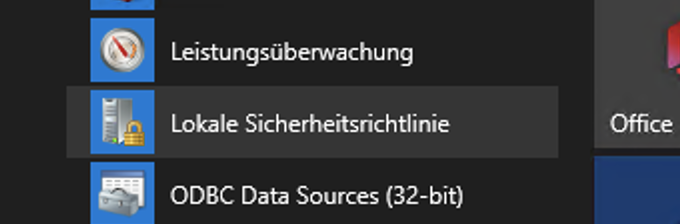
If you want to use a separate, local user for your Windows Gitlab Runner, then you need to “Enable logon as a service”. To do this, go to the Windows menu > “Local Security Policy”. There you select on the left side “Local Policy” > “Assign User Rights” and on the right side “Logon as Service”.
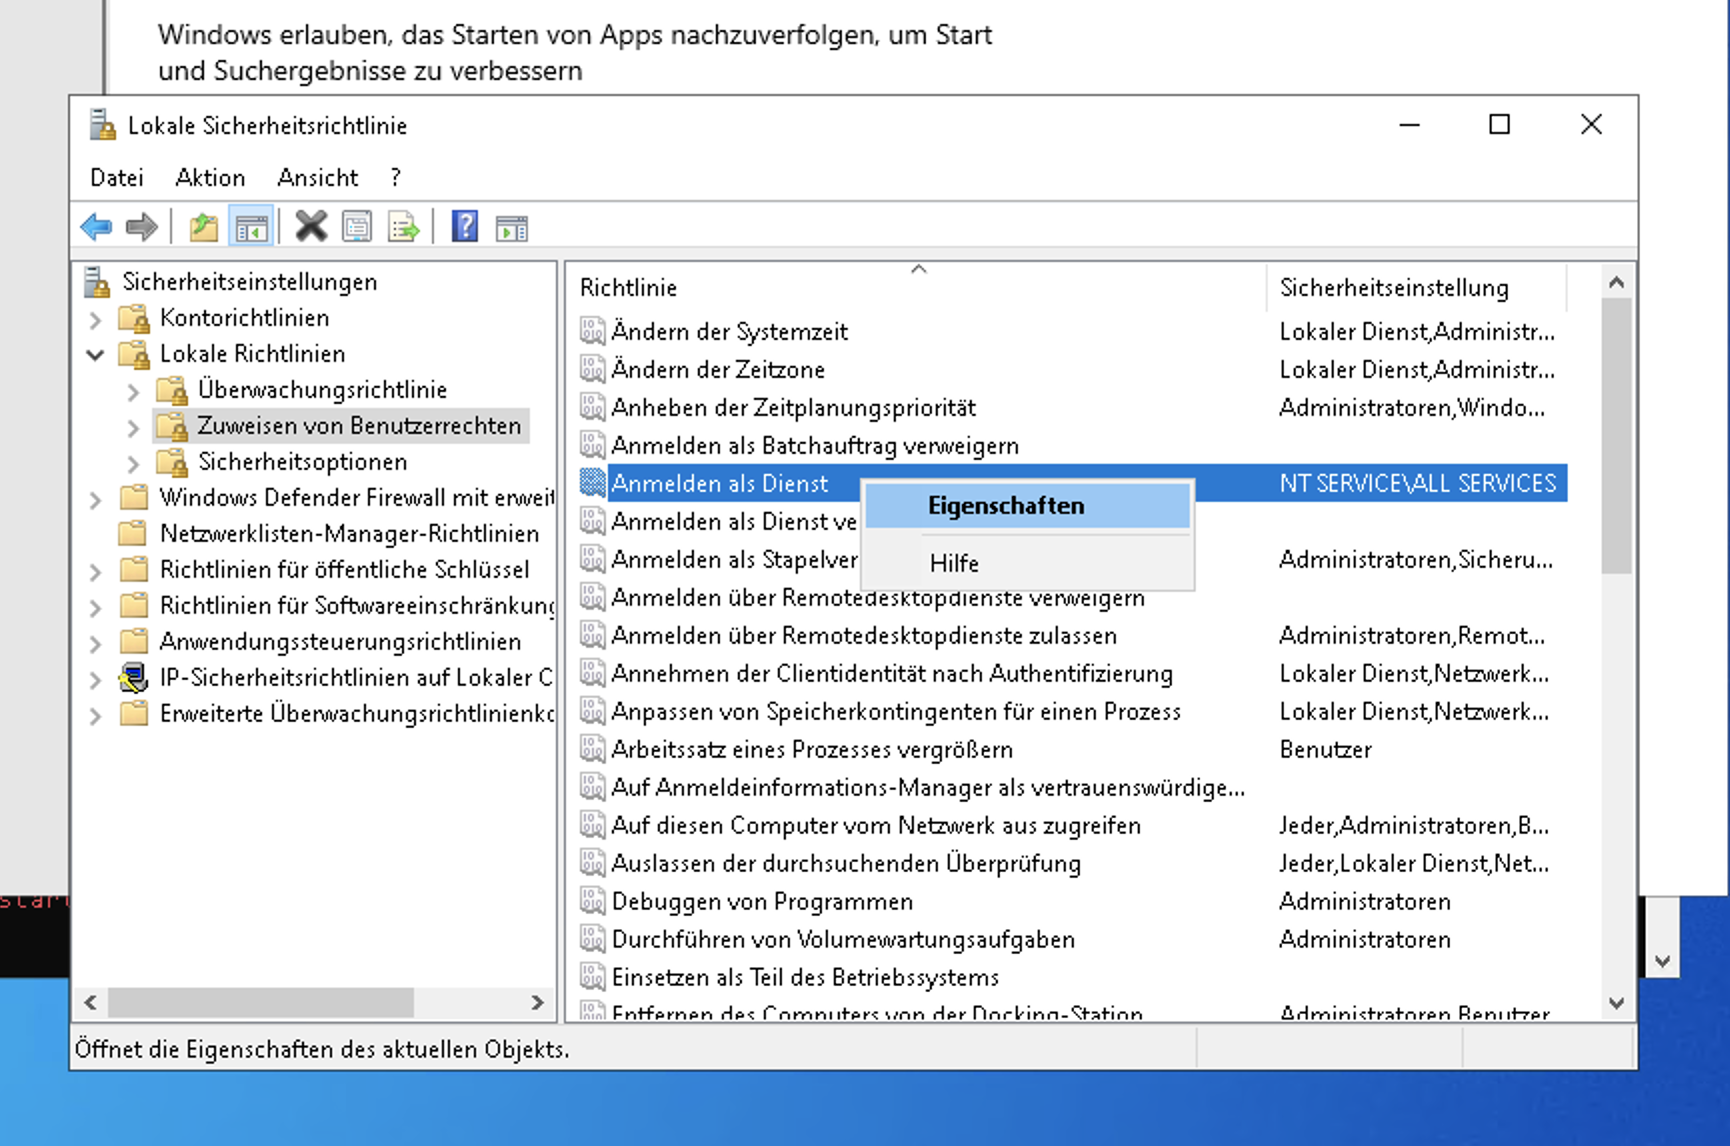
Then add the new user.
Step 3: Register Gitlab Runner
On the following page you can find the Windows installer for the Gitlab runner: https://docs.gitlab.com/runner/install/windows.html . I created a new folder in the “C” drive and put the installer there.
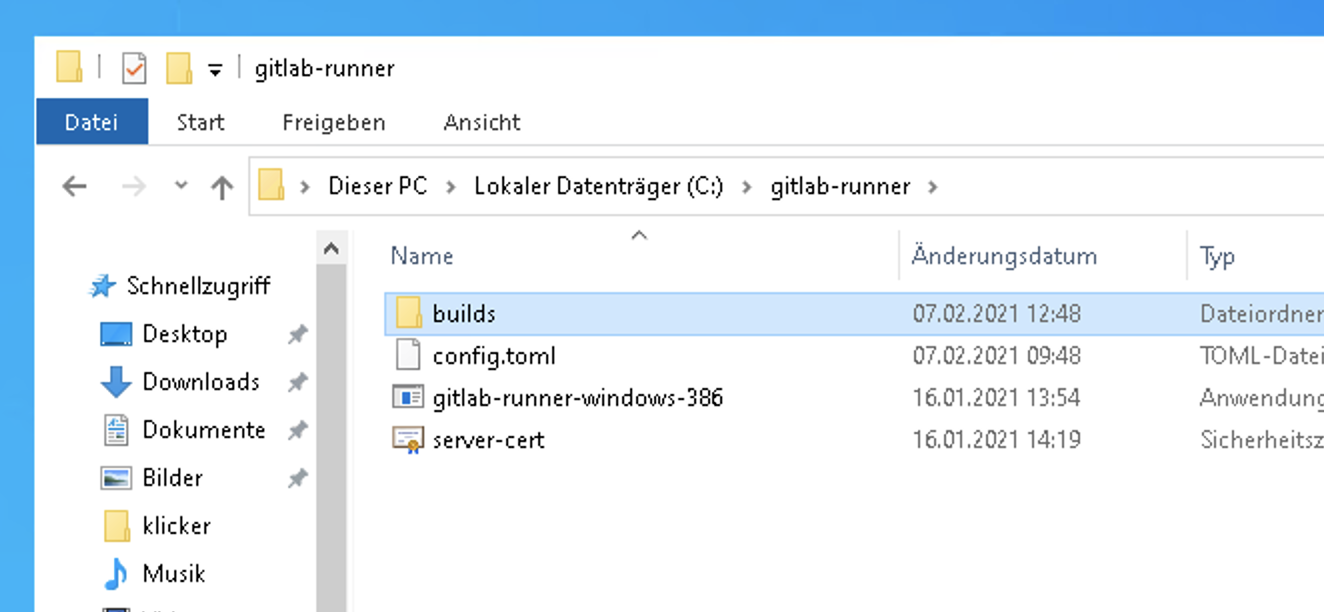
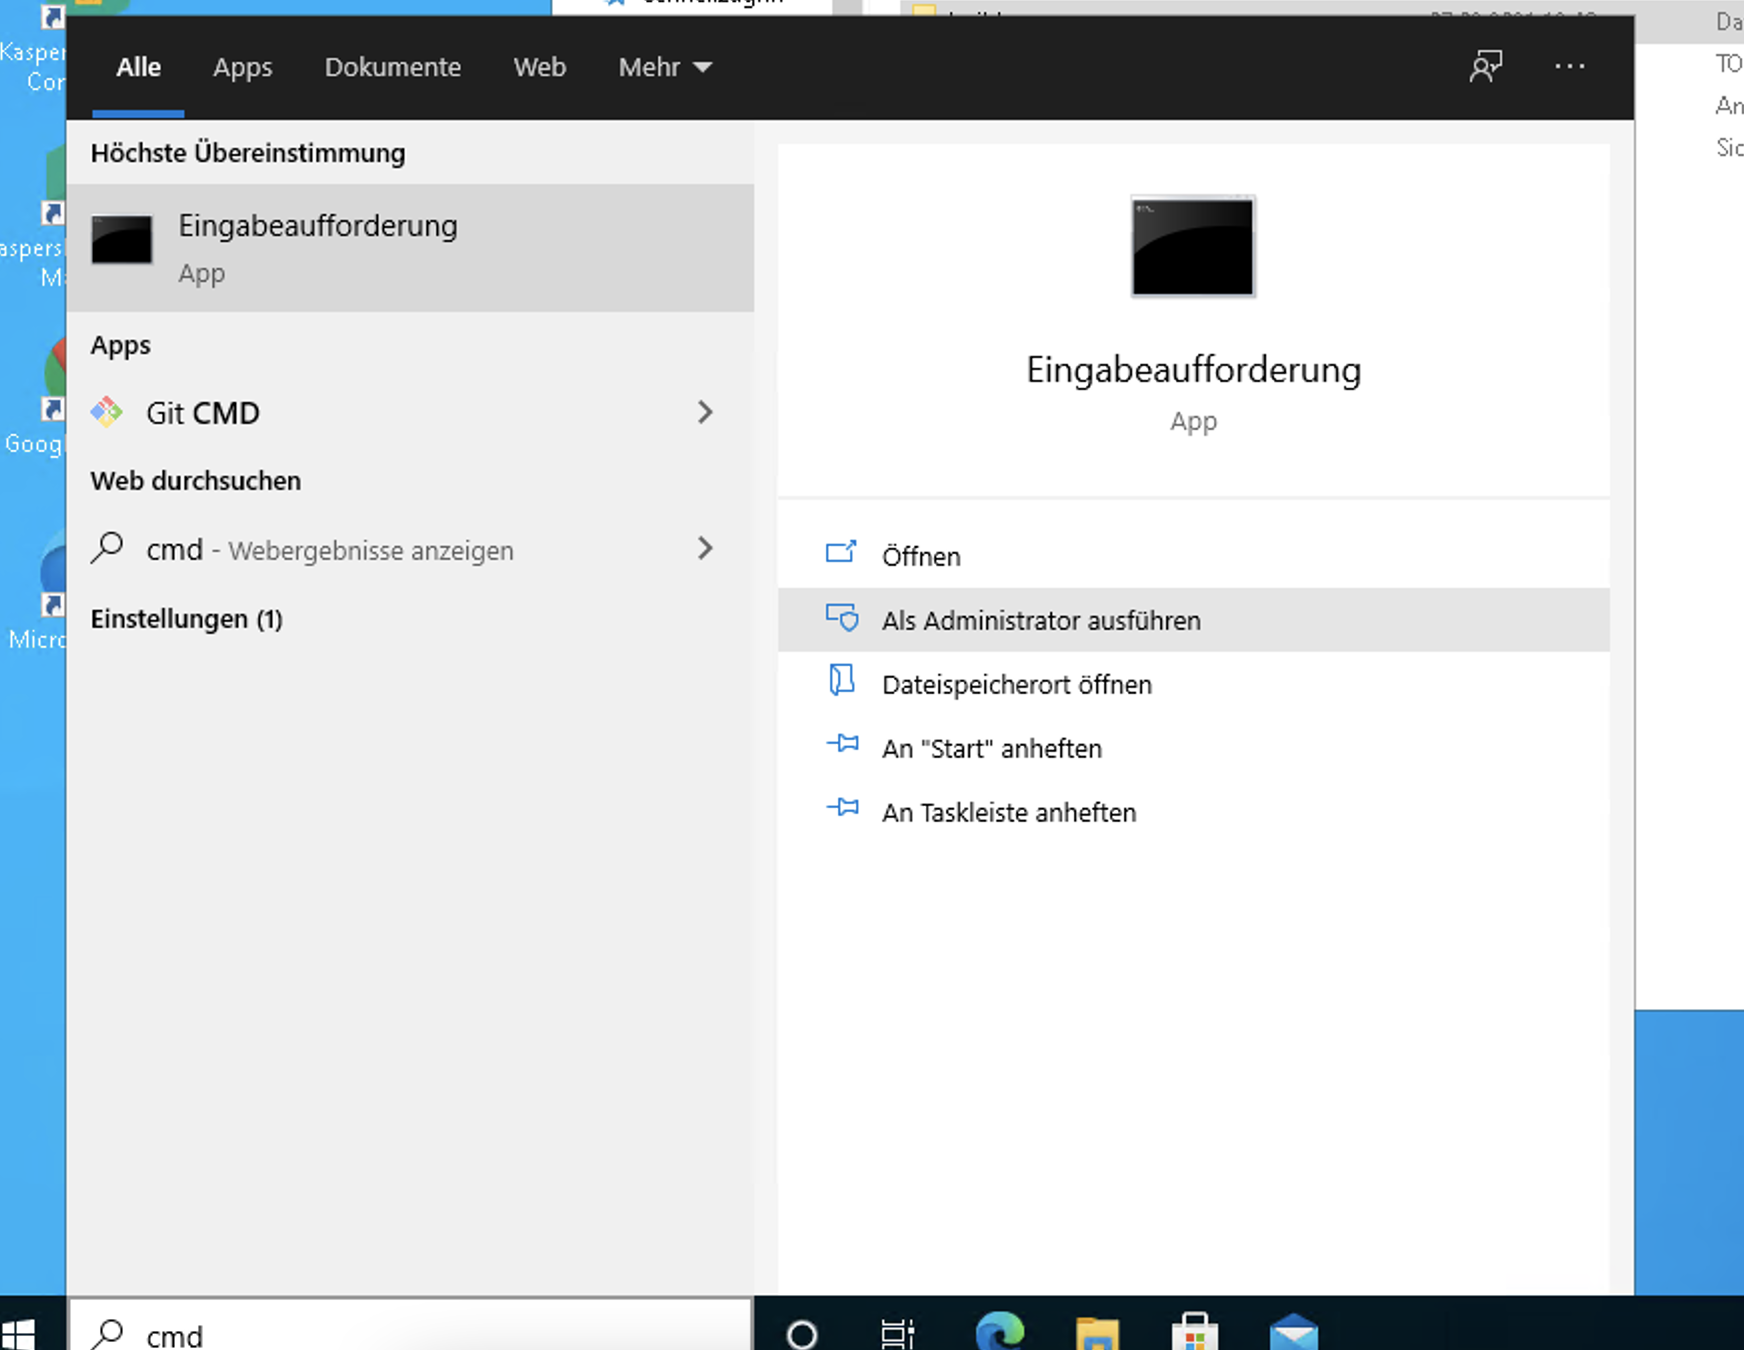
3.1.) I use the command “CMD” as “Administrator” to create a new console and change to a directory “cd C:\gitlab-runner”.
There I call the following command. As you can see, I also specify the username and password of the Gitlab user here.
$ gitlab-runner-windows-386.exe install --user ".\gitlab" --password "*****"
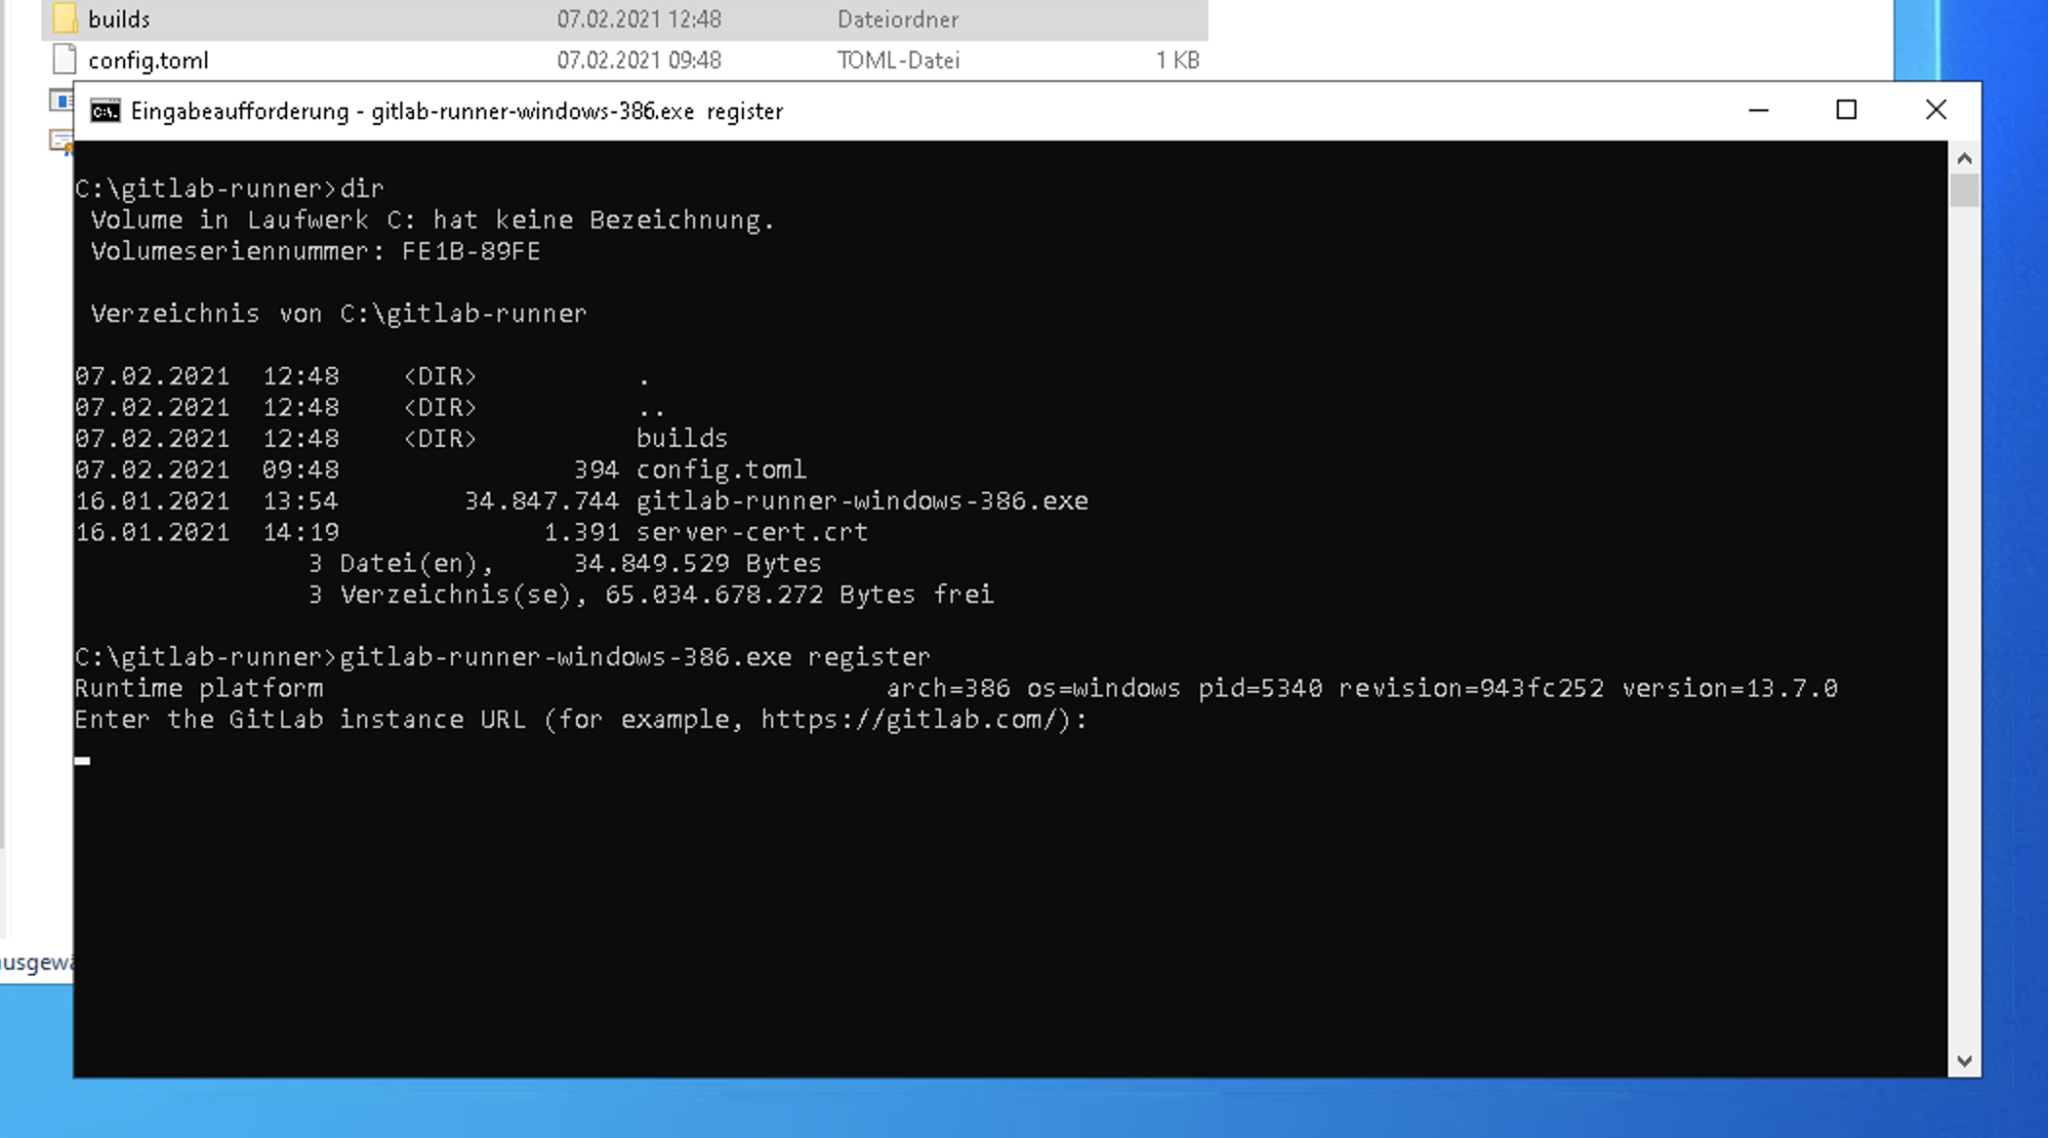
3.2.) After the successful registration, the runner can be started with the command “gitlab-runner-windows-386.exe start”:

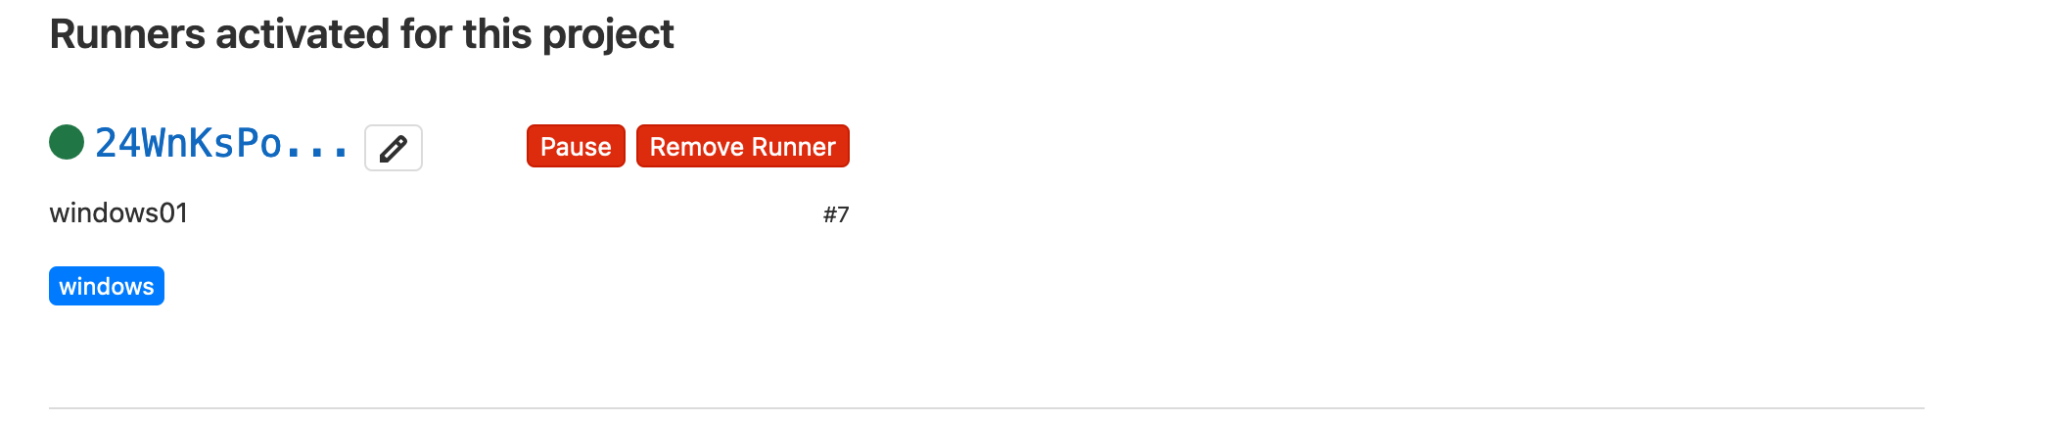
Great! Your Gitlab Runner is up and running and usable.
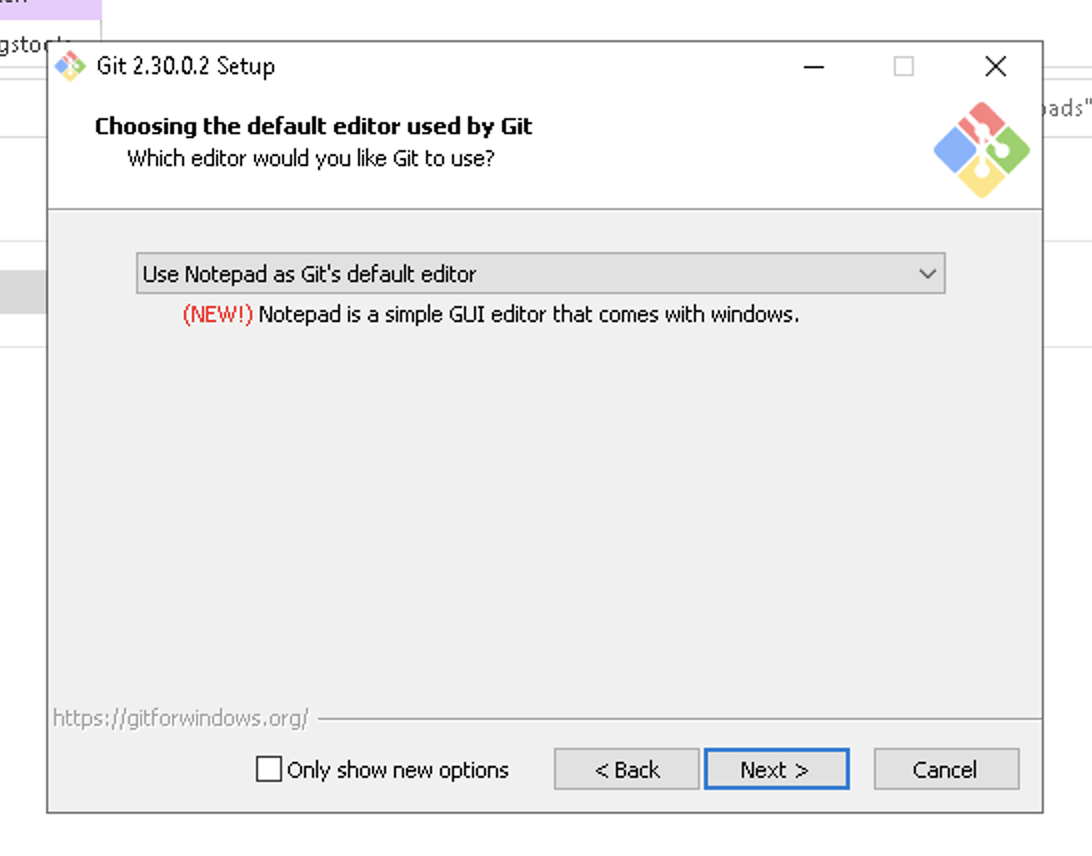
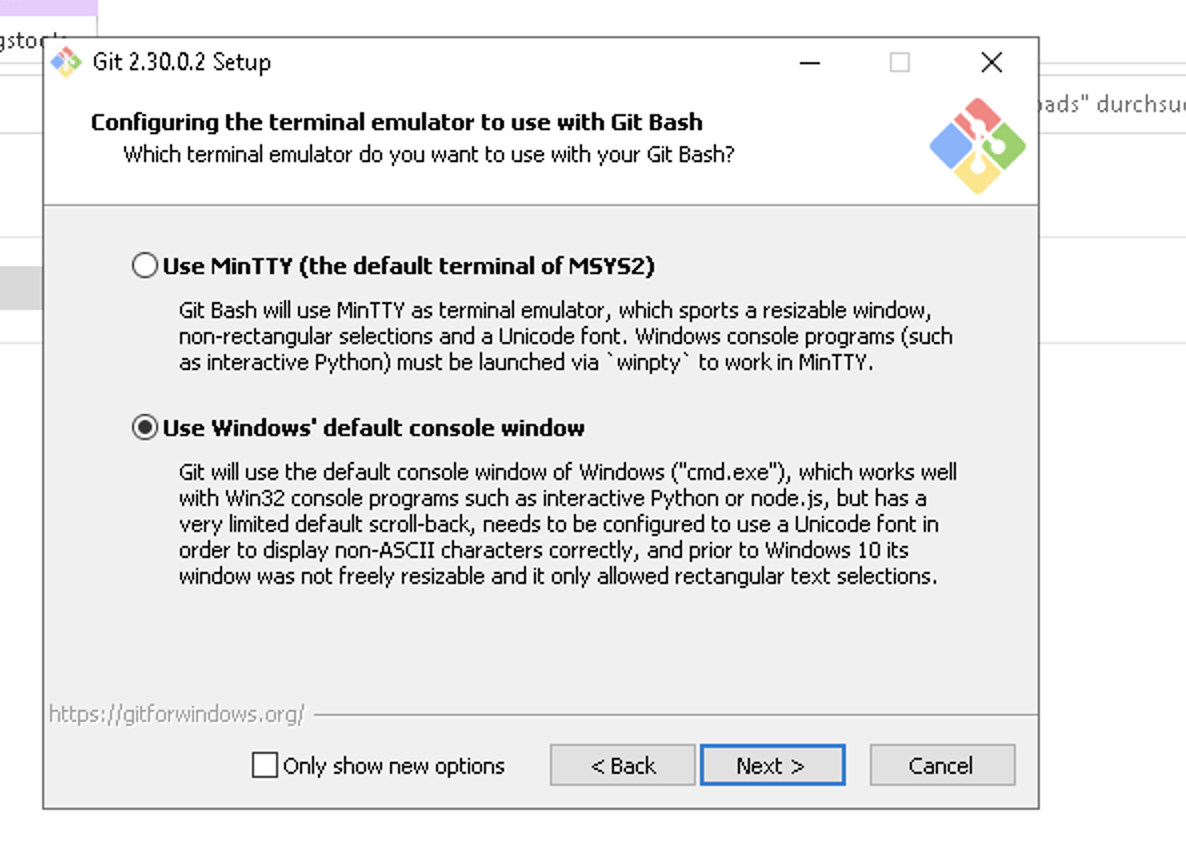
Step 4: Install Git
Since a Gitlab runner works with Git versioning, Git for Windows must also be installed:
Step 5: Install UiPath
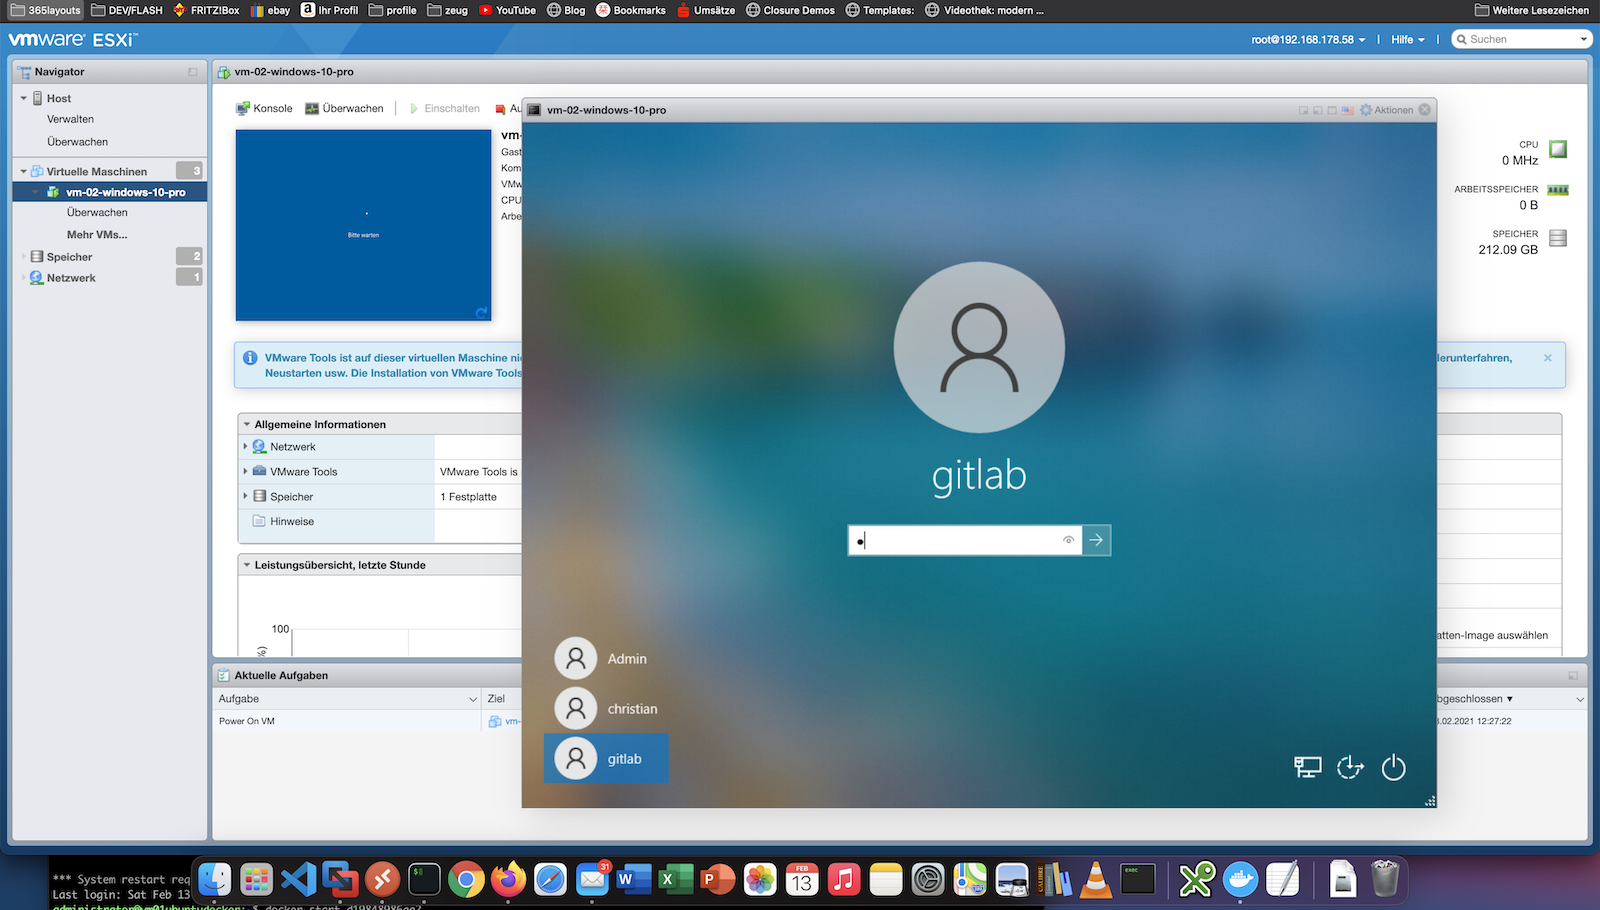
The UiPath installation is the easiest part of this tutorial. Log in as a Gitlab user and install the community edition. Of course, you can install all the software your robot needs right away, for example: Office 365.
Step 6: Create Gitlab project and pipeline
Now comes the grand finale of this tutorial. I create a new Gitlab project and check in my uiPath project files.
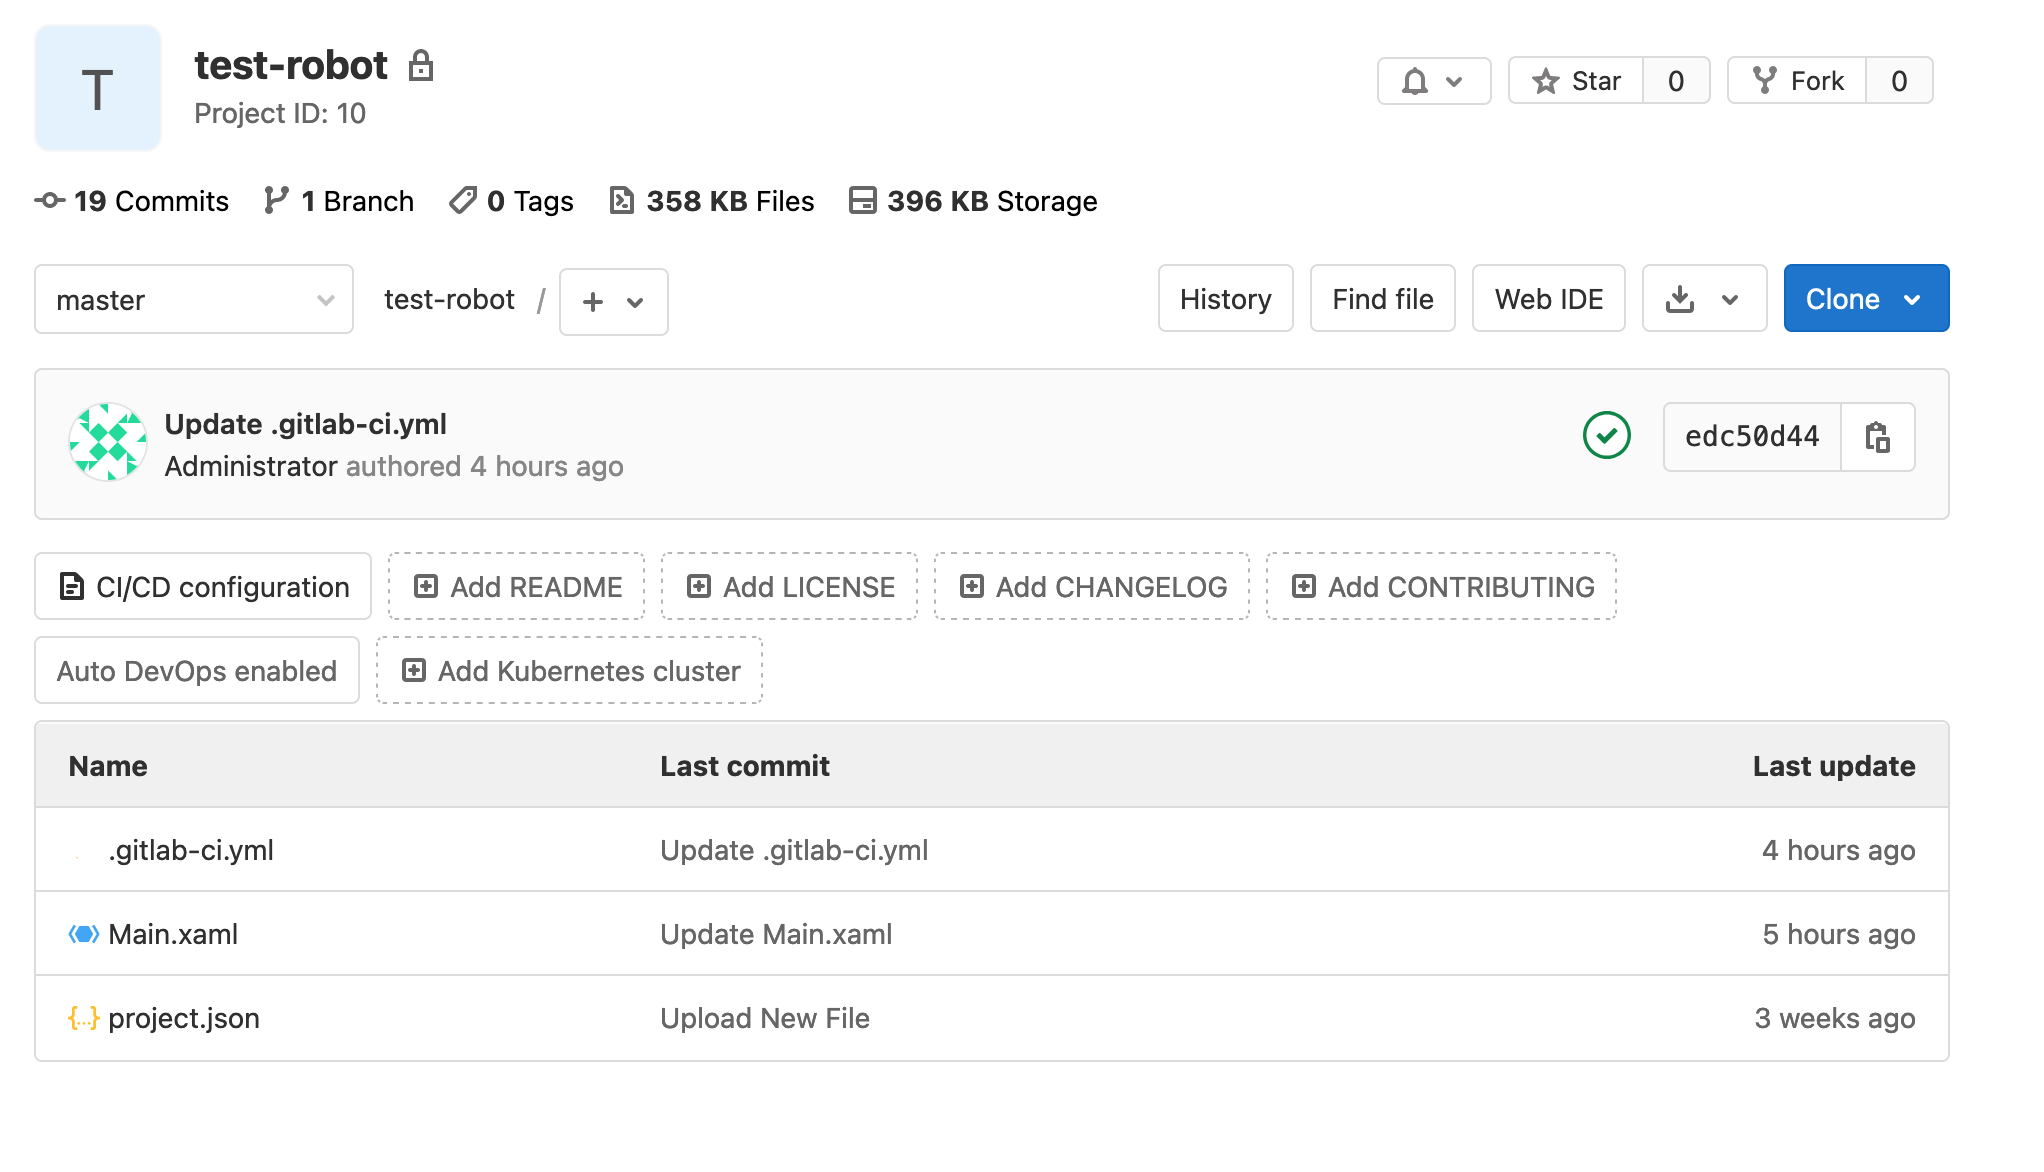
6.1.) Additionally I create a new file “.gitlab-ci.yml” with the following content:
build1:
  stage: build
  variables:
    GIT_STRATEGY: clone
  script:
    - C:\Users\gitlab\AppData\Local\UiPath\app-20.10.0-beta0149\UiRobot.exe -file "${CI_PROJECT_DIR}\Main.xaml"
My Windows software robot is executed directly after committing to the master branch:
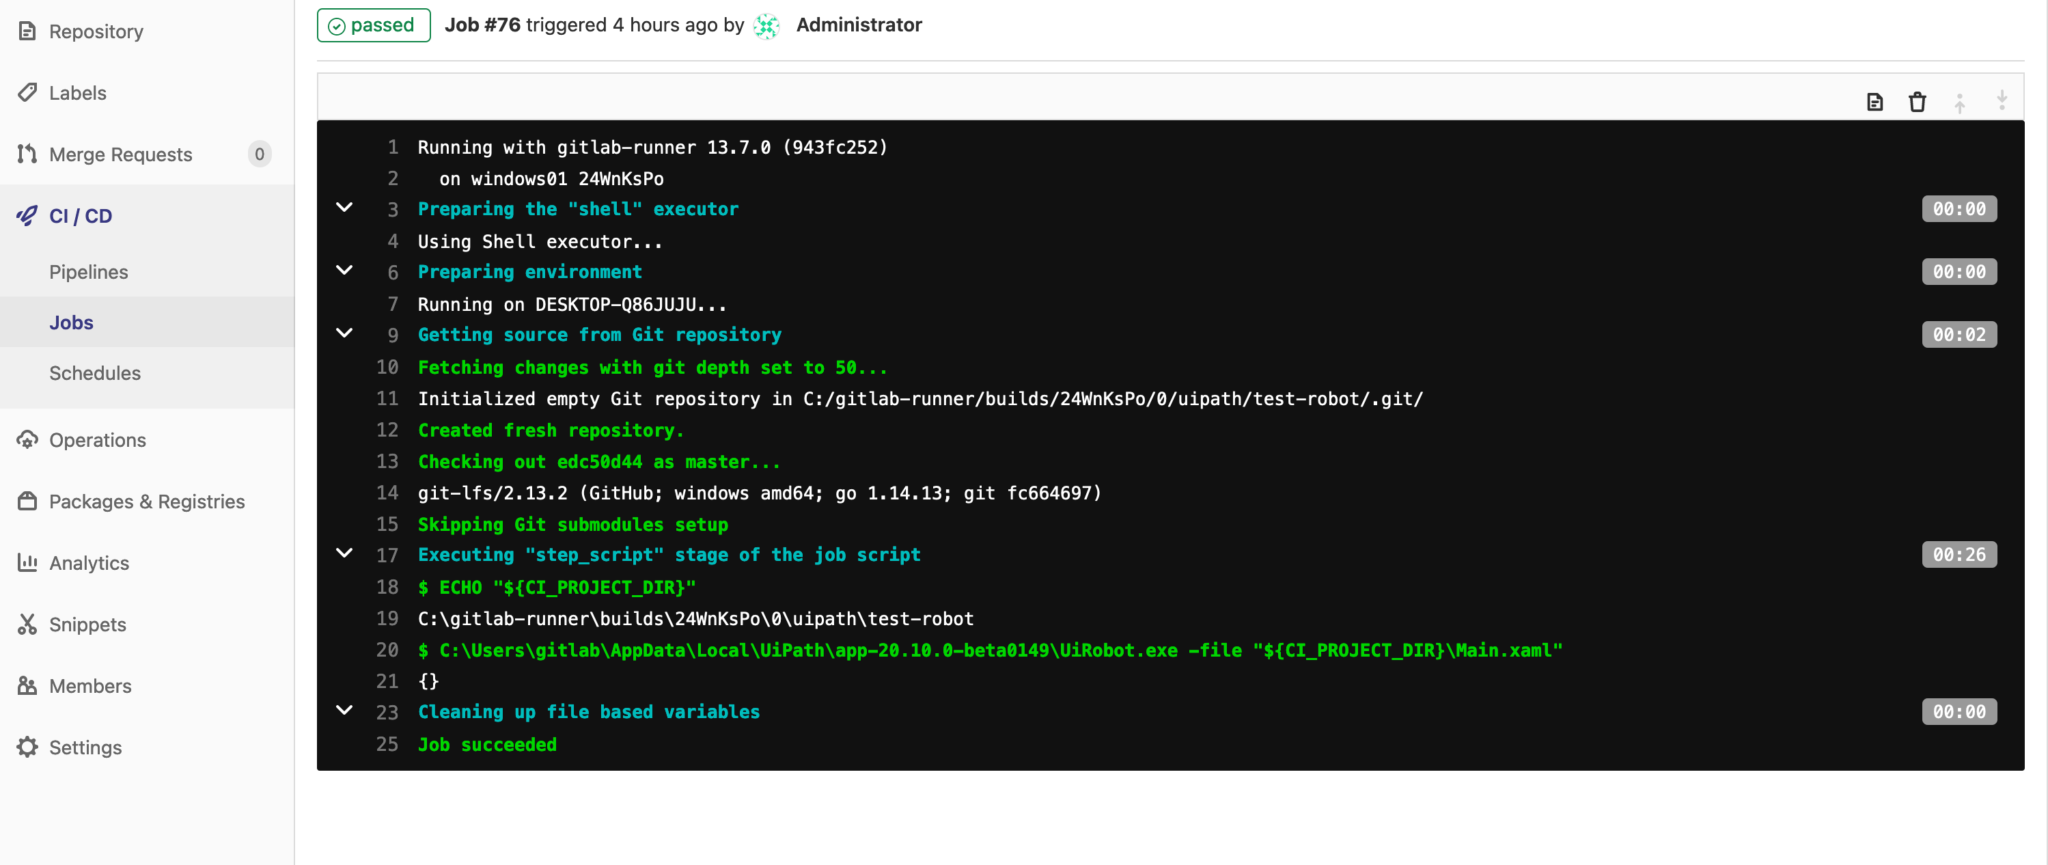
The automatic start of the robot can be managed via the “Schedules” option. A big advantage of this combination is that the “Robotic” projects as well as project results (artifacts) can be centrally controlled, versioned and managed by Gitlab with other “non-robotic” projects.