Bitwarden is a free open-source password management service that stores sensitive information such as website credentials in an encrypted vault. Today I’ll show how to install a BitwardenRS on the Synology DiskStation.
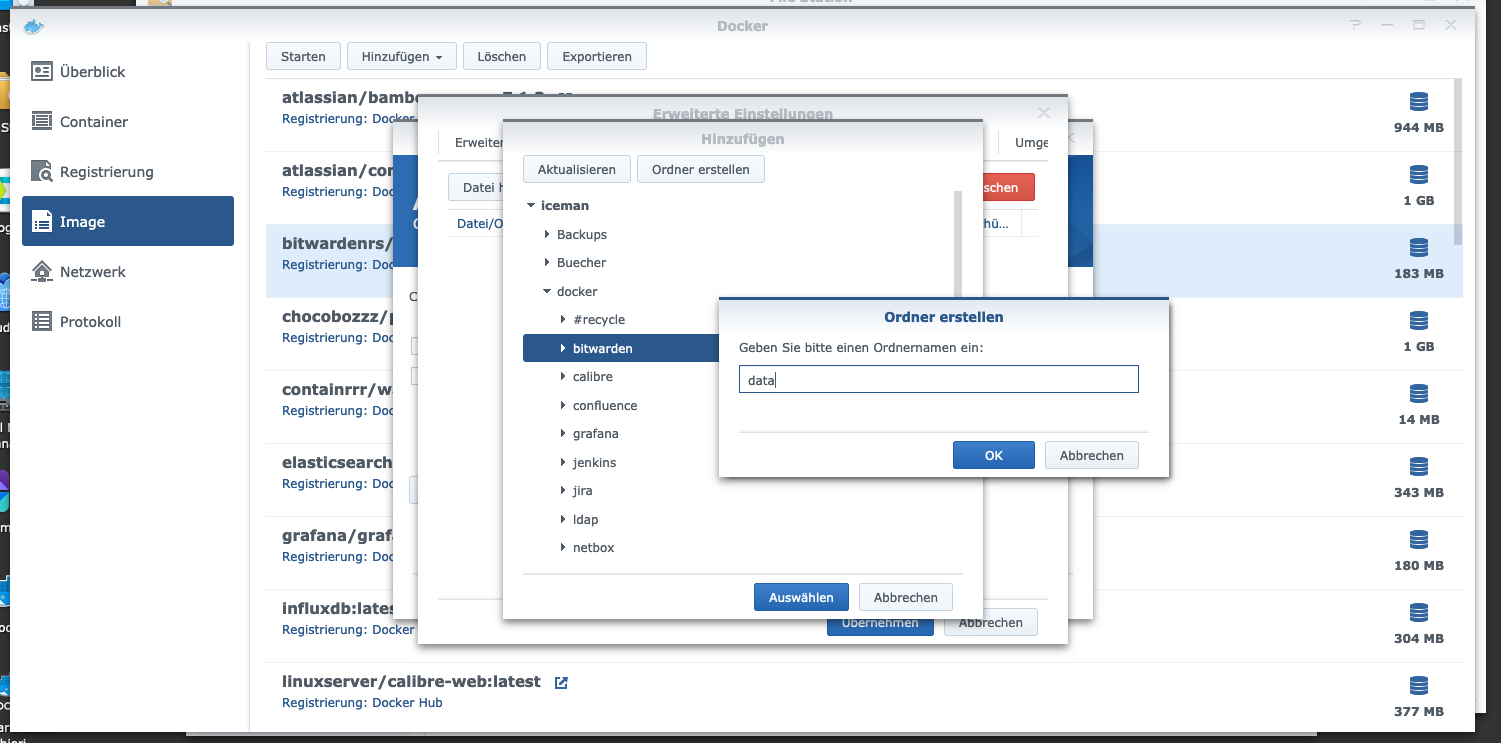
Step 1: Prepare BitwardenRS folder
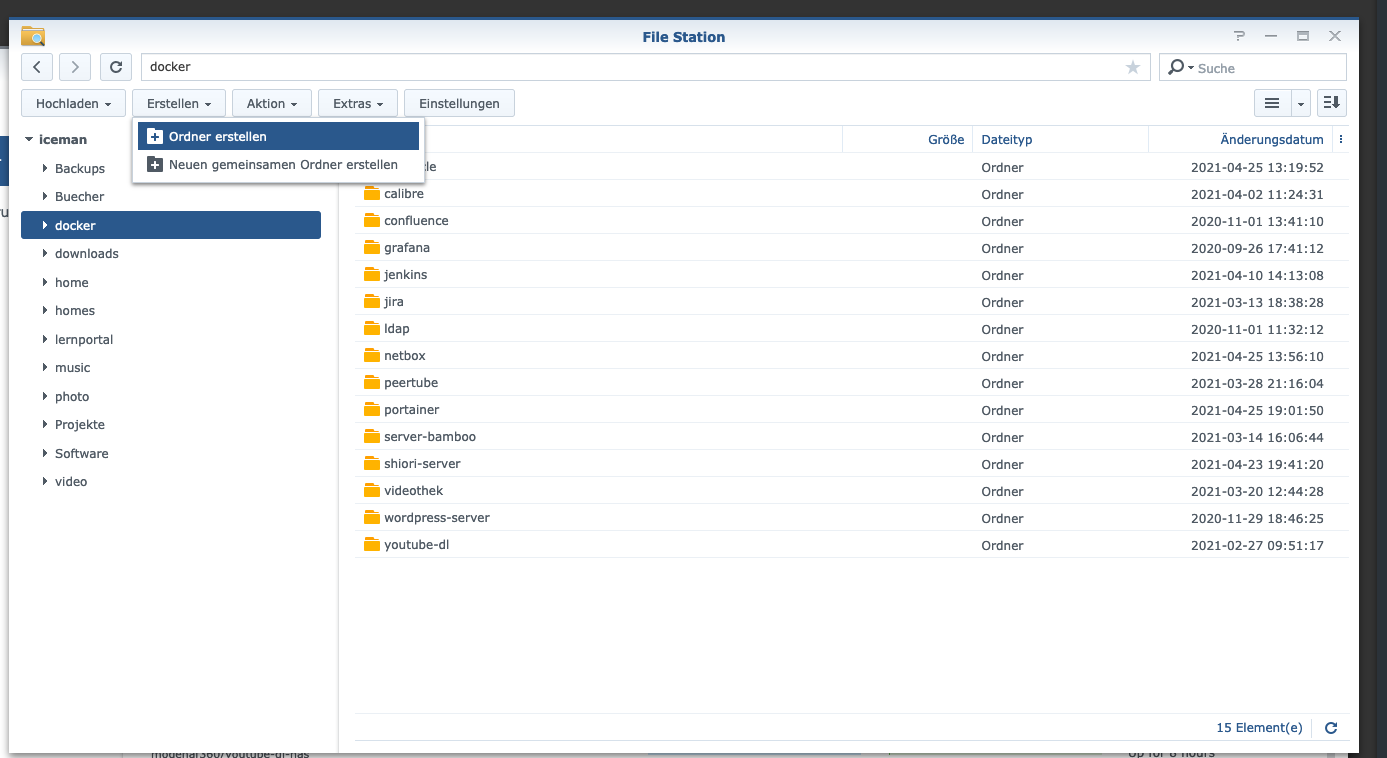
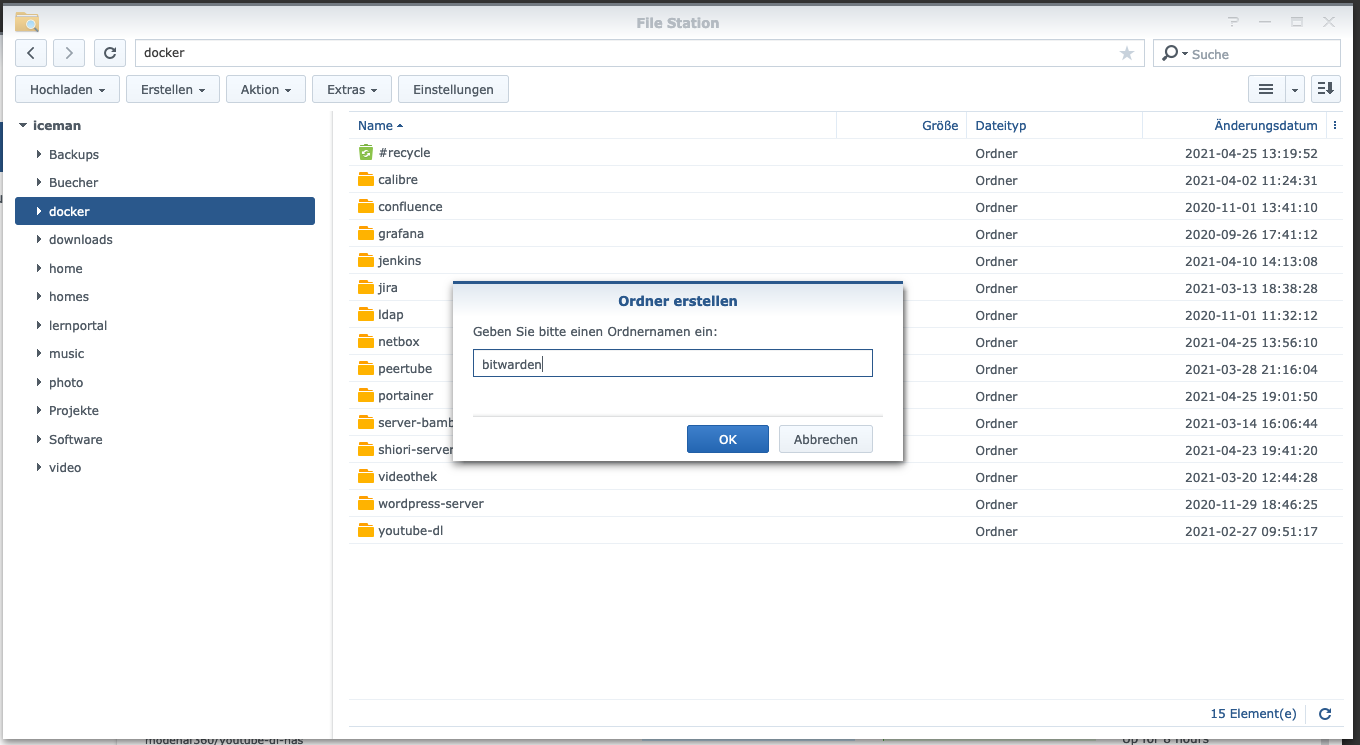
I create a new directory called “bitwarden” in the Docker directory.
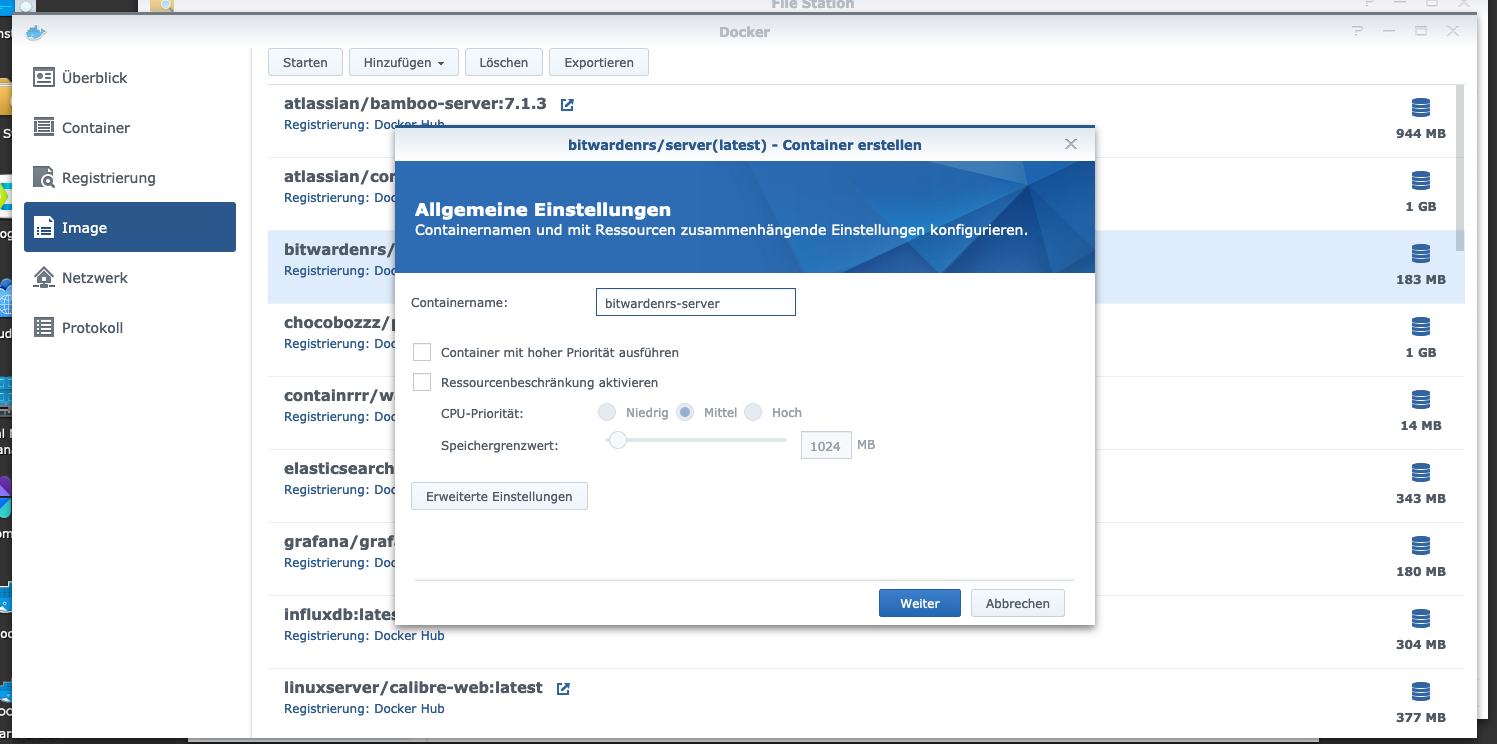
Step 2: Install BitwardenRS
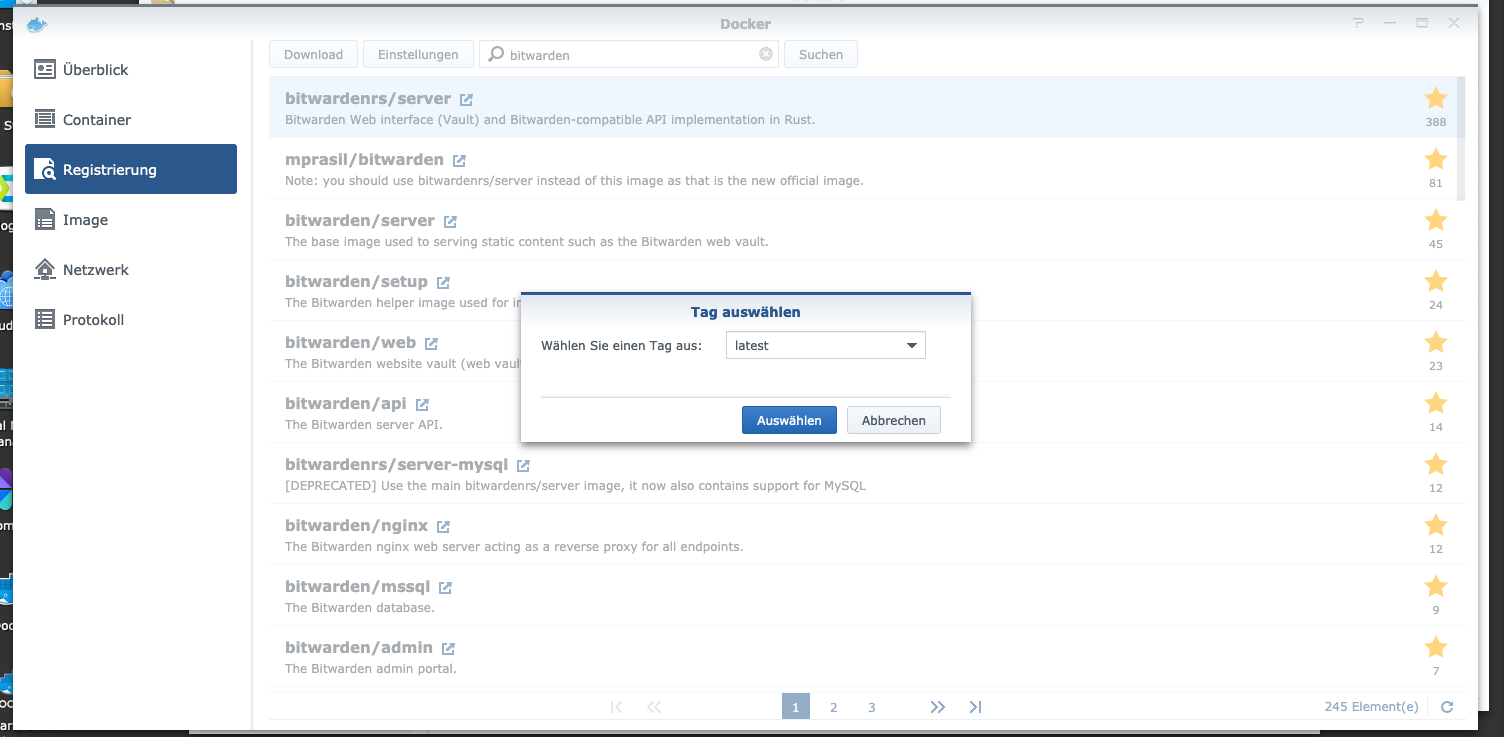
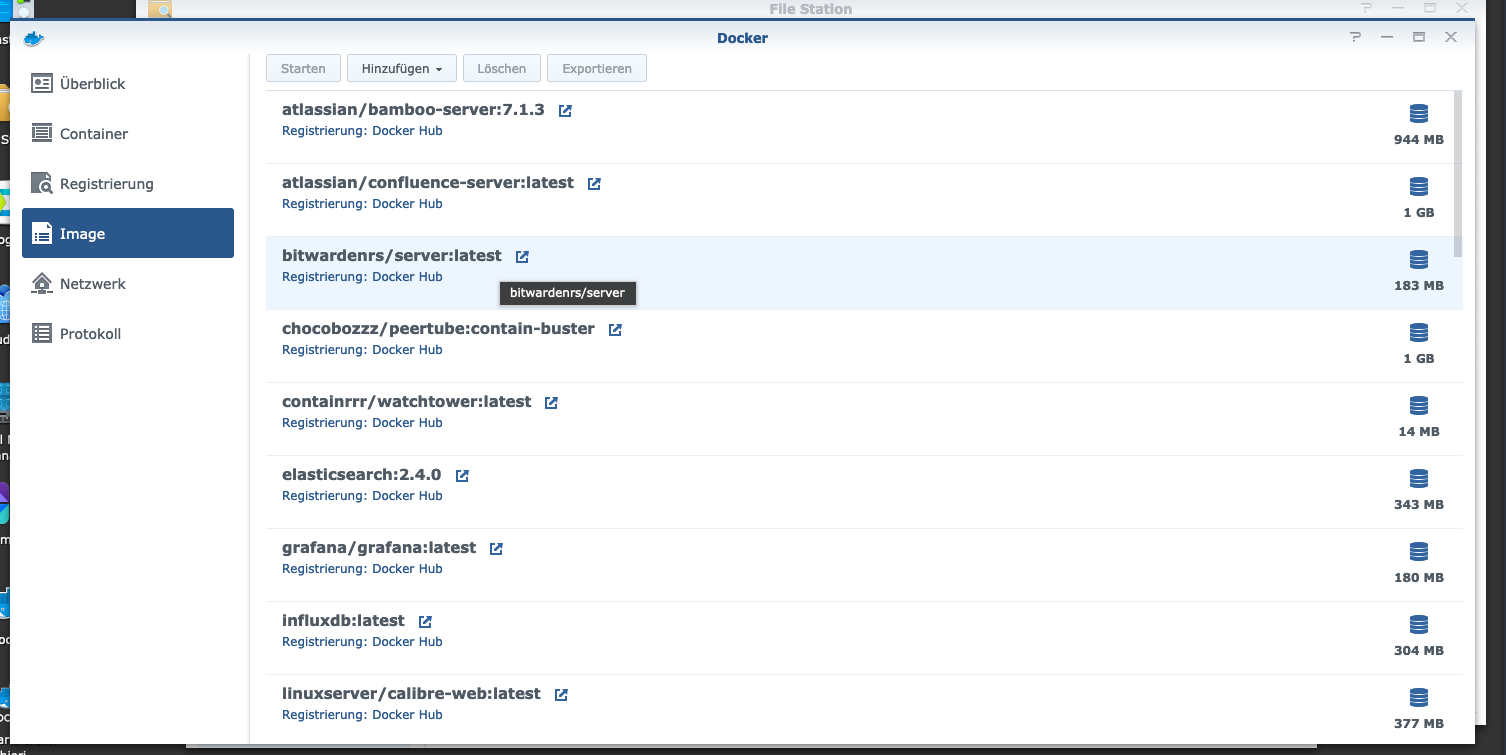
I click on the “Registry” tab in the Synology Docker window and search for “bitwarden”. I select the Docker image “bitwardenrs/server” and then click on the tag “latest”.

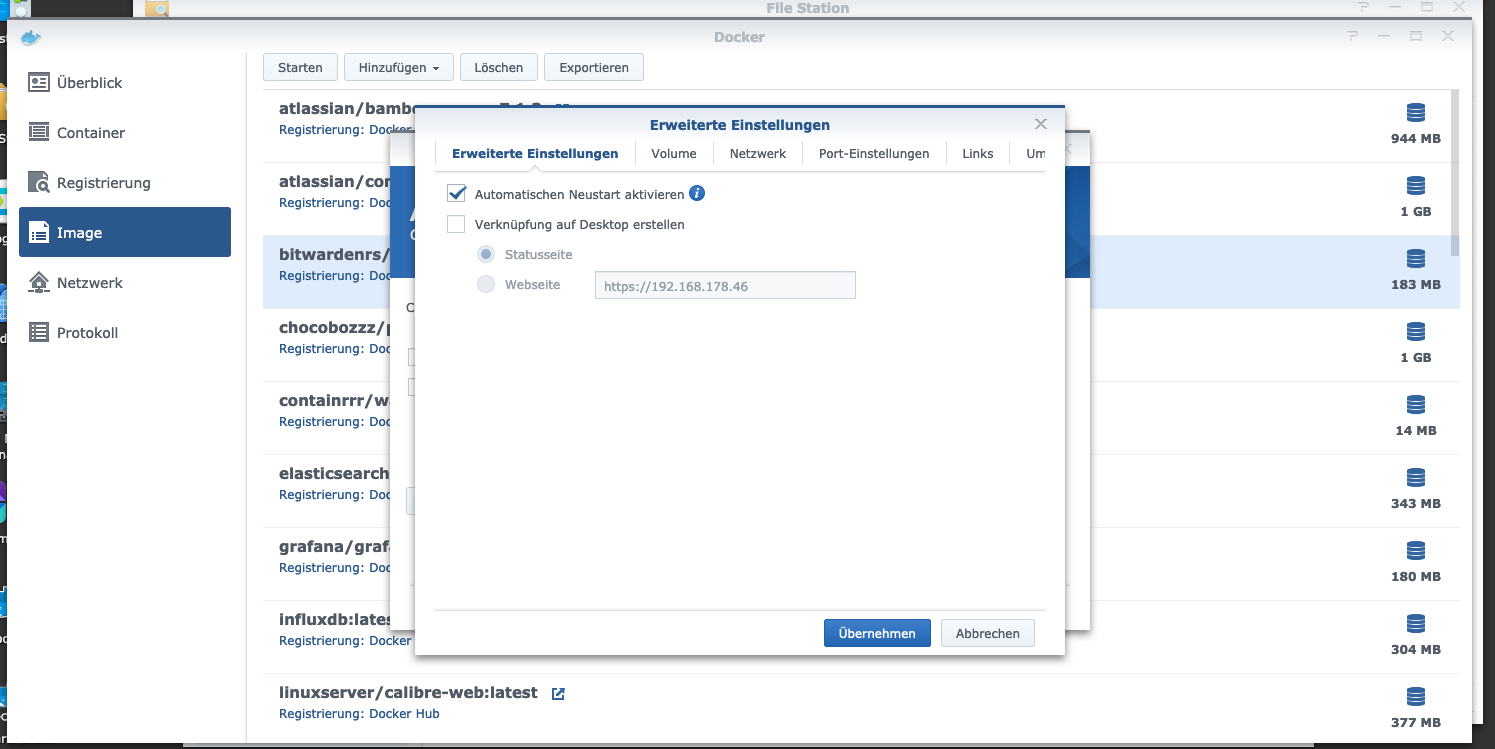
I double click on my bitwardenrs image. After that I click on “Advanced Settings” and activate the “Automatic Restart” here as well.
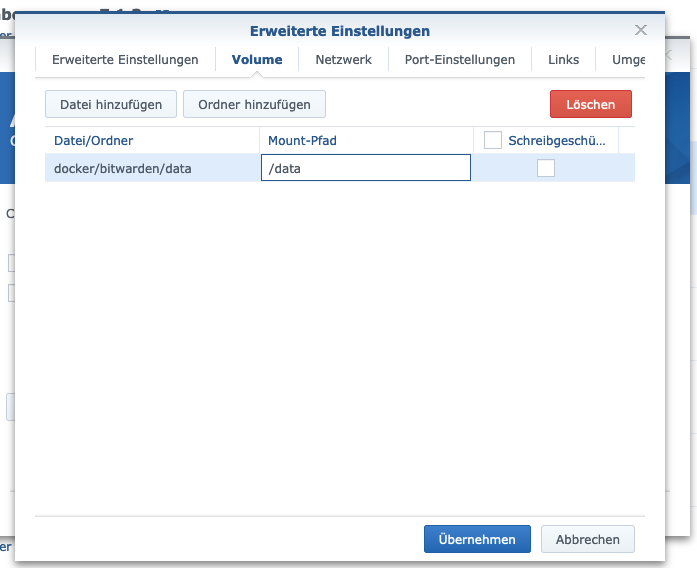
I select the “Volume” tab and click on “Add Folder”. There I create a new folder with this mount path “/data”.
I assign fixed ports for the “bitwardenrs” container. Without fixed ports it could be that the “bitwardenrs server” runs on another port after a reboot. The first container port can be deleted. The other port should be remembered.
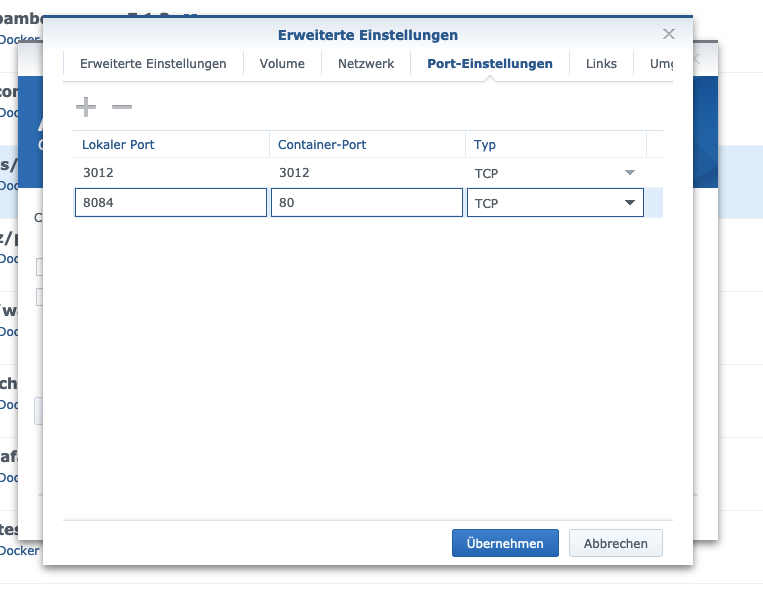
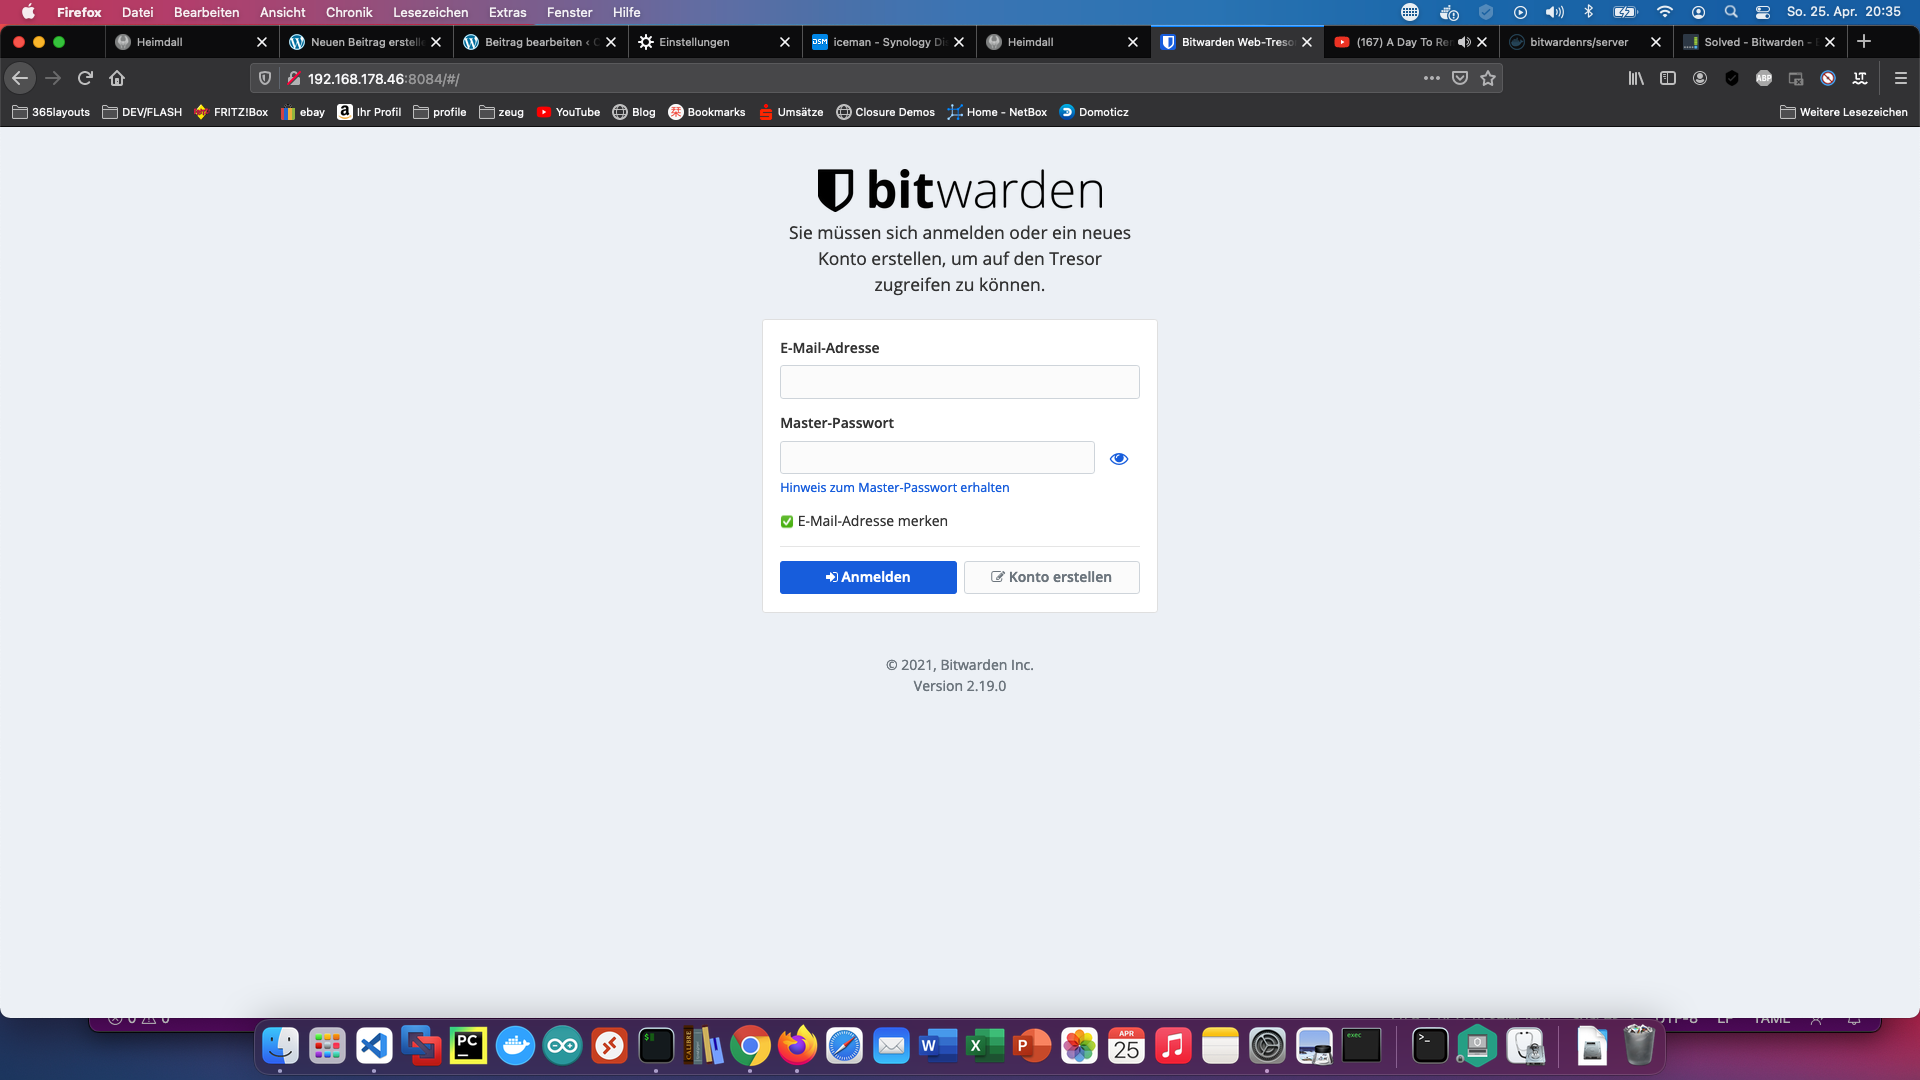
The container can now be started. I call the bitwardenrs server with the Synology IP address and my container port 8084.
Step 3: Set up HTTPS
I click on “Control Panel” > “Reverse Proxy” and “Create”.
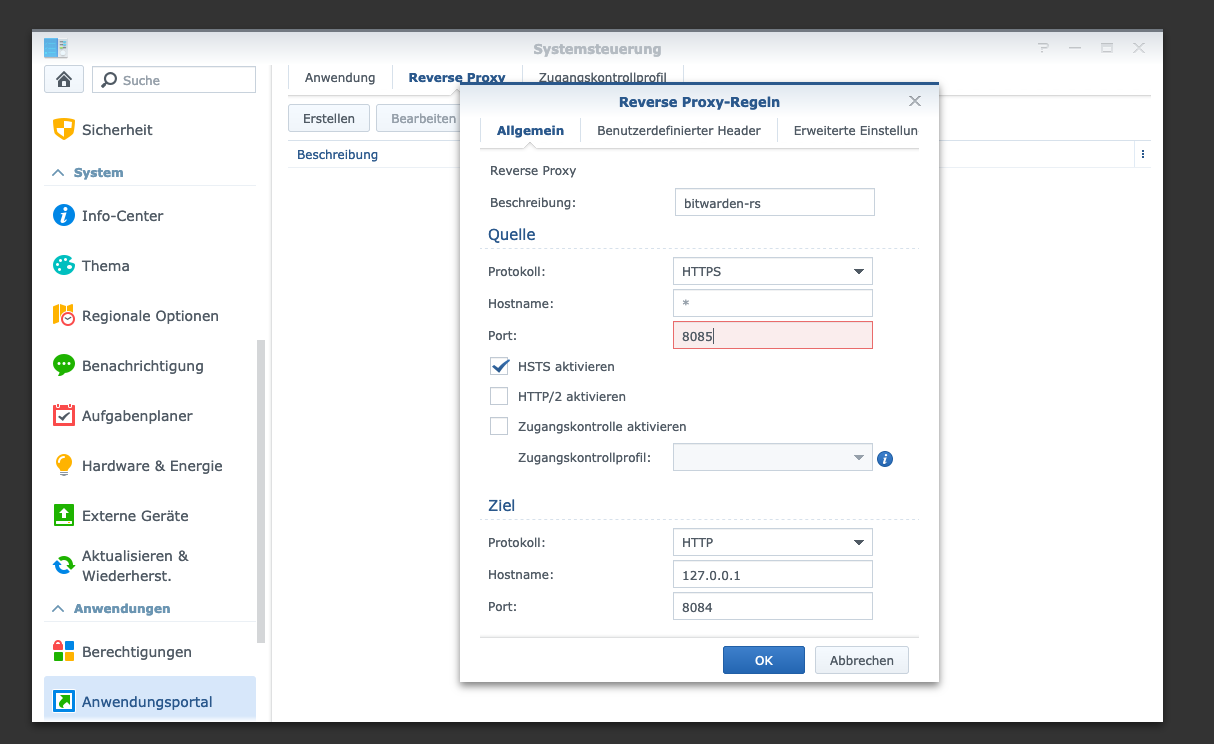
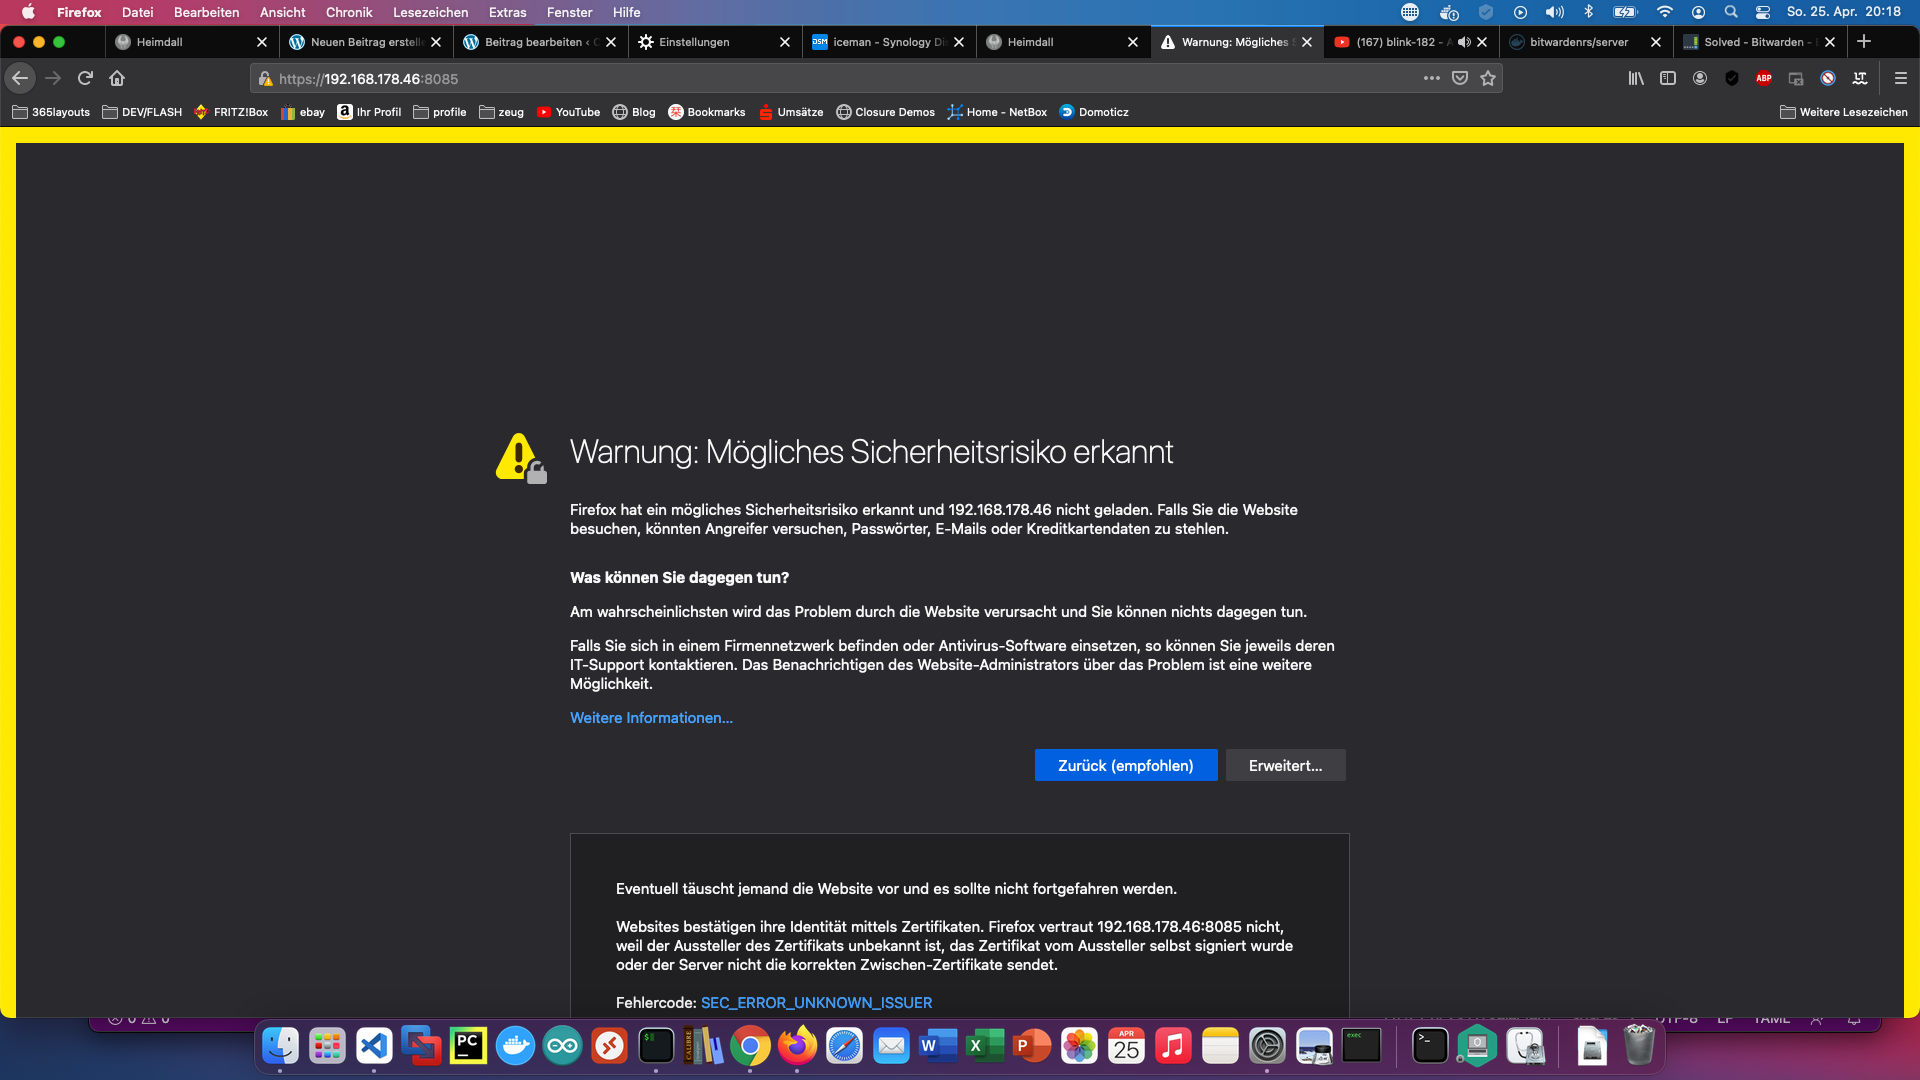
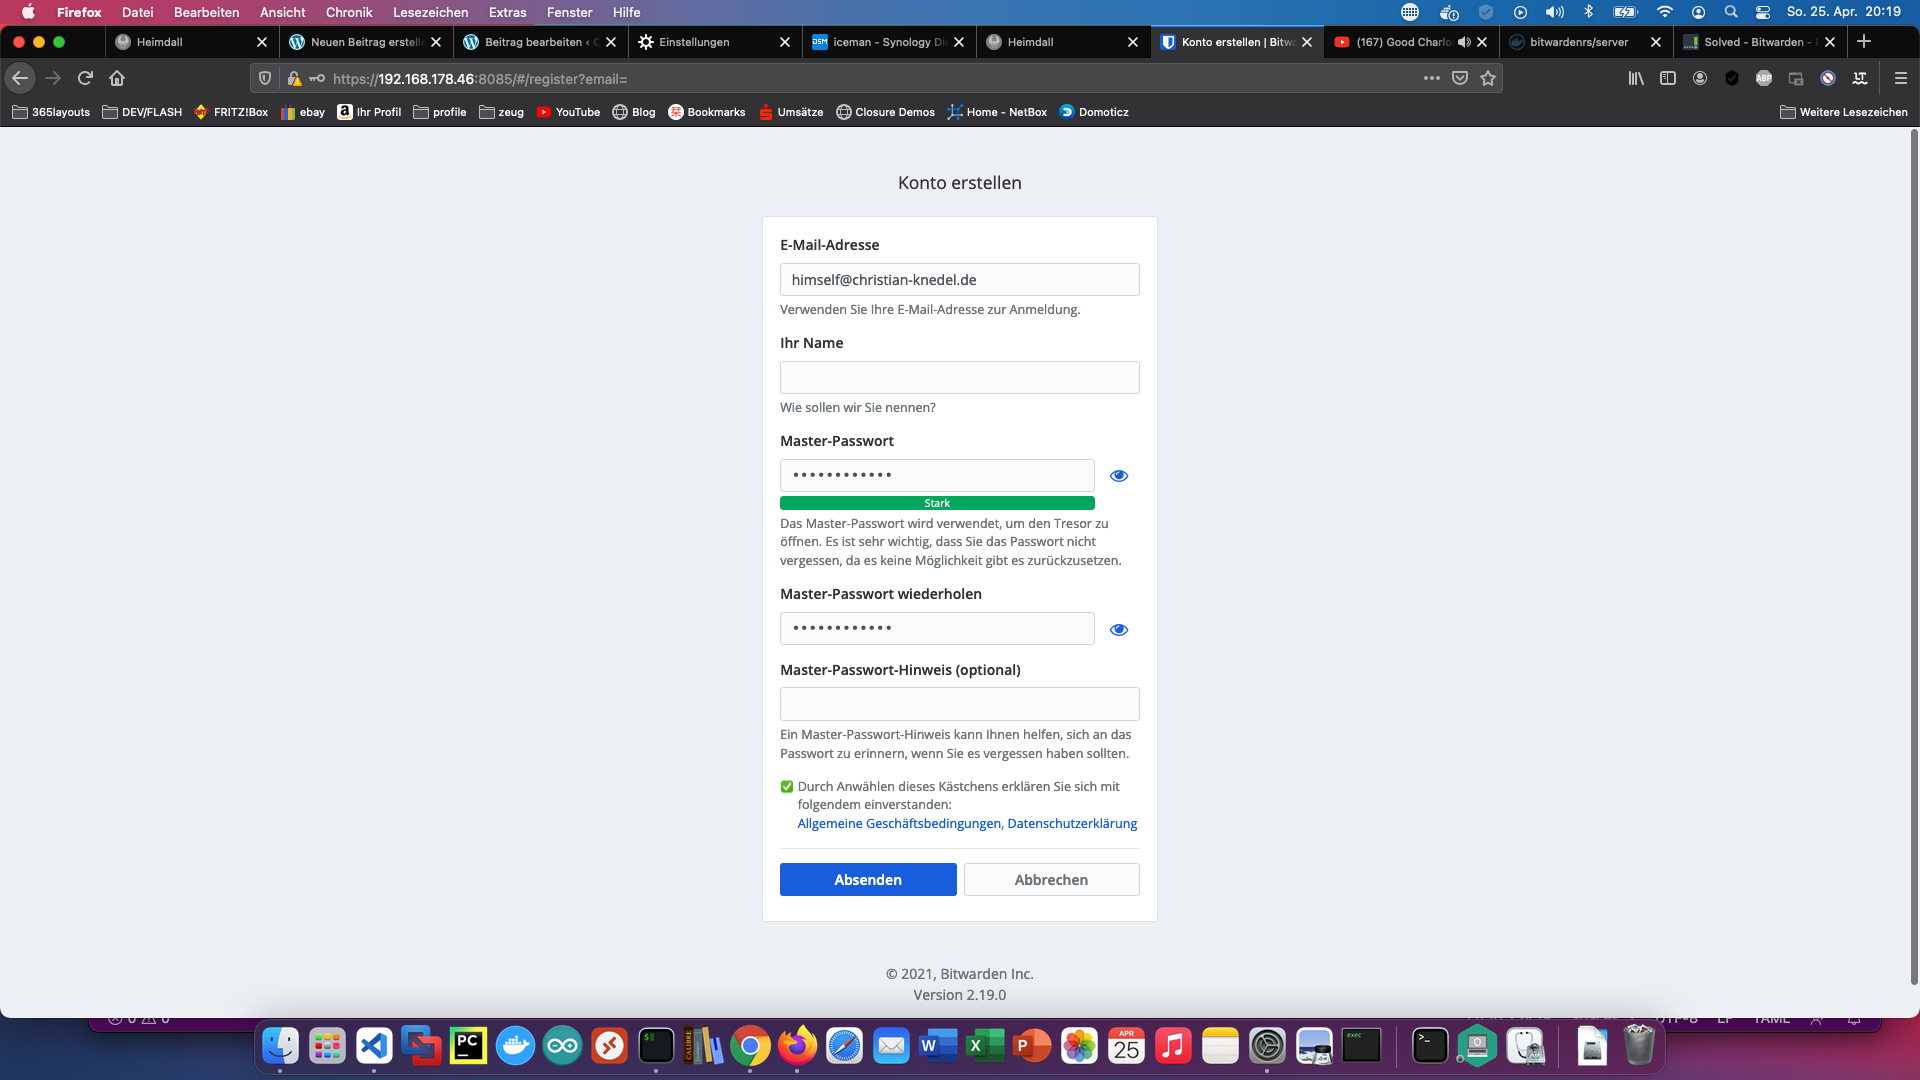
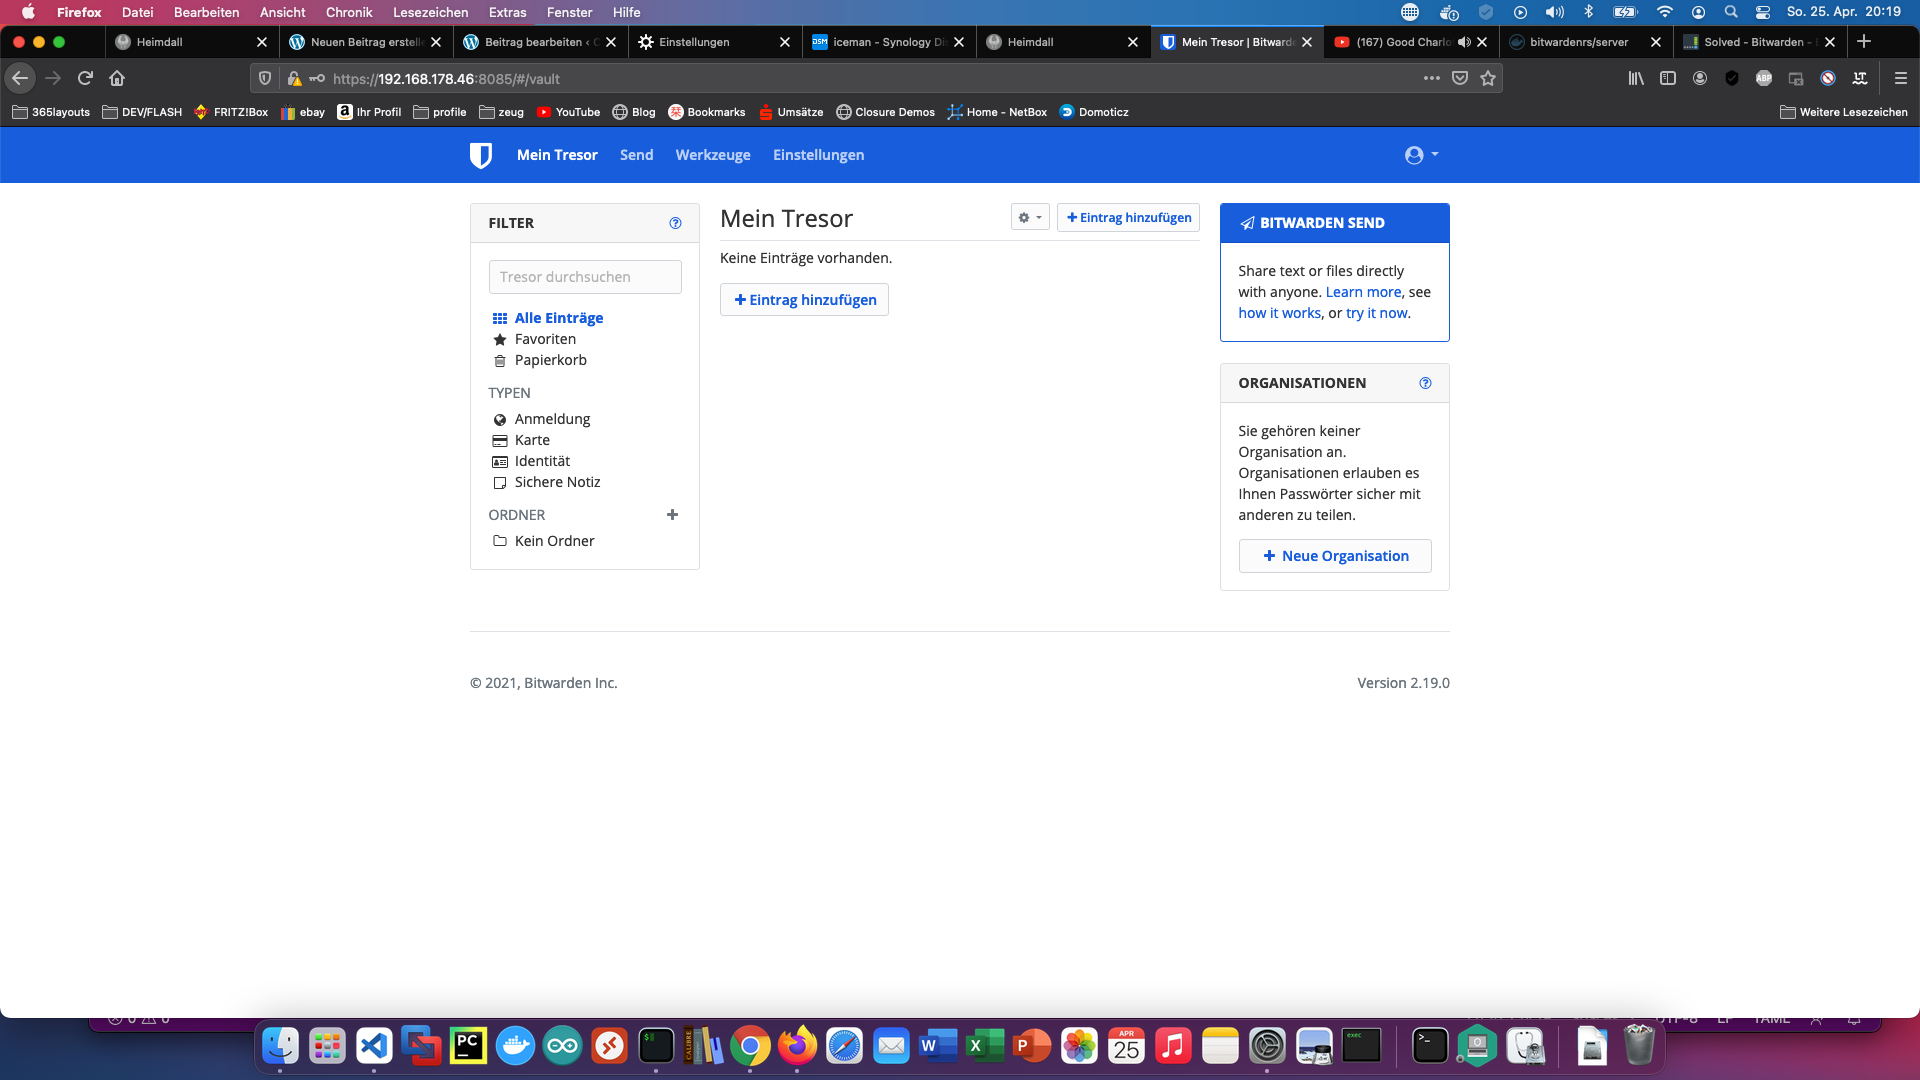
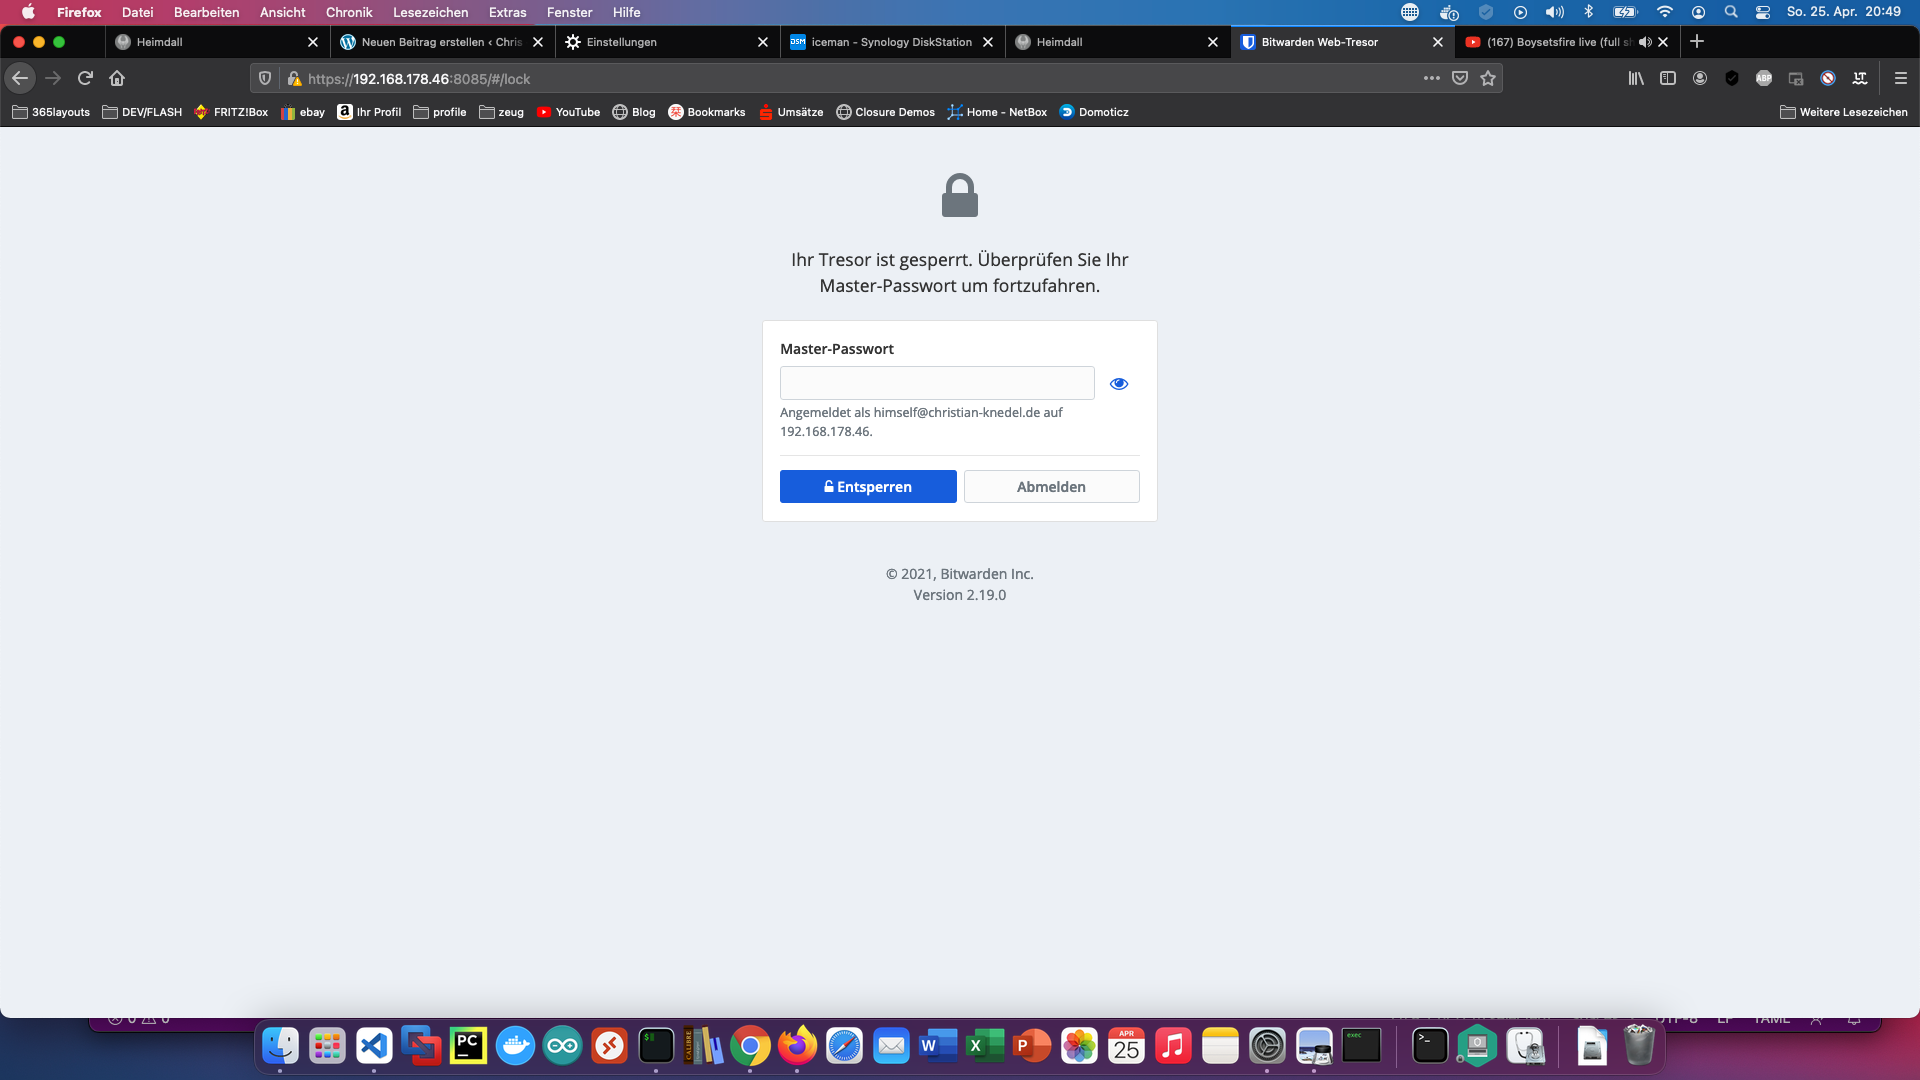
After that I can call the bitwardenrs server with the Synology IP address and my proxy port 8085, encrypted.