The installation with Raspberry-Noobs is very easy! All you need is a RaspberryZeroW and a blank SD card.
Step 1: Noobs installer
Download the Noobs installer from https://www.raspberrypi.org/downloads/noobs/.
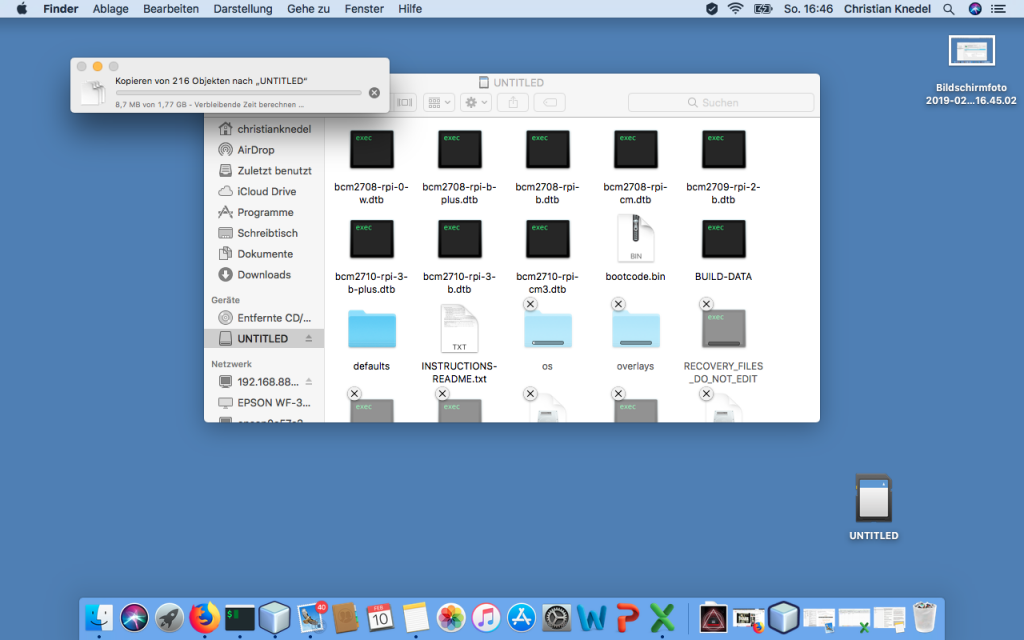
Step 2: SD card
Unzip this zip archive to the empty SD card.
Done! Now you can connect the RaspberryPiZero to the TV. After that you will see the installation menu.
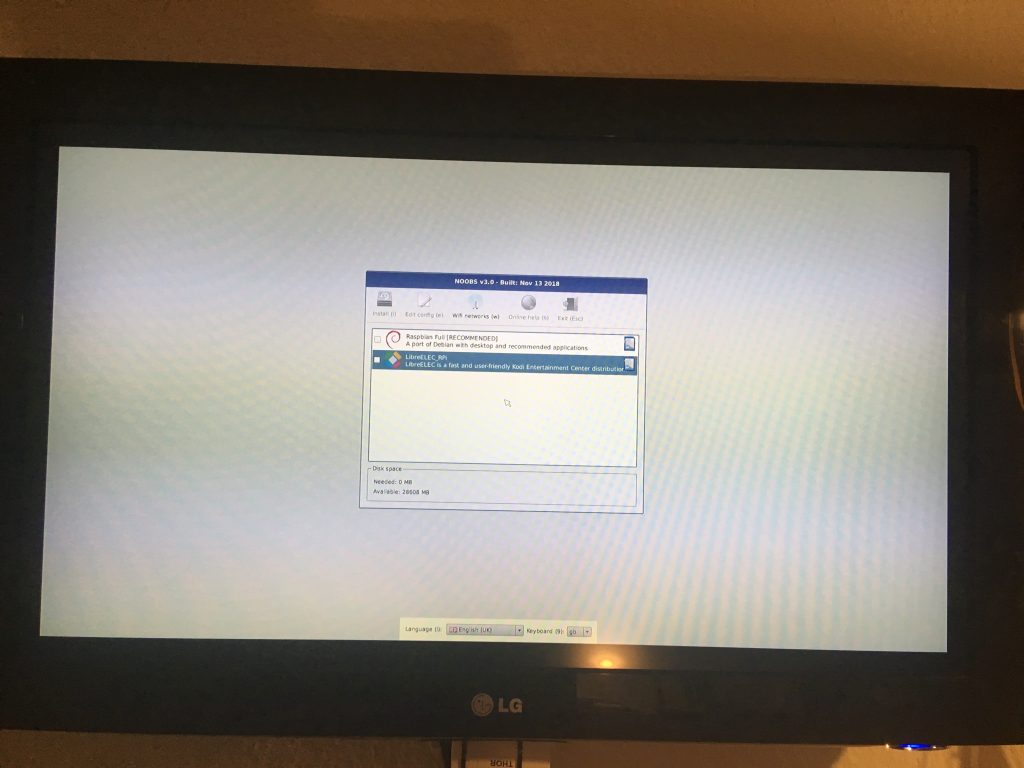
If you have NoobsLite on the card, then you must first establish a WLAN - connection. Then please select “Rasbian Lite” and click on “Install”. Rasbian Lite is the server - variant without desktop. After booting, the package management must be updated.
$ sudo apt-get update
$ sudo apt-get install -y nodm matchbox-window-manager uzbl xinit vim
$ sudo adduser dashboard
$ sudo su dashboard
$ sudo vim ~/.xsession
#!/bin/bash
xset s off
xset s noblank
xset -dpms
while true; do
  uzbl -u http://git-lab-ip/host/ -c /home/dashboard/uzbl.conf & exec matchbox-window-manager -use_titlebar no
done
After that, press the “Esc” key to change the command mode and then “:wq” for “write” and “quit”. Also, this script needs the following permissions:
$ chmod 755 ~/.xsession
set config_home = /home/dashboard
set socket_dir=/tmp
set geometry=maximized
set show_status=0
set on_event = request ON_EVENT
@on_event LOAD_FINISH script @config_home/gitlab.js
Half time! You are almost done. Now you need a javascript with which you can simulate a user behavior. It is important that you create a separate Gitlab user. This user can be managed as a “reporter” in projects.
var gitlabUrl = 'http://git-lab-url:port';
var gitlabUser = 'userName';
var gitlabPassword = 'userPasswort';

/*--------------------------Timer--------------------------*/

var Timer = function(intervallInMsec)
{
  this.caller = new Array();
  this.intervall = window.setInterval(
    this.call.bind(this),
    intervallInMsec
  );
};

Timer.prototype.append = function(callFunction)
{
  this.caller.push(callFunction);
};

Timer.prototype.remove = function(callFunction)
{
  var index = this.caller.indexOf(callFunction);
  if (index > -1)
  {
    this.caller.splice(index, 1);
  }
};

Timer.prototype.call = function()
{
  for(
    var callerIndex = 0, callerLenght = this.caller.length;
    callerIndex < callerLenght;
    callerIndex++
  ) {
    this.caller[ callerIndex ].call();
  }
};

/* login verhalten */
var timer = new Timer(1000);
timer.append(
  function()
  {
    if (jQuery('#user_login').length > 0)
    {
      jQuery('#user_login').val(gitlabUser);
      jQuery('#user_password').val(gitlabPassword);
      jQuery('.btn-save').click();
    }
  }
);

/* wallboard aufrufen */
timer.append(
  function()
  {
    if (jQuery('.js-projects-list-holder').length > 0)
    {
      window.location.href = window.gitlabUrl + '/dashboard/issues?state=opened&utf8=✓&assignee_id=0';
    }
  }
);
/* reload verhalten */
timer.append(
  function()
  {
    if (jQuery('.issues-filters').length > 0)
    {
      window.location.href = window.gitlabUrl + '/dashboard/issues?state=opened&utf8=✓&assignee_id=0';
    }
  }
);
Now you can log out. Please change the DisplayManager setting under “/etc/default/nodm”. Here you have to change the “NODM_USER” to “dashboard” and “NODM_ENABLED” to “true”.
# nodm configuration

# Set NODM_ENABLED to something different than 'false' to enable nodm
NODM_ENABLED=true

# User to autologin for
NODM_USER=dashboard

# First vt to try when looking for free VTs
NODM_FIRST_VT=7

# X session
NODM_XSESSION=/etc/X11/Xsession

# Options for nodm itself
NODM_OPTIONS=

# Options for the X server.
#
# Format: [/usr/bin/<Xserver>] [:<disp>] <Xserver-options>
#
# The Xserver executable and the display name can be omitted, but should
# be placed in front, if nodm's defaults shall be overridden.
NODM_X_OPTIONS='-nolisten tcp'

# If an X session will run for less than this time in seconds, nodm will wait an
# increasing bit of time before restarting the session
NODM_MIN_SESSION_TIME=60

# Timeout (in seconds) to wait for X to be ready to accept connections. If X is
# not ready before this timeout, it is killed and restarted.
NODM_X_TIMEOUT=300
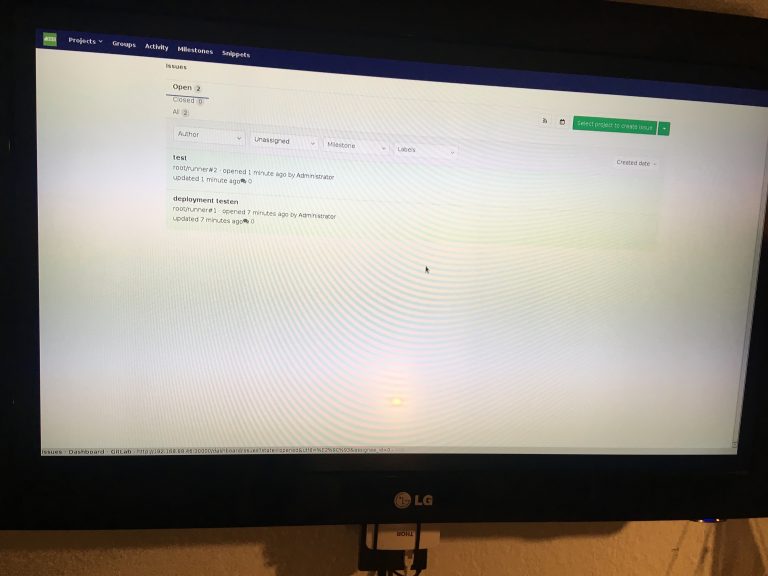
If you reboot now with “sudo reboot”, you will see the following dashboard: