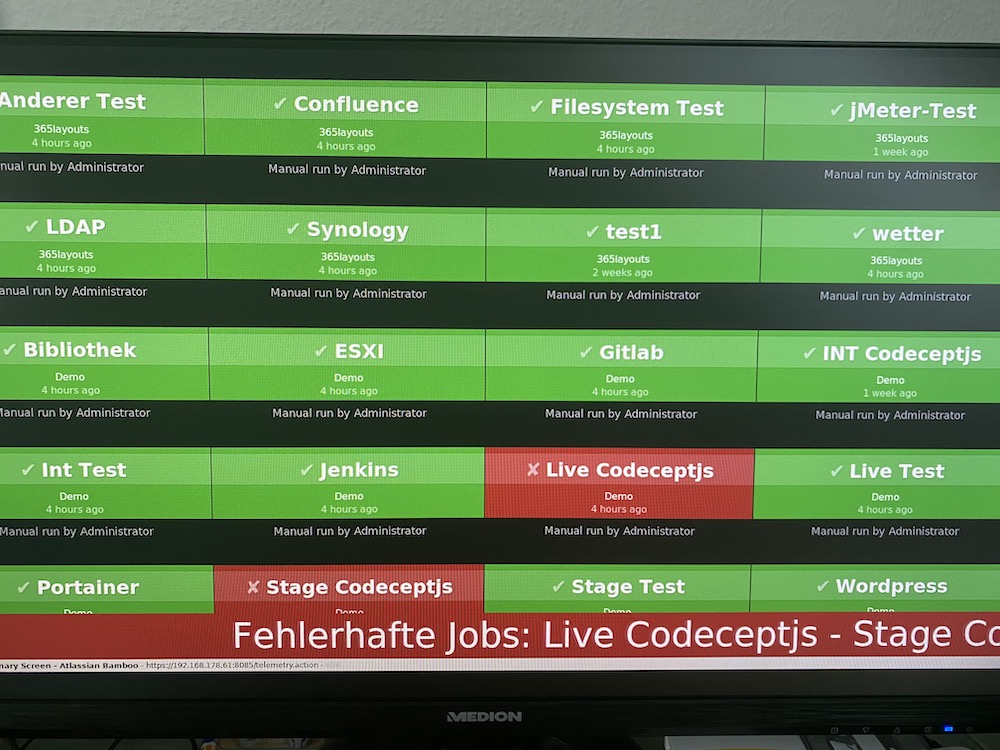
Come posso creare un monitor di build per Bamboo, Jenkins o Gitlab? Lo capirò entro stasera! Ho già scritto un Tutorial per le schede di problemi di Gitlab simile.
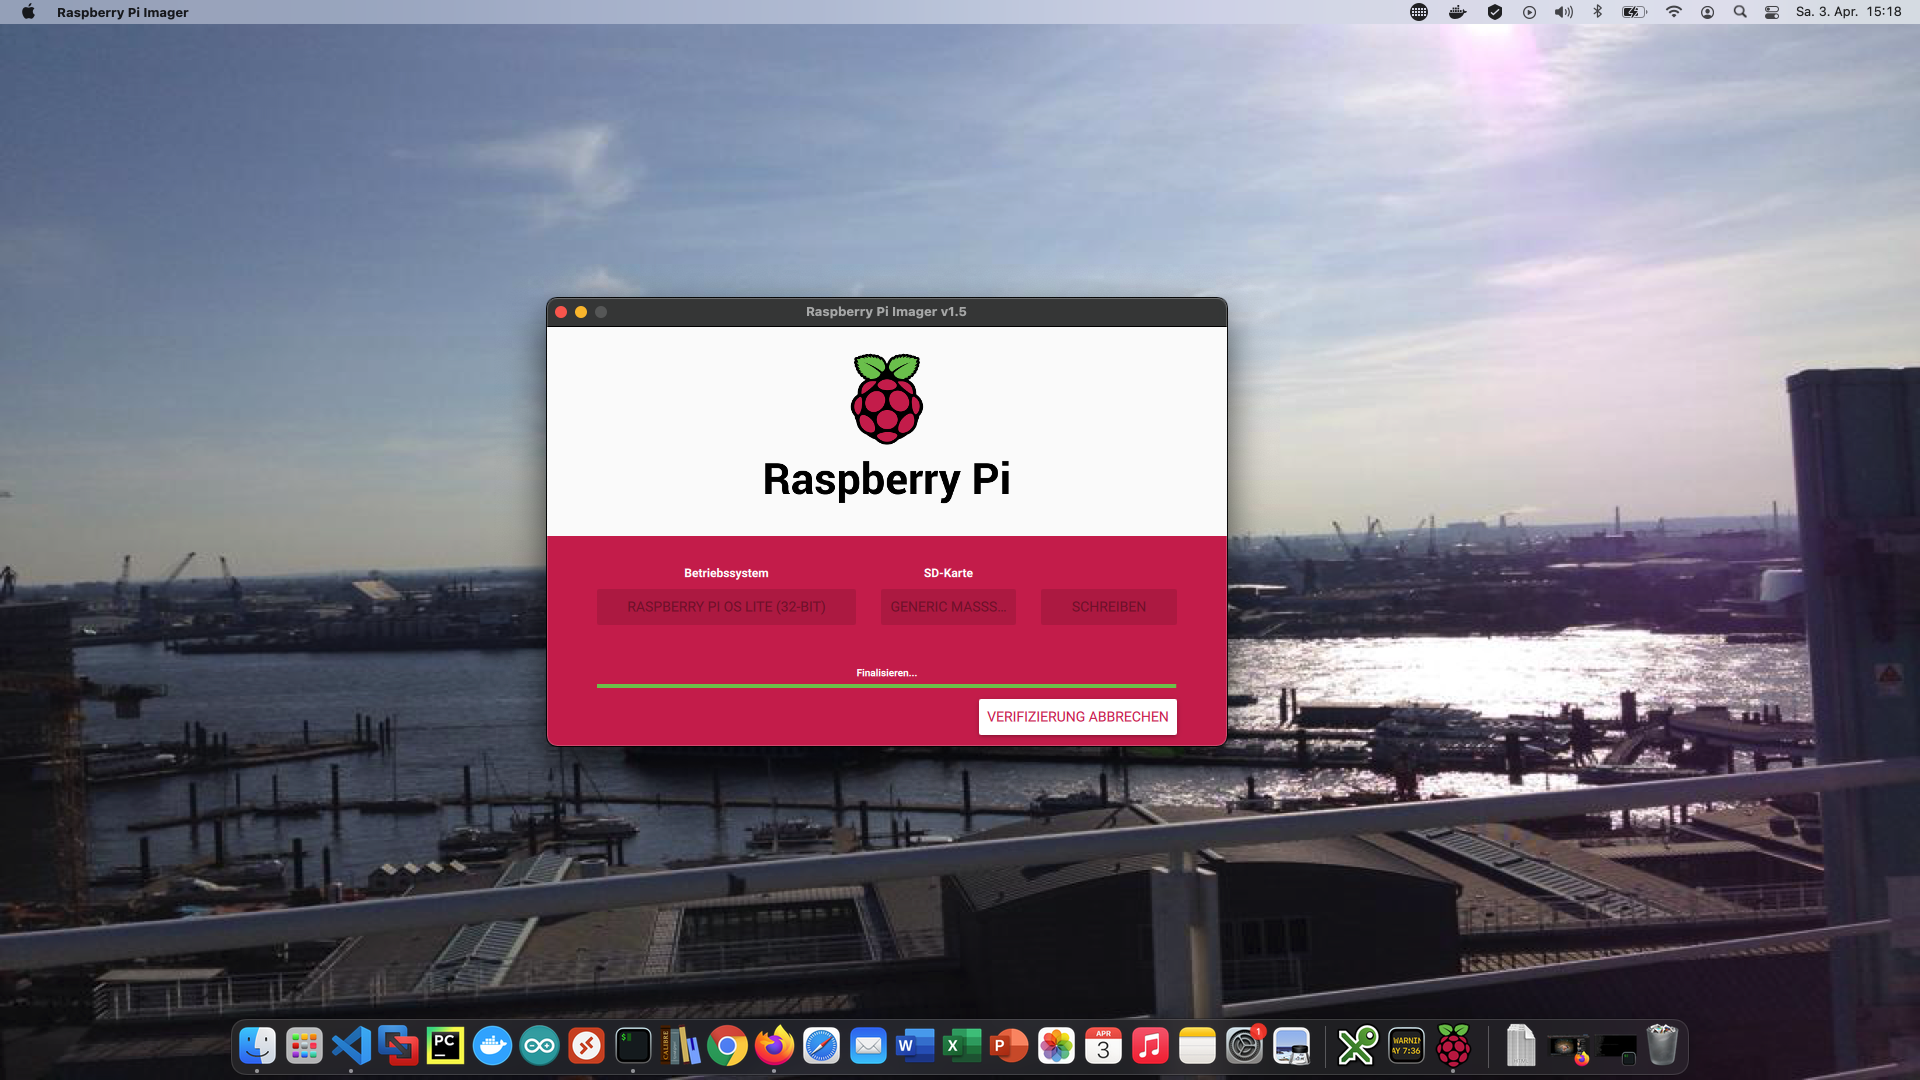
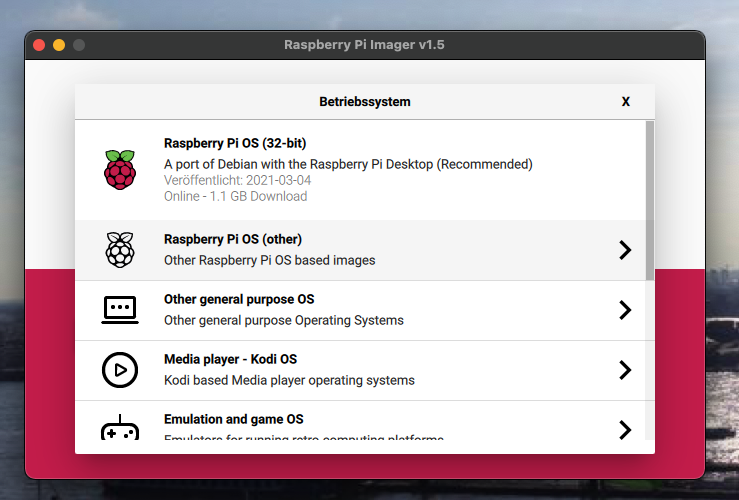
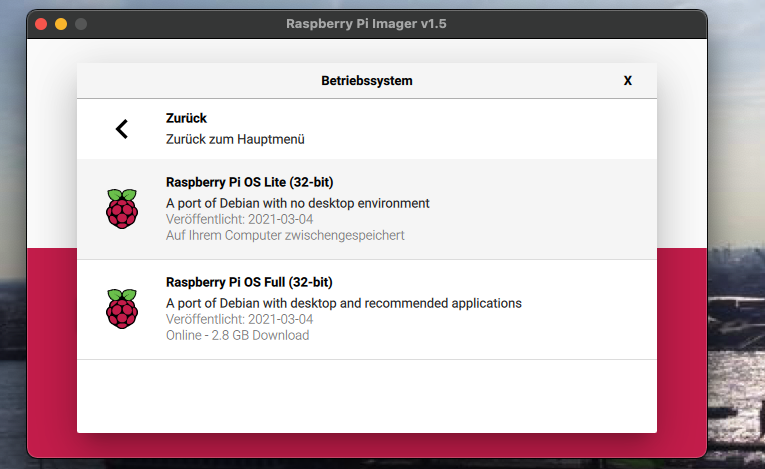
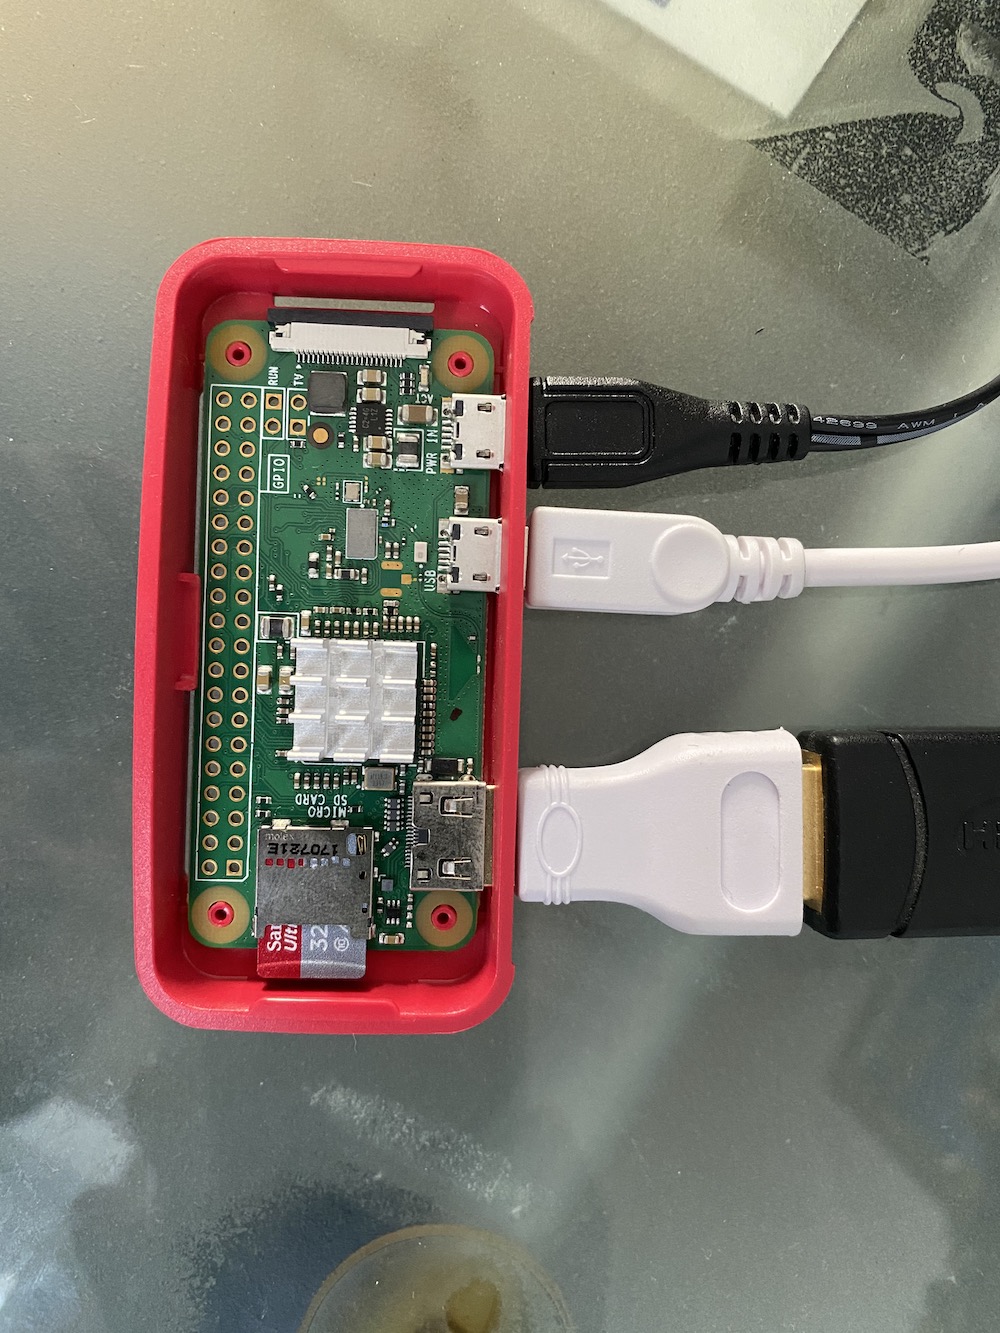
La base di questo tutorial è il Raspberry Imager e il sistema operativo “Raspberry Pi OS Lite”. Dopo aver installato il sistema operativo, la scheda SD può essere inserita nel Raspberry. Nel mio caso, questo è un Raspberry Pi Zero.
Passo 1: installare Matchbox/Window Manager
Per far funzionare un Raspberry in modalità kiosk, sono necessari un window manager e un browser. Questi vengono installati con il seguente comando:
$ sudo apt-get install xorg nodm matchbox-window-manager uzbl xinit unclutter vim
Passo 2: creo un utente della dashboard
Con il seguente comando creo un nuovo utente chiamato “dashboard”:
$ sudo adduser dashboard
Passo 3: Configurazione xServer e Window Manager
Tutti i seguenti passi devono essere eseguiti nella sessione utente “dashboard”. Passo alla sessione con “su”:
$ sudo su dashboard
3.1. ) Pulsanti/funzioni
Voglio che il mio Raspberry sia utilizzabile in modalità chiosco. Per fare questo, memorizzo due comandi chiave, Ctrl Alt X per il terminale e Alt C per chiudere il terminale. Nel terminale, potete interrogare l’IP corrente con ifconfig, spegnere il Raspberry con sudo shutdown -h now etc…..
$ cd ~
$ mkdir .matchbox
$ vim .matchbox/kbdconfig
##  Scorciatoie per il funzionamento delle finestre
<Alt>c=close
<ctrl><alt>x=!xterm
3.2. ) X - Sessione
Le seguenti linee devono anche essere inserite in un file “$ vim ~/.xsession”. Questo script controlla se la dashboard è accessibile. Se non è raggiungibile, aspetta 10 secondi. Naturalmente, l’indirizzo/IP deve essere adattato.
xset -dpms
xset s off

while ! curl -s -o /dev/null https://192.168.178.61:8085/ sleep 10
done
exec matchbox-window-manager -use_titlebar no & while true; do

    uzbl -u https://192.168.178.61:8085/telemetry.action -c /home/pi/uzbl.conf
done
È molto importante che lo script sia eseguibile:
$ sudo chmod 755 ~/.xsession
3.3. ) Co-configurazione dell’interfaccia
Le seguenti linee configurano l’interfaccia web. Il browser è massimizzato e la barra di stato è nascosta.
$ vim ~/uzbl.conf
set socket_dir=/tmp
set geometry=maximized
set show_status=0
set on_event = request ON_EVENT
set show_status=0

@on_event LOAD_FINISH script ~/dashboard/verhalten.js
3.4.) Pronto
La sessione “dashboard” può essere lasciata:
$ exit
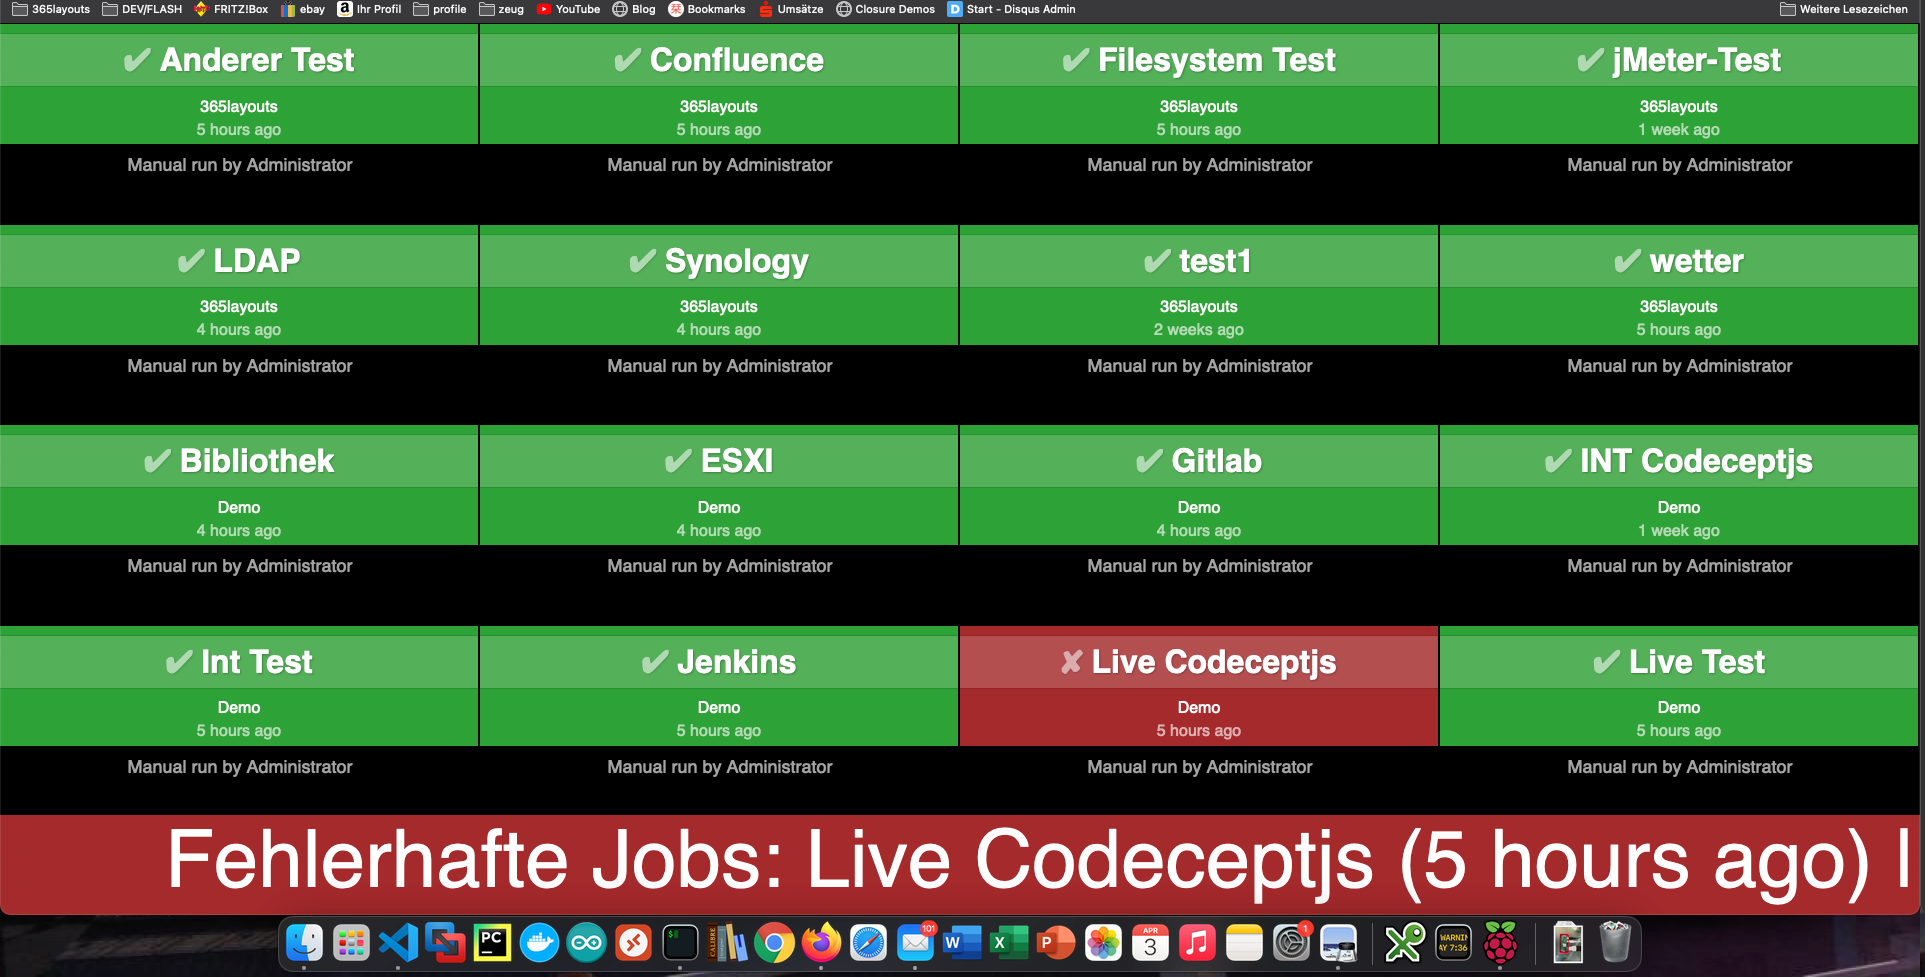
3.5.) behaviour.js e testo scorrevole
Questo Javascript controlla il comportamento della scheda. Se la compilazione o il test falliscono, viene visualizzato un grande ticker. In questo modo posso vedere gli errori anche a distanza.
$ vim ~/verhalten.conf
var bamboobUrl = 'https://ip:port';
var bambooUser = 'nutzer';
var bambooPassword = 'password';
var ticker = jQuery('<marquee direction="left" scrollamount="5" scrolldelay="2" style="display:none;background:#962526;position:fixed;bottom:0;left:0;width:100%;line-height:100px;font-size:80px;"></marquee>');

/*--------------------------Timer--------------------------*/

var Timer = function(intervallInMsec)
{
  this.caller = new Array();
  this.intervall = window.setInterval(
    this.call.bind(this),
    intervallInMsec
  );
};

Timer.prototype.append = function(callFunction)
{
  this.caller.push(callFunction);
};

Timer.prototype.remove = function(callFunction)
{
  var index = this.caller.indexOf(callFunction);
  if (index > -1)
  {
    this.caller.splice(index, 1);
  }
};

Timer.prototype.call = function()
{
  for(
    var callerIndex = 0, callerLenght = this.caller.length;
    callerIndex < callerLenght;
    callerIndex++
  ) {
    this.caller[ callerIndex ].call();
  }
};

var timer = new Timer(10000);
jQuery('body').append(ticker);

/* login verhalten */
timer.append(
  function()
  {
    if (jQuery('#loginForm_os_username').length > 0)
    {
      jQuery('#loginForm_os_username').val(bambooUser);
      jQuery('#loginForm_os_password').val(bambooPassword);
      jQuery('#loginForm_save').click();
    }
    else if (jQuery('.aui-dropdown2-trigger-group').length > 0)
    {
      window.location.href = window.gitlabUrl + '/telemetry.action';
    }
  }
);

/* roter ticker */
timer.append(
  function()
  {
    if (jQuery('.Failed').length > 0)
    {
      var failedJobs = new Array();

      jQuery.each(
        jQuery('.Failed'),
        function() {
          failedJobs.push( jQuery(this).children('.plan-name').text() + ' (' + jQuery(this).find('time').text() + ')');
        }
      );
      var text = 'Fehlerhafte Jobs: ' + failedJobs.join(' | ');
      if( jQuery(ticker).text() !== text)
      {
          jQuery(ticker).html('<span>' + text + '</span>');
          jQuery(ticker).show();
      }

    }
    else
    {
        jQuery(ticker).hide();
    }
  }
);
Naturalmente, potete costruire qualsiasi comportamento che volete, come il riavvio di test falliti.
4. autologo nella sessione X
Il passo successivo è quello di impostare il login automatico. Questo file è adattato a questo scopo:
$ sudo vim /etc/default/nodm
# nodm configuration
# Set NODM_ENABLED to something different than 'false' to enable nodm
NODM_ENABLED=true # <-- hier muss true hin

# User to autologin for
NODM_USER=dashboard # <-- hier muss dashboard hin

# First vt to try when looking for free VTs
NODM_FIRST_VT=7
# X session
NODM_XSESSION=/etc/X11/Xsession
# Options for the X server
NODM_X_OPTIONS='-nolisten tcp'
... usw
Il sistema può quindi essere riavviato.
$ sudo reboot
Pronto
Ogni dasboard dovrebbe essere riavviato una volta al giorno. Ho creato un cron per questo.