Papermerge is a young document management system (DMS) that can automatically assign and process documents. In this tutorial I show how I installed Papermerge on my Synology disk station and how the DMS works.
Option for professionals
Of course, as an experienced Synology user, you can log in right away with SSH and install the whole setup via Docker Compose file.
version: "2.1"
services:
papermerge:
image: ghcr.io/linuxserver/papermerge
container_name: papermerge
environment:
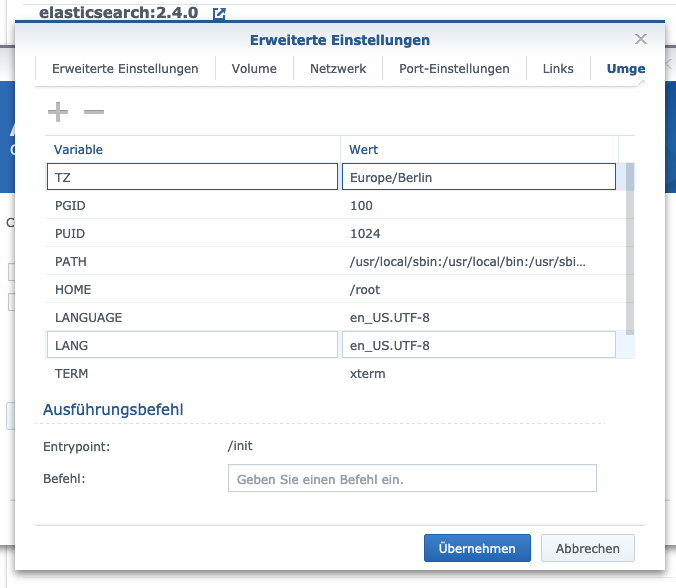
- PUID=1024
- PGID=100
- TZ=Europe/Berlin
volumes:
- ./config>:/config
- ./appdata/data>:/data
ports:
- 8090:8000
restart: unless-stopped
Step 1: Create folder
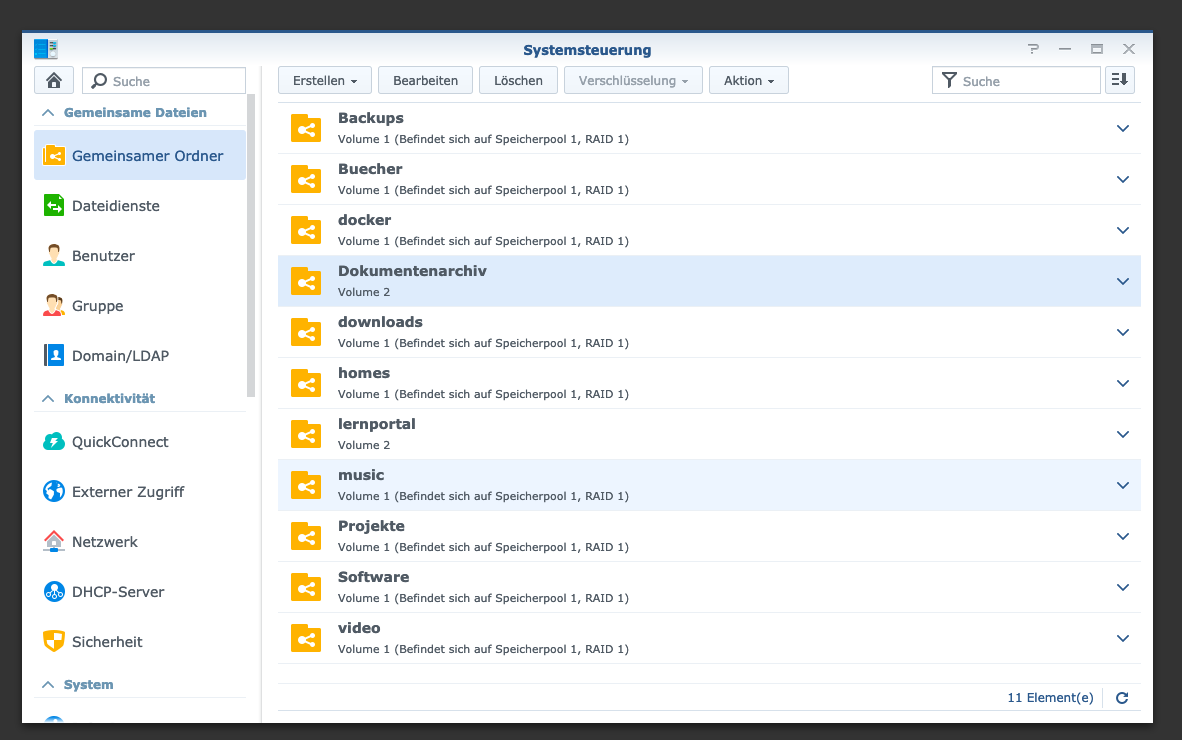
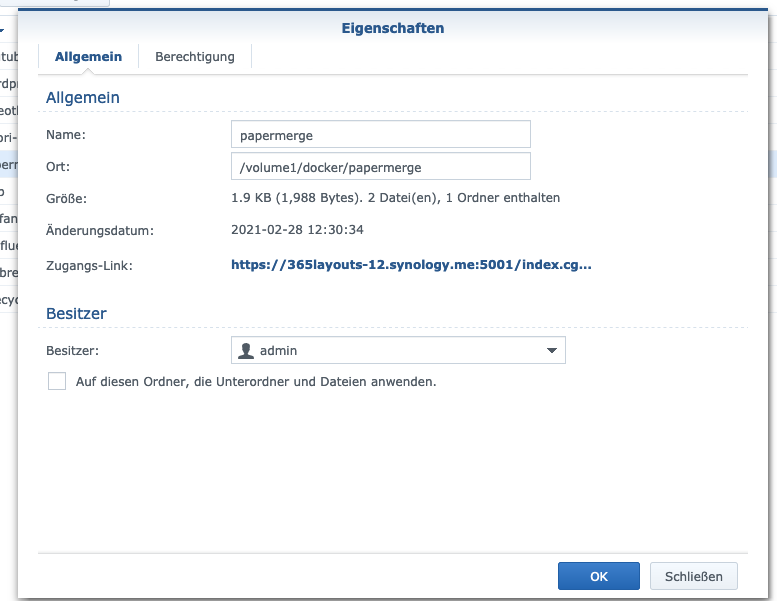
First, I create a folder for the paper merge. I call the “System Control” -> “Shared Folder” and create a new folder “Document Archive”.
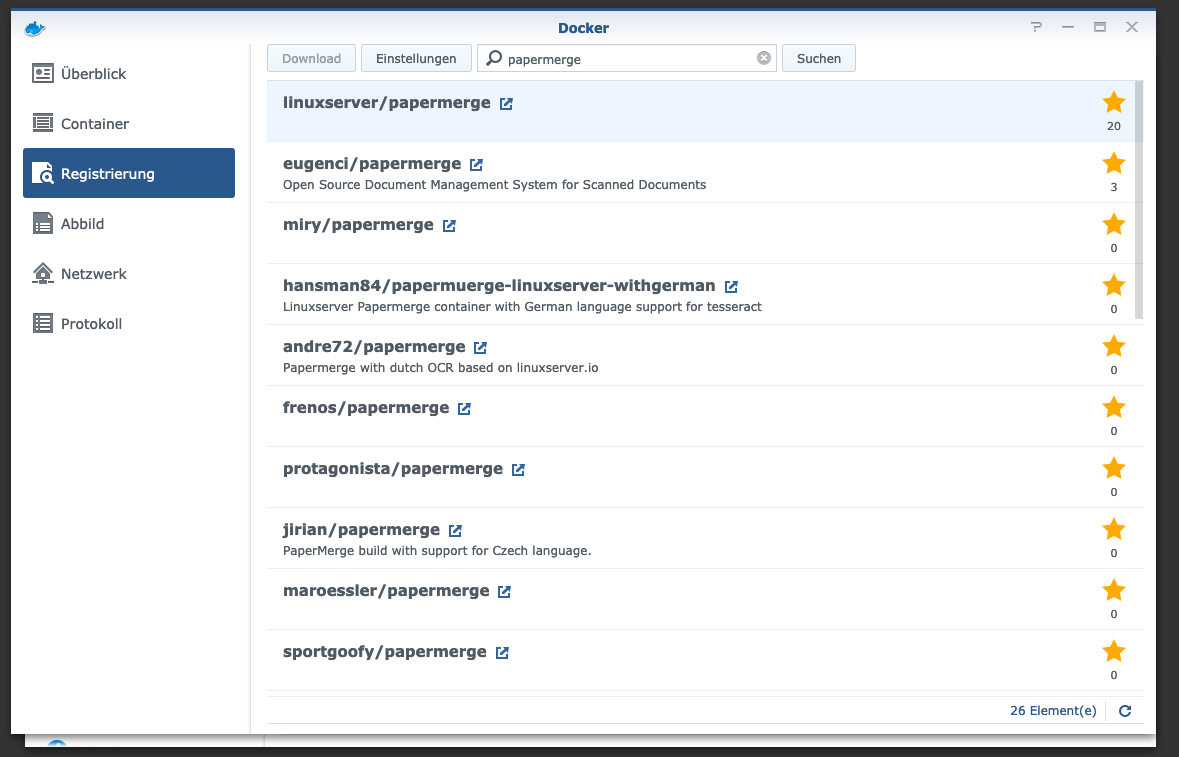
Step 2: Search for Docker imageI click on the “Registry” tab in the Synology Docker window and search for “Papermerge”. I select the Docker image “linuxserver/papermerge” and then click on the tag “latest”.
After the image download, the image is available as an image. Docker distinguishes between 2 states, container “dynamic state” and image/image (fixed state). Before we now create a container from the image, a few settings must be made.
Step 3: Put the image into operation:
I double-click on my paper merge image.
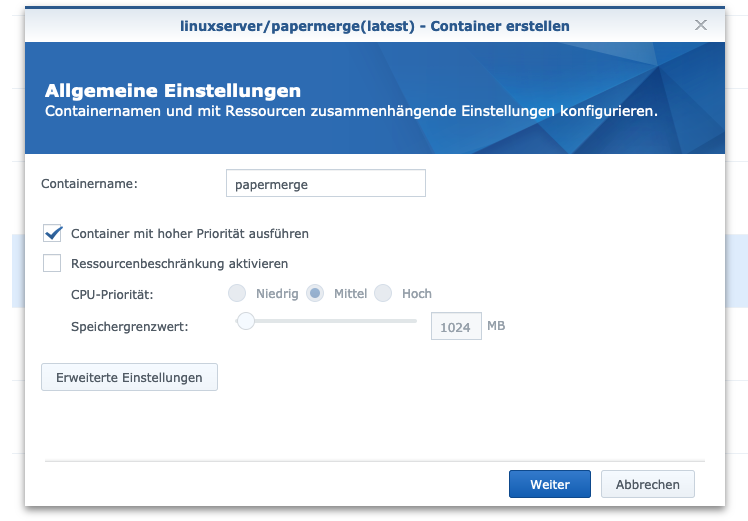
After that I click on “Advanced settings” and activate the “Automatic restart”. I select the “Volume” tab and click on “Add Folder”. There I create a new database folder with this mount path “/data”.
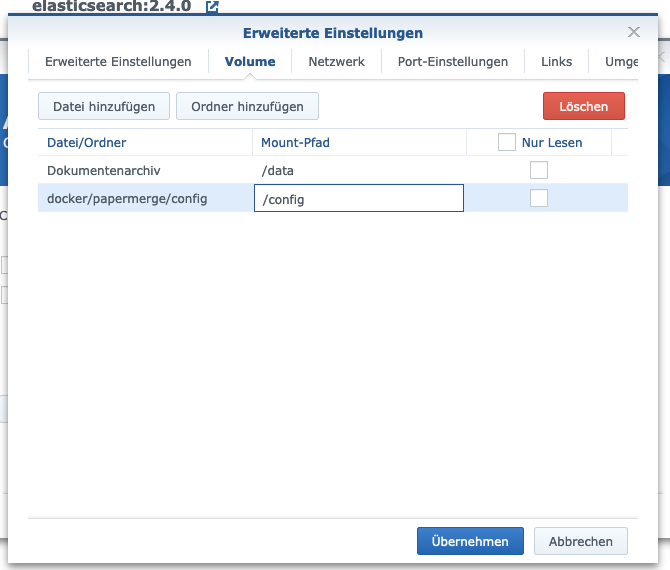
In addition, I store a second folder here which I include with the mount path “/config”. Where this folder is located does not really matter. However, it is important that this belongs to the Synology admin user.
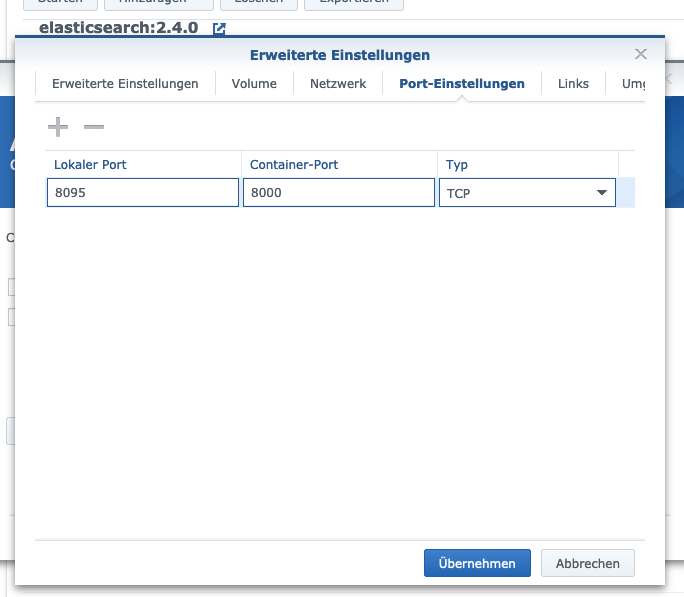
I assign fixed ports for the “Papermerge” container. Without fixed ports it could be that the “Papermerge server” runs on another port after a reboot.
Finally, I enter three environment variables. The variable “PUID” is the user ID and “PGID” the group ID of my admin user. You can find out the PGID/PUID via SSH with the command “cat /etc/passwd | grep admin”.
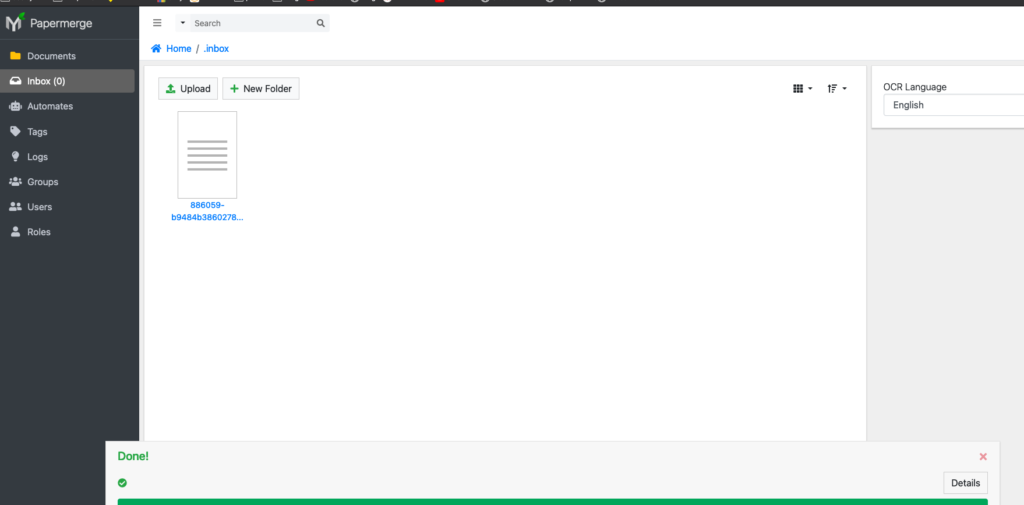
After these settings the Papermerge server can be started! After that you can call Papermerge via the Ip address of the Synology disctation and assigned port, for example http://192.168.21.23:8095.
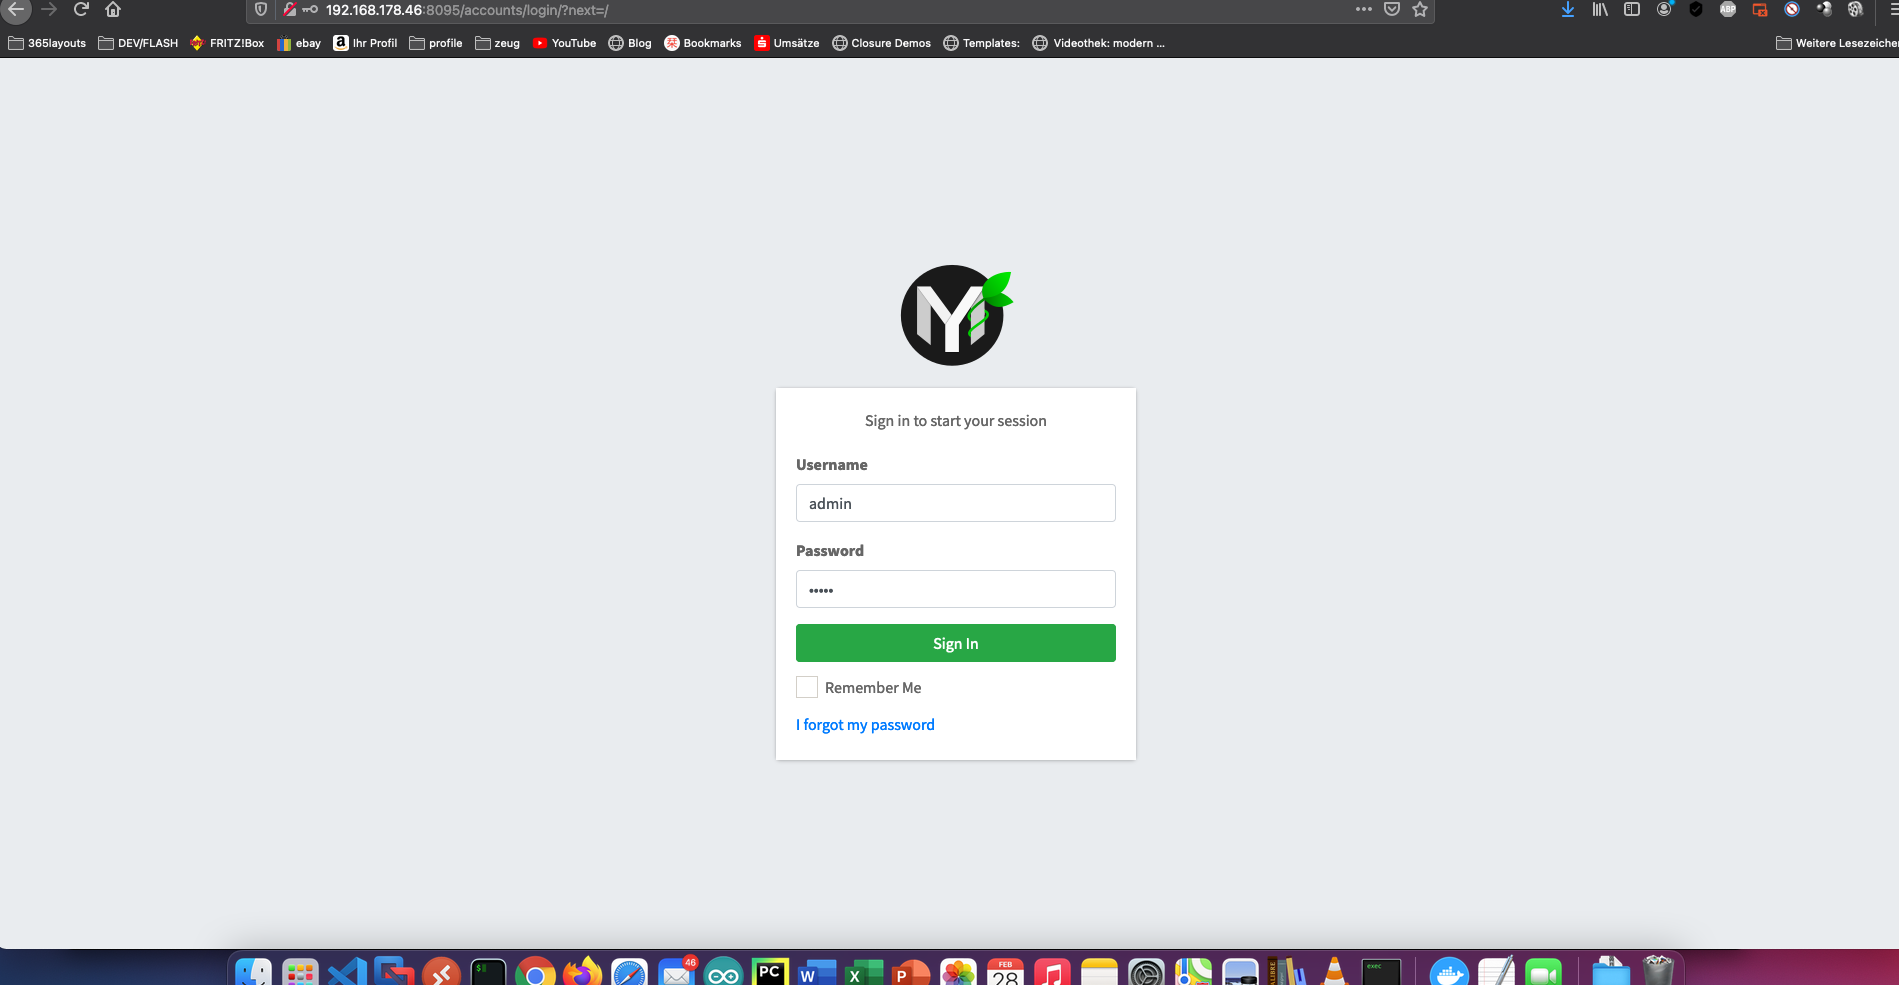
The default login is admin with password admin.
How does Papermerge work?
Papermerge analyzes the texts of documents and images. For this Papermerge uses an OCR/“optical character recognition” library called tesseract, published by Goolge.
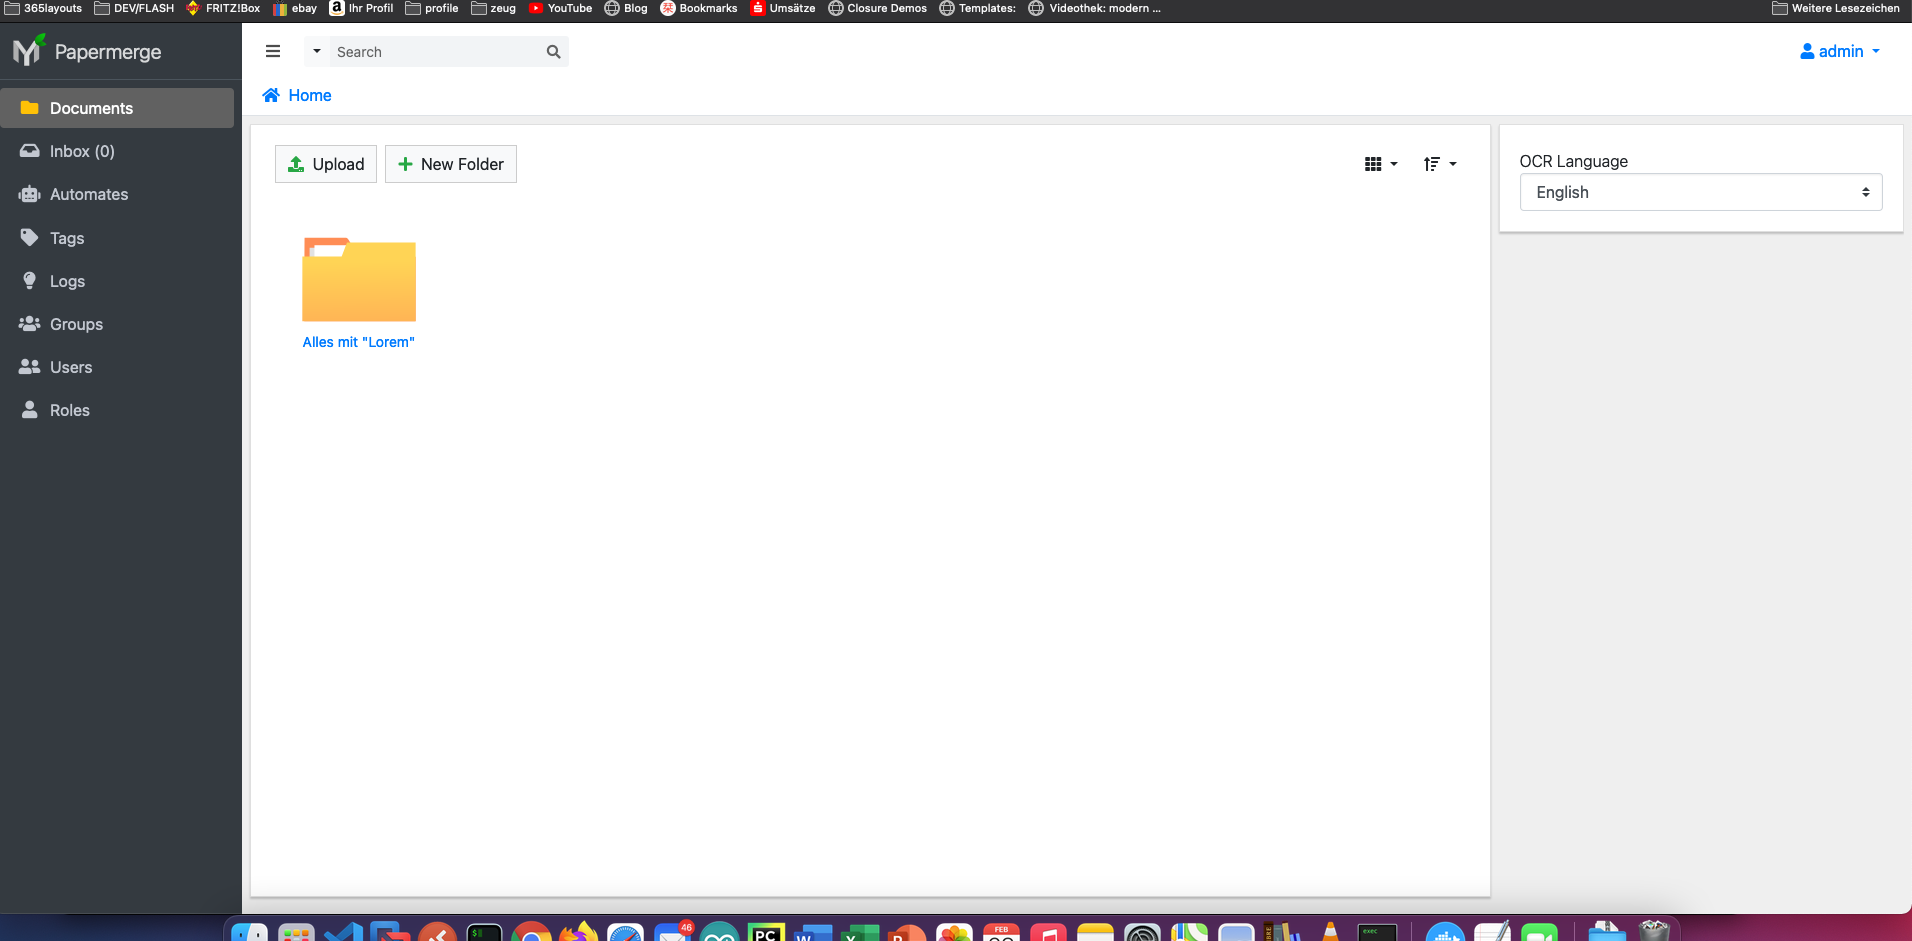
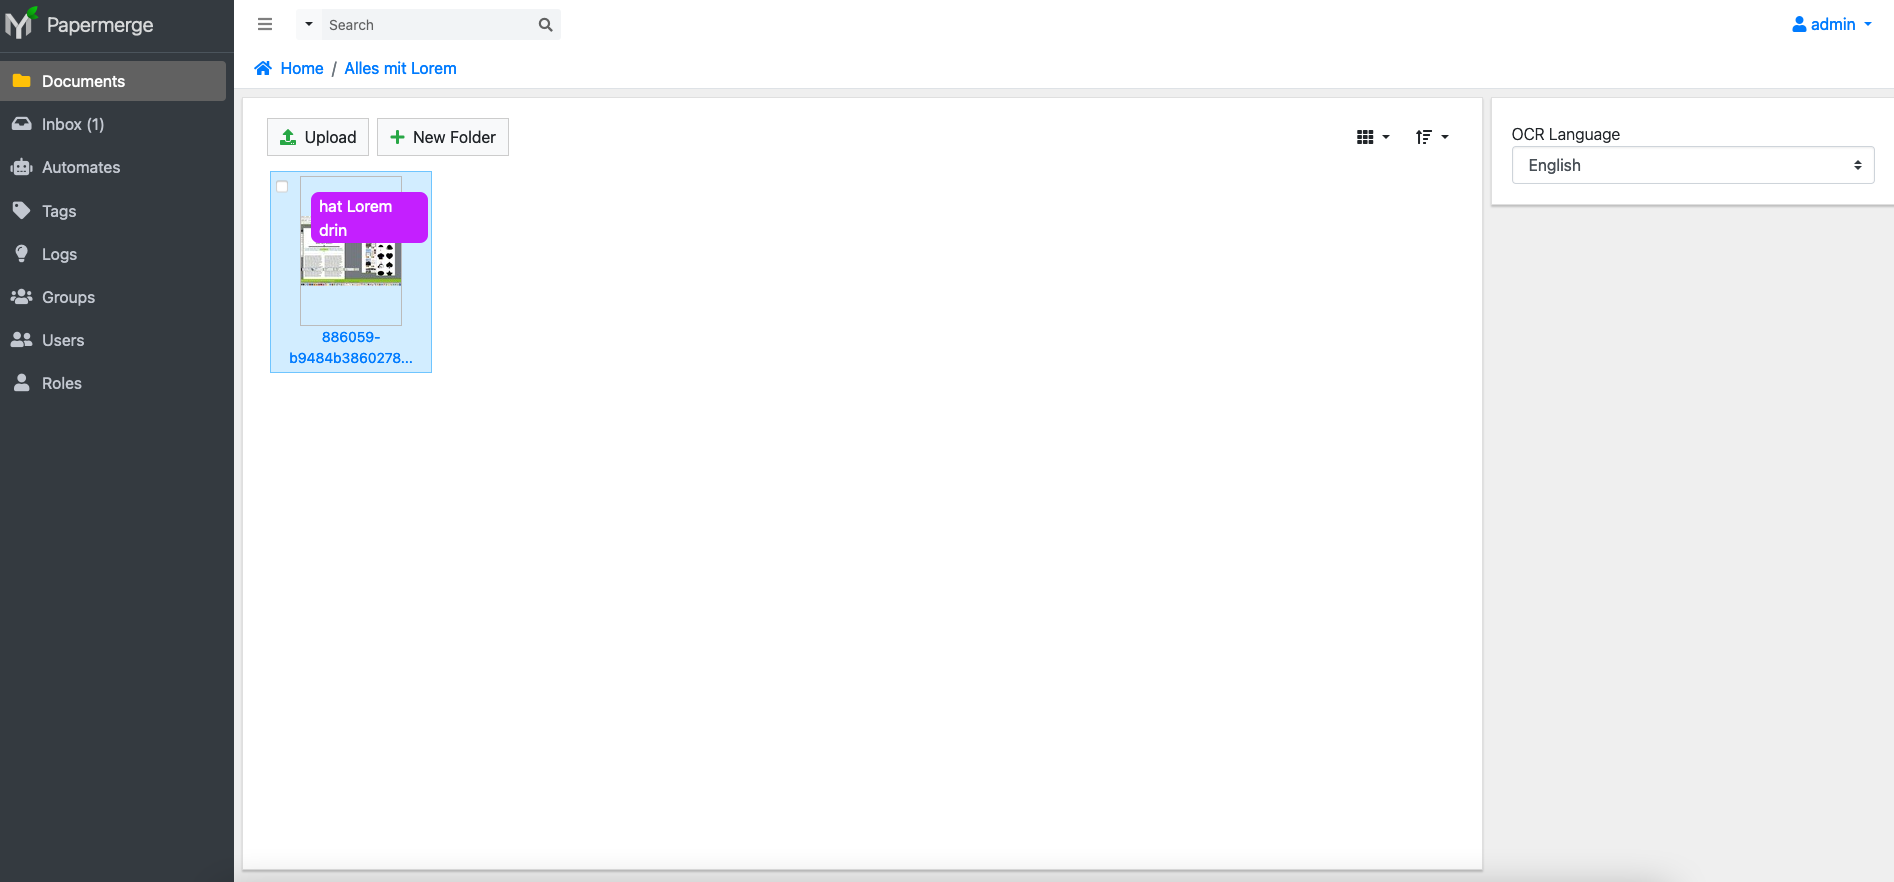
I created a folder called “Everything with Lorem” to test the automatic document assignment. After that I clicked together a new recognition pattern in the menu item “Automates”.
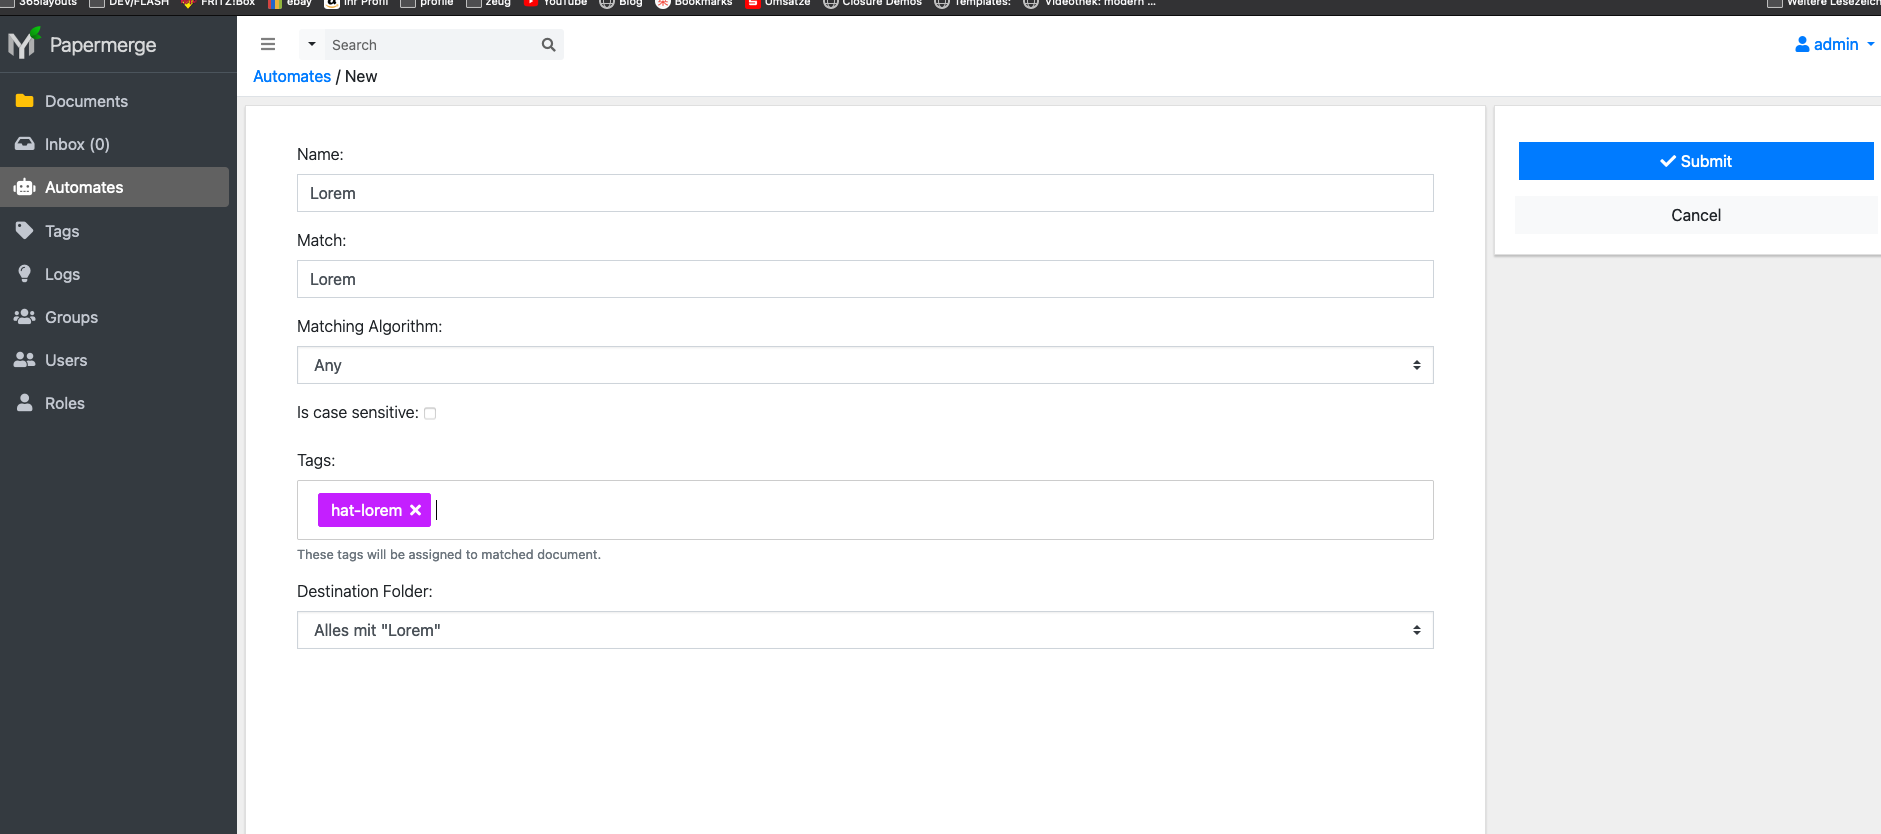
All new documents containing the word “Lorem” will be placed in the folder “Everything with Lorem” and tagged with “has-lorem”. It is important to use a comma in the tags. If you upload a document, it will be tagged and sorted.