Wiki.js is a powerful open source wiki software that makes documentation a pleasure with its simple interface. Today I show how to install a Wiki.js service on the Synology DiskStation.
Option for professionals
Of course, as an experienced Synology user, you can log in right away with SSH and install the whole setup via Docker Compose file.
version: '3'
services:
  wikijs:
    image: requarks/wiki:latest
    restart: always
    ports:
      - 8082:3000
    links:
      - database
    environment:
      DB_TYPE: mysql
      DB_HOST: database
      DB_PORT: 3306
      DB_NAME: my_wiki
      DB_USER: wikiuser
      DB_PASS: my_wiki_pass
      TZ: 'Europe/Berlin'

  database:
    image: mysql
    restart: always
    expose:
      - 3306
    volumes:
       - ./mysql:/var/lib/mysql
    environment:
      MYSQL_ROOT_PASSWORD: my_wiki_pass
      MYSQL_DATABASE: my_wiki
      MYSQL_USER: wikiuser
      MYSQL_PASSWORD: my_wiki_pass
More useful Docker images for home use can be found in the Dockerverse.
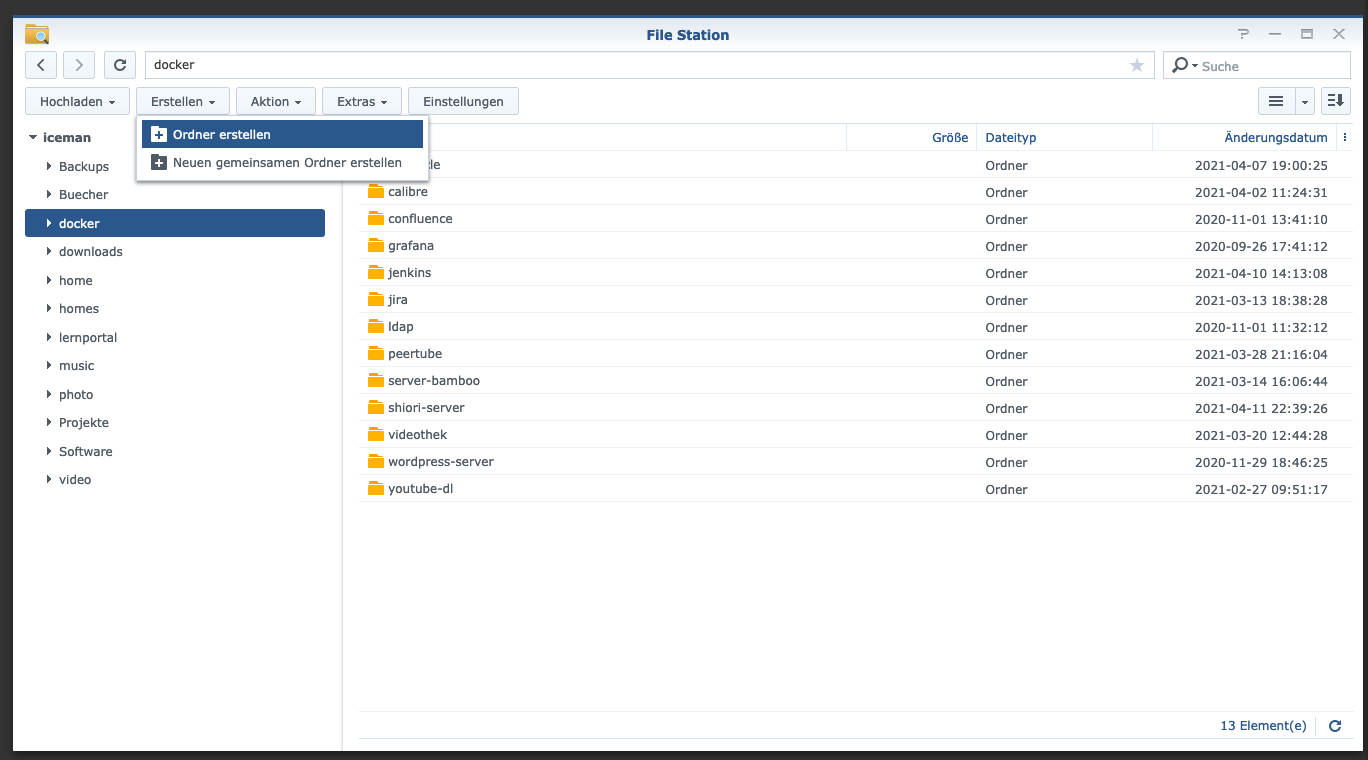
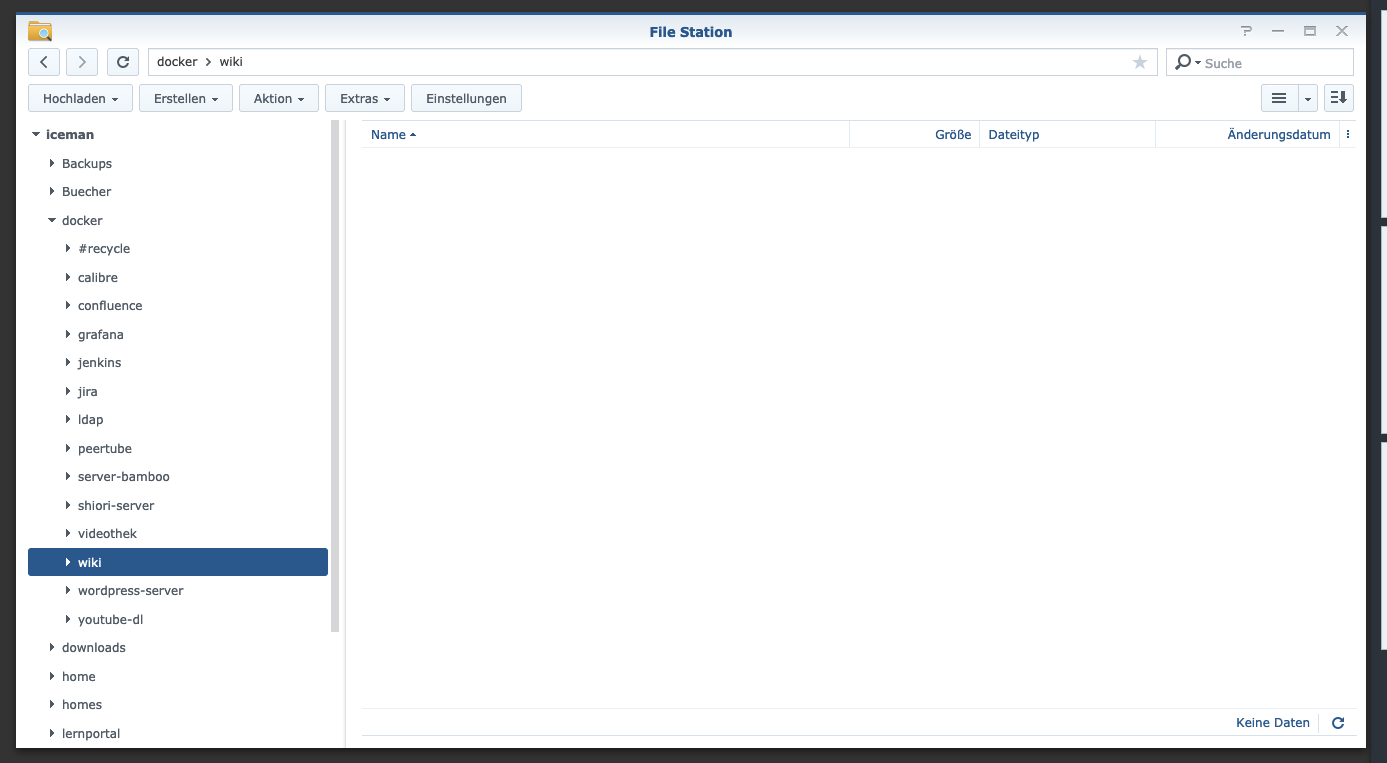
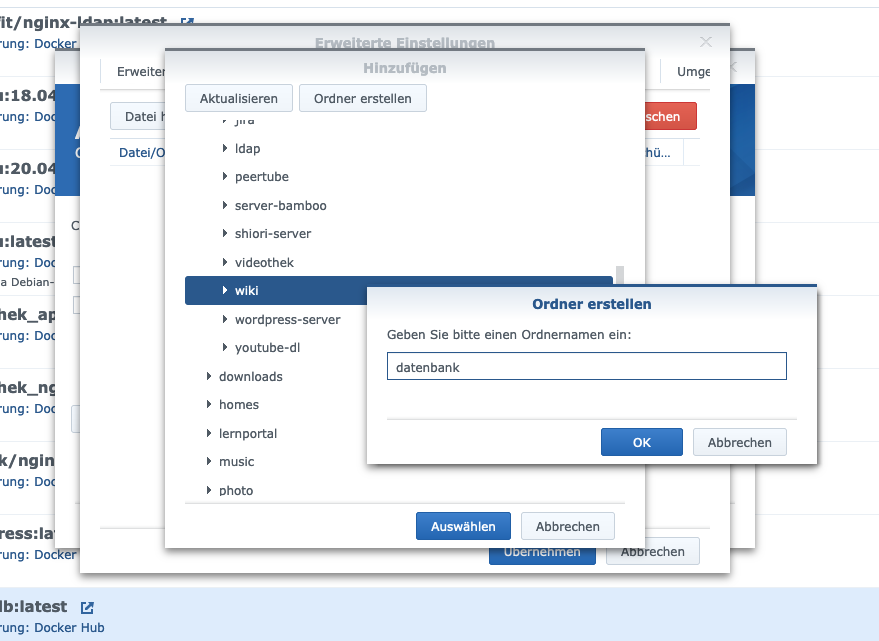
Step 1: Prepare wiki folder
I create a new directory named “wiki” in the Docker directory.
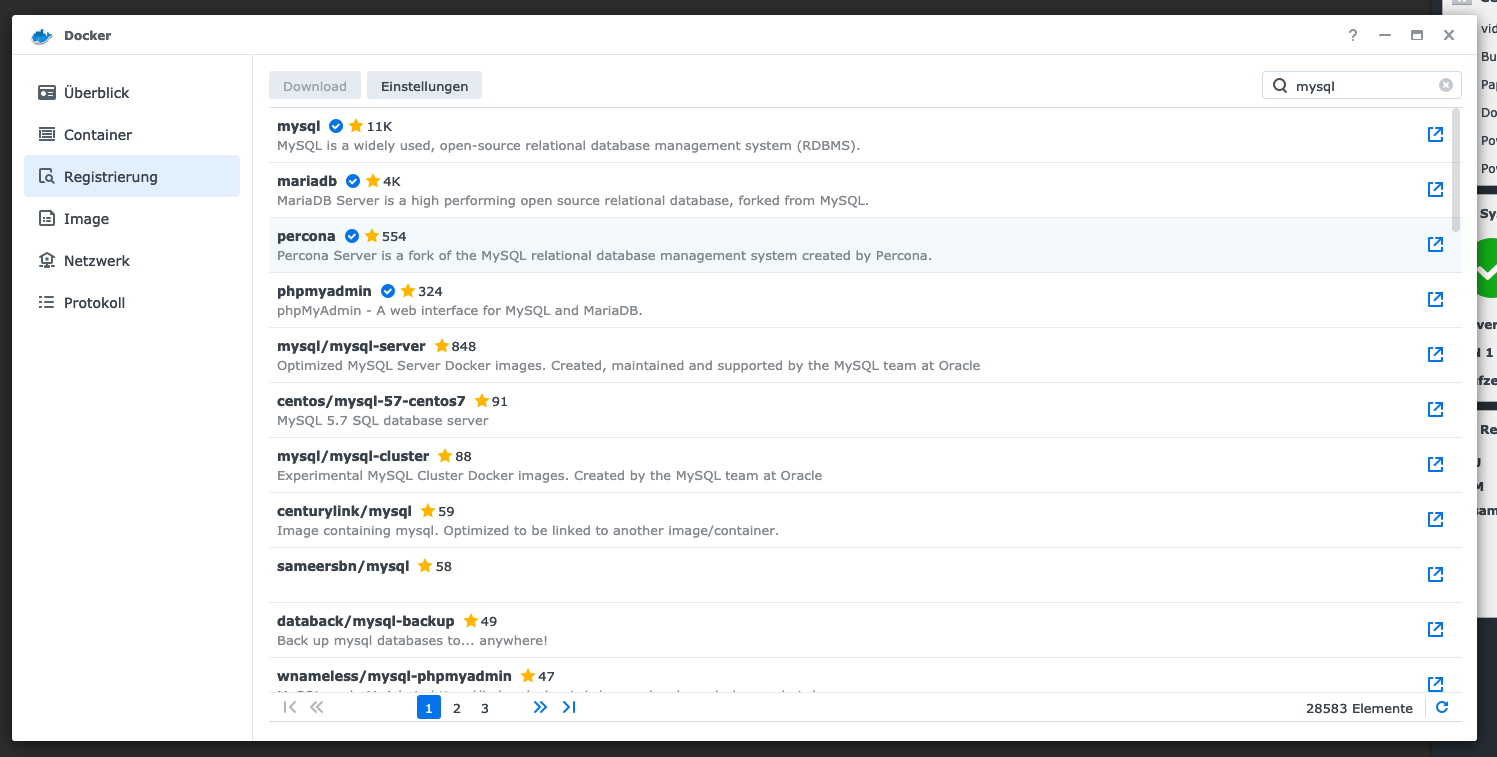
Step 2: Install database
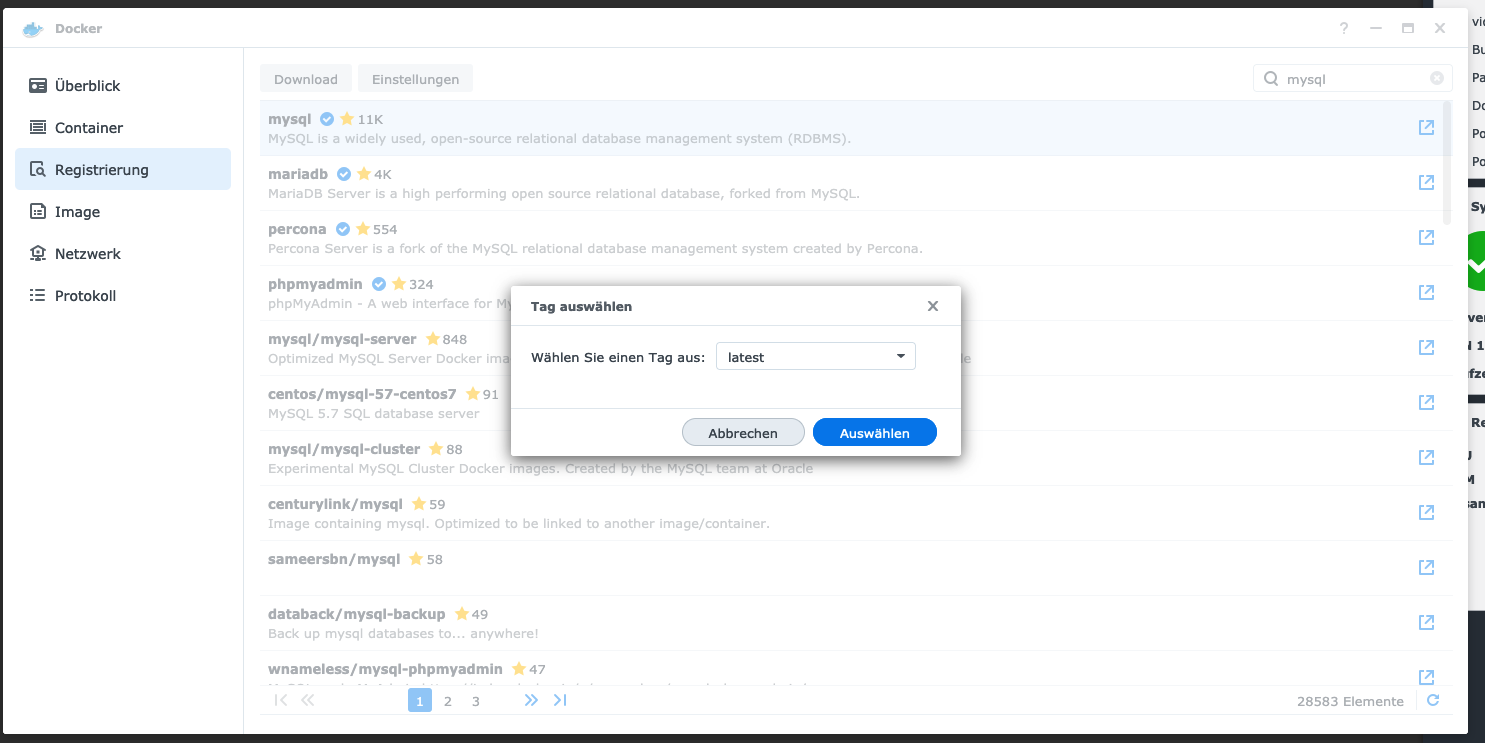
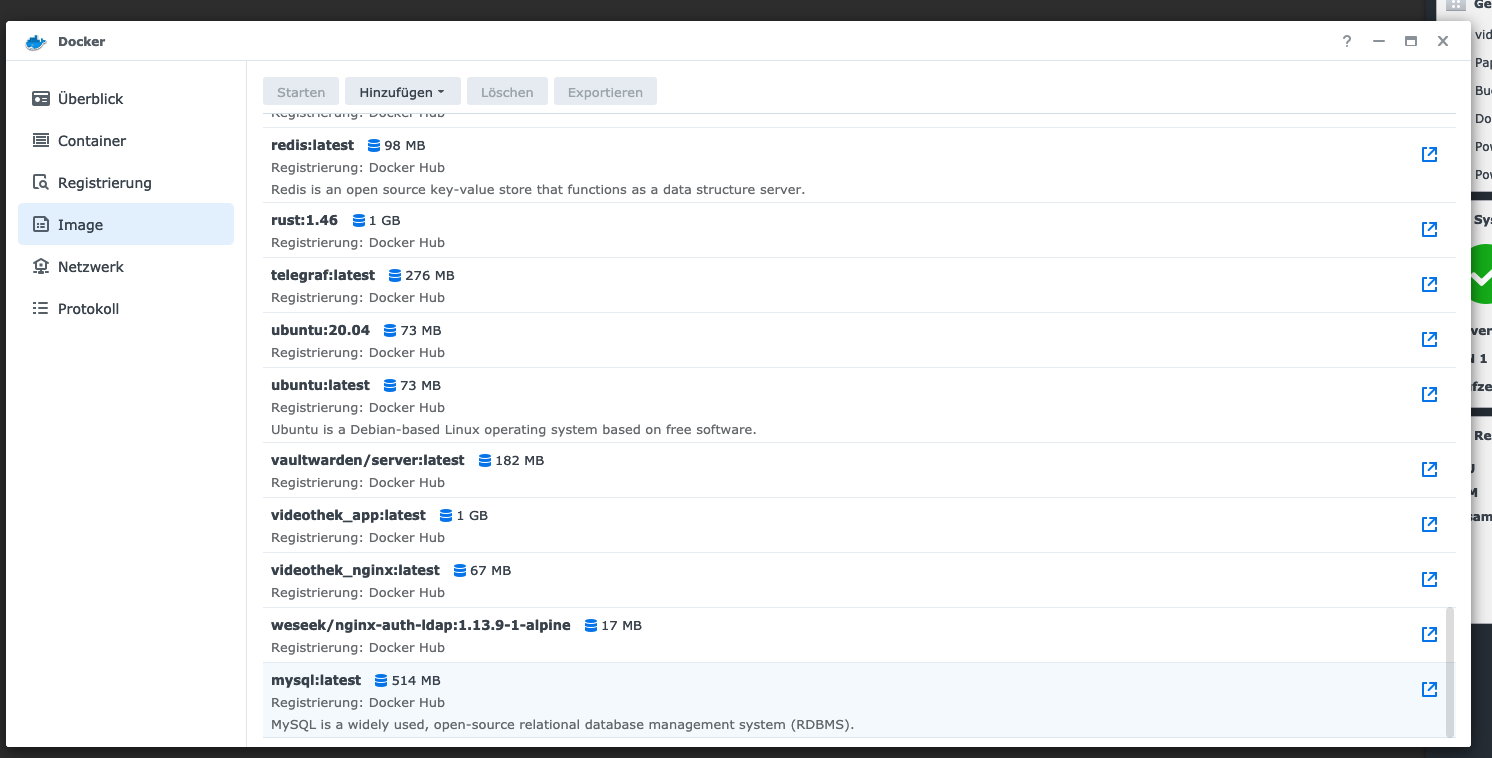
After that, a database needs to be created. I click on the “Registration” tab in the Synology Docker window and search for “mysql”. I select the Docker image “mysql” and then click on the tag “latest”.
After the image download, the image is available as an image. Docker distinguishes between 2 states, container “dynamic state” and image (fixed state). Before we now create a container from the image, a few settings must be made.I double-click on my mysql image.
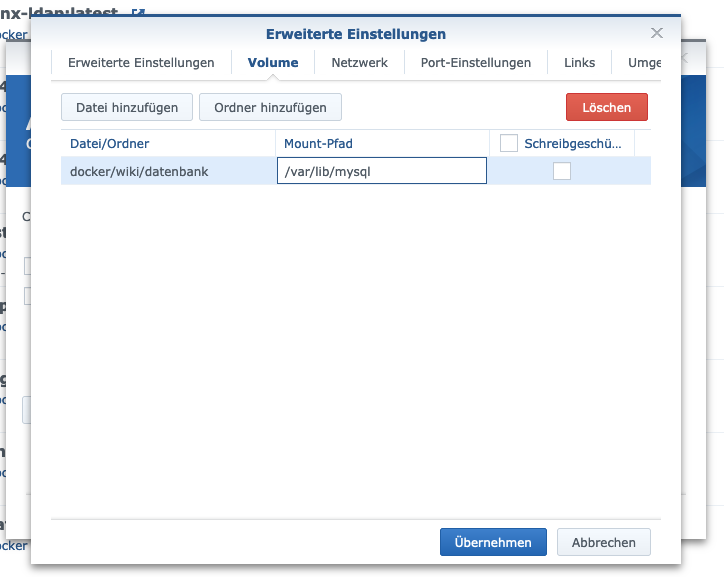
After that I click on “Advanced settings” and activate the “Automatic restart”. I select the “Volume” tab and click on “Add Folder”. There I create a new database folder with this mount path “/var/lib/mysql”.
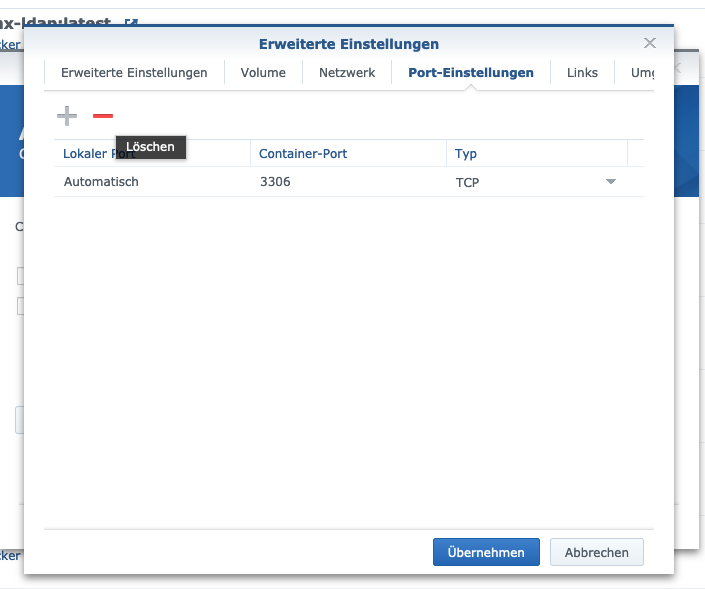
Under “Port Settings” all ports are deleted. This means that I select the “3306” port and delete it with the “-” button.
| Variable name | Value | What is it? |
|---|---|---|
| TZ | Europe/Berlin | Time zone |
| MYSQL_ROOT_PASSWORD | my_wiki_pass | Master password of the database. |
| MYSQL_DATABASE | my_wiki | This is the database name. |
| MYSQL_USER | wikiuser | User name of the wiki database. |
| MYSQL_PASSWORD | my_wiki_pass | Password of the wiki database user. |

After these settings Mariadb server can be started! I press “Apply” everywhere.
Step 3: Install Wiki.js
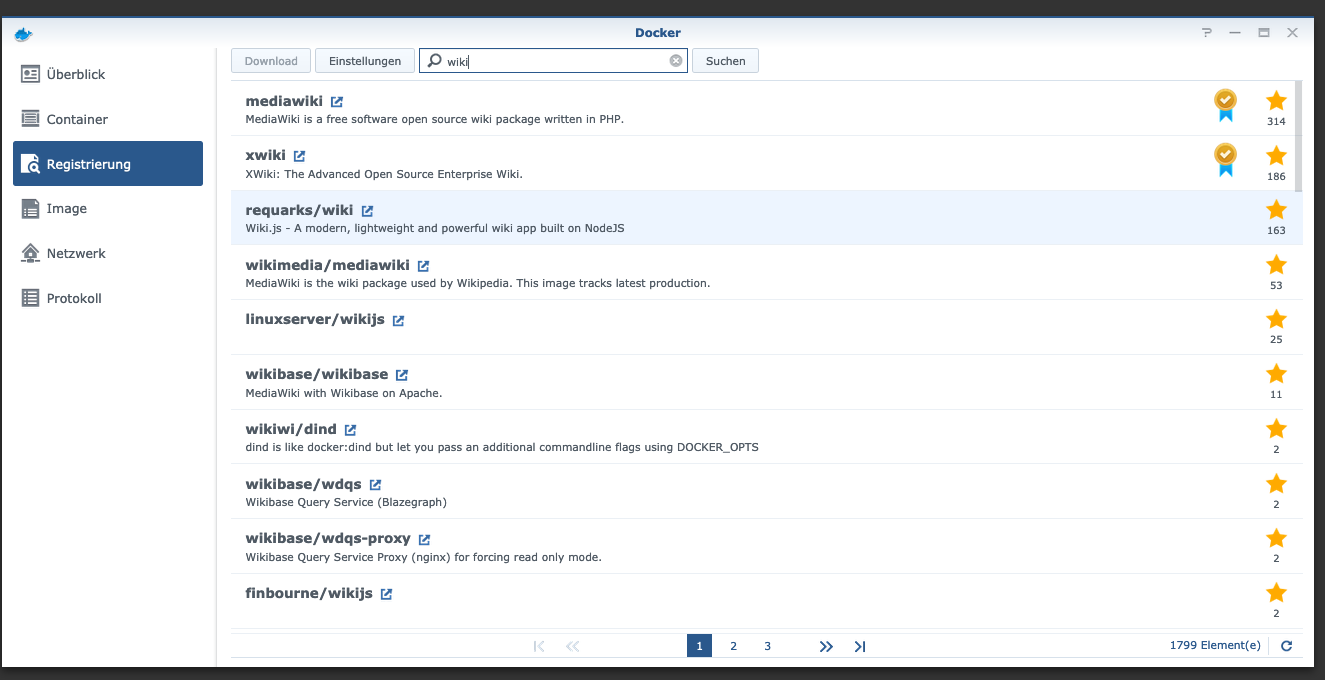
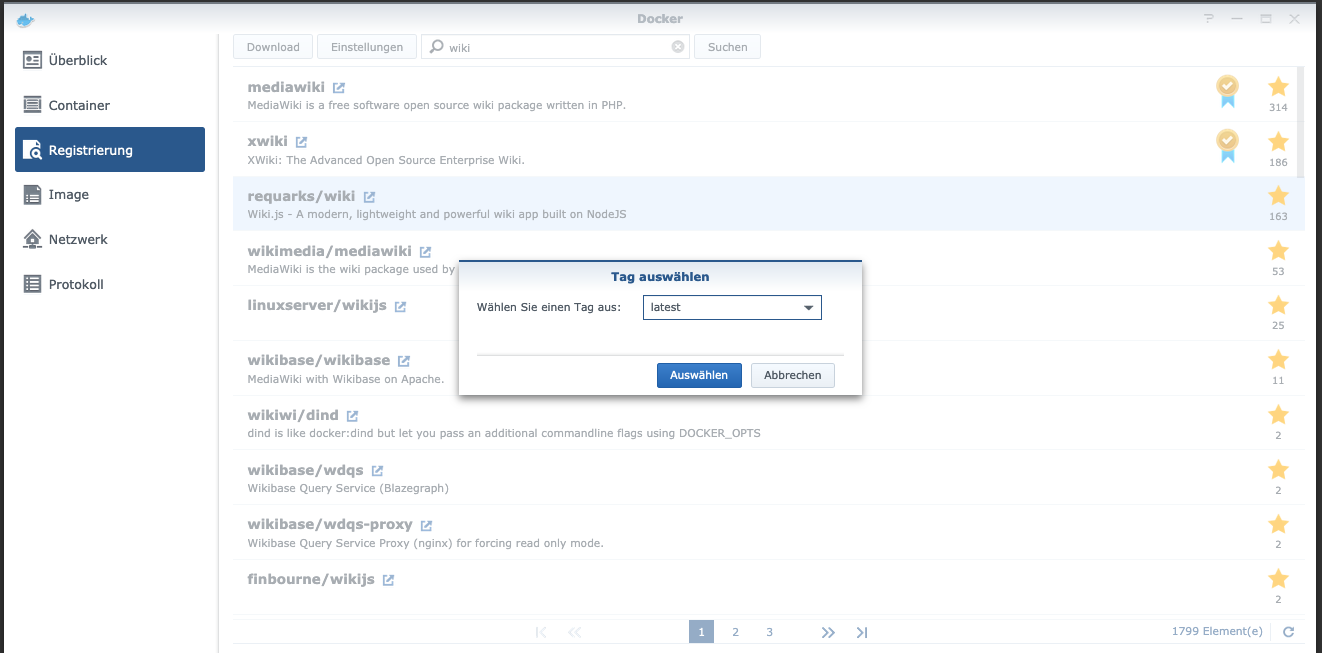
I click on the “Registry” tab in the Synology Docker window and search for “wiki”. I select the Docker image “requarks/wiki” and then click on the tag “latest”.
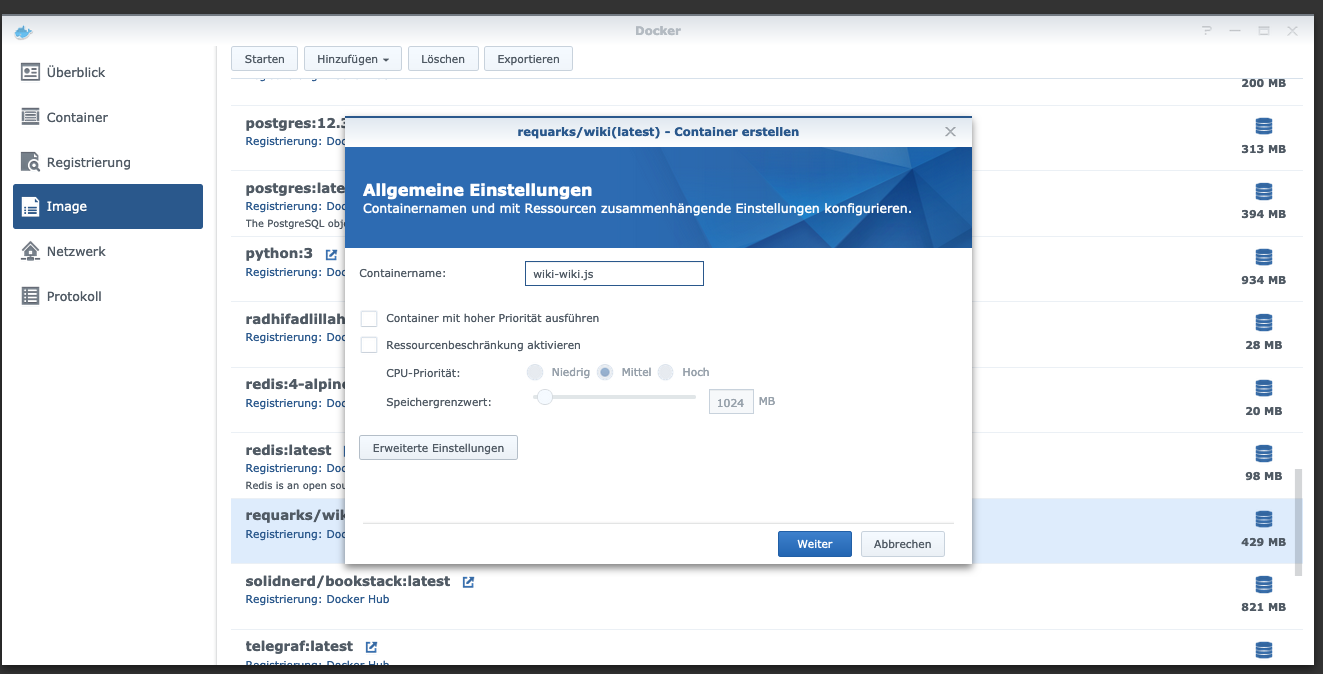
I double-click on my WikiJS image. After that I click on “Advanced Settings” and activate the “Automatic Restart” here as well.
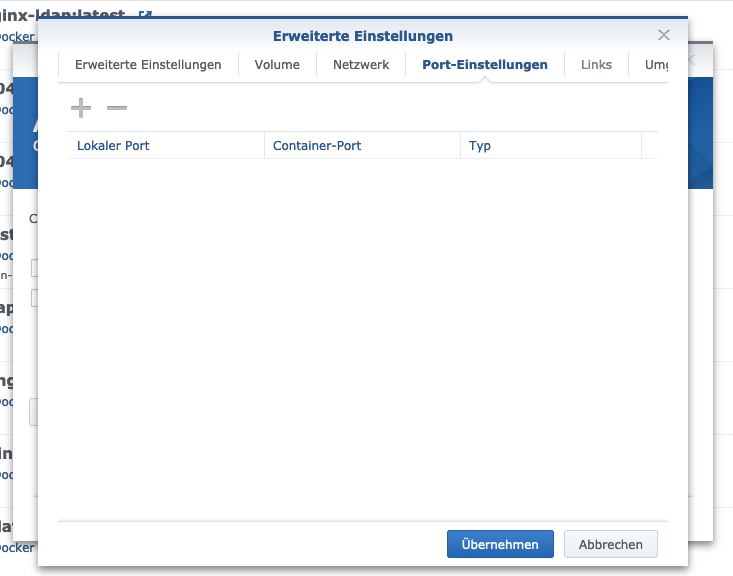
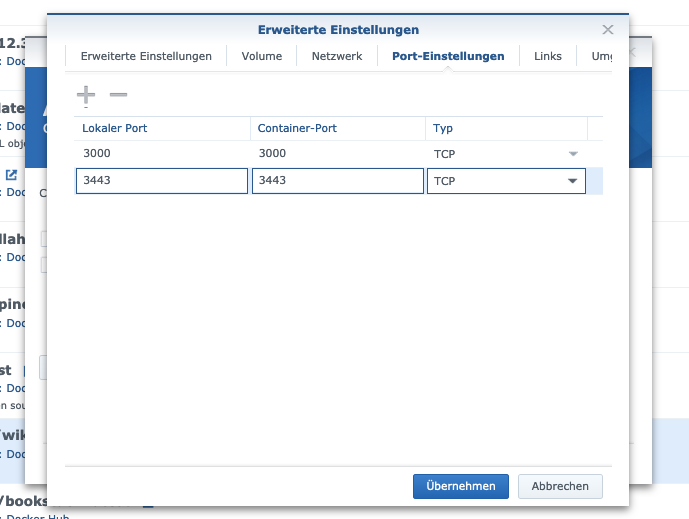
I assign fixed ports for the “WikiJS” container. Without fixed ports it could be that the “bookstack server” runs on another port after a restart.
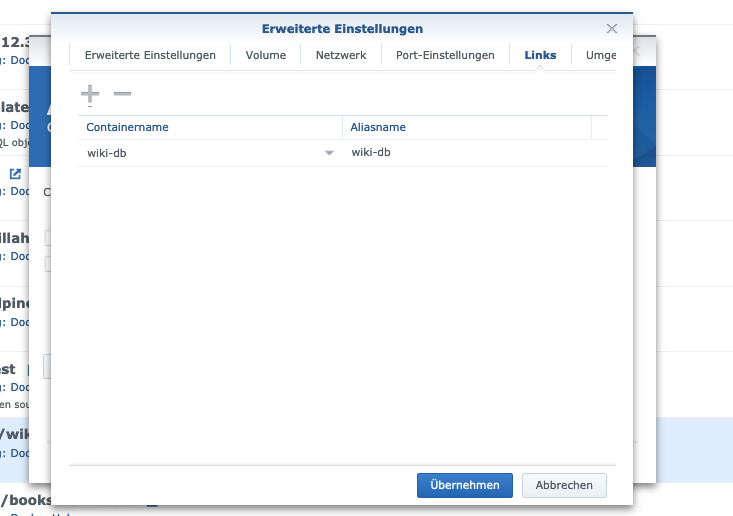
Also, a “link” to the “mysql” container still needs to be created. I click on the “Links” tab and select the database container. The alias name should be remembered well for the wiki installation.
| Variable name | Value | What is it? |
|---|---|---|
| TZ | Europe/Berlin | Time zone |
| DB_HOST | wiki-db | Alias / Container link |
| DB_TYPE | mysql | |
| DB_PORT | 3306 | |
| DB_PASSWORD | my_wiki | Data from step 2 |
| DB_USER | wikiuser | Data from step 2 |
| DB_PASS | my_wiki_pass | Data from step 2 |

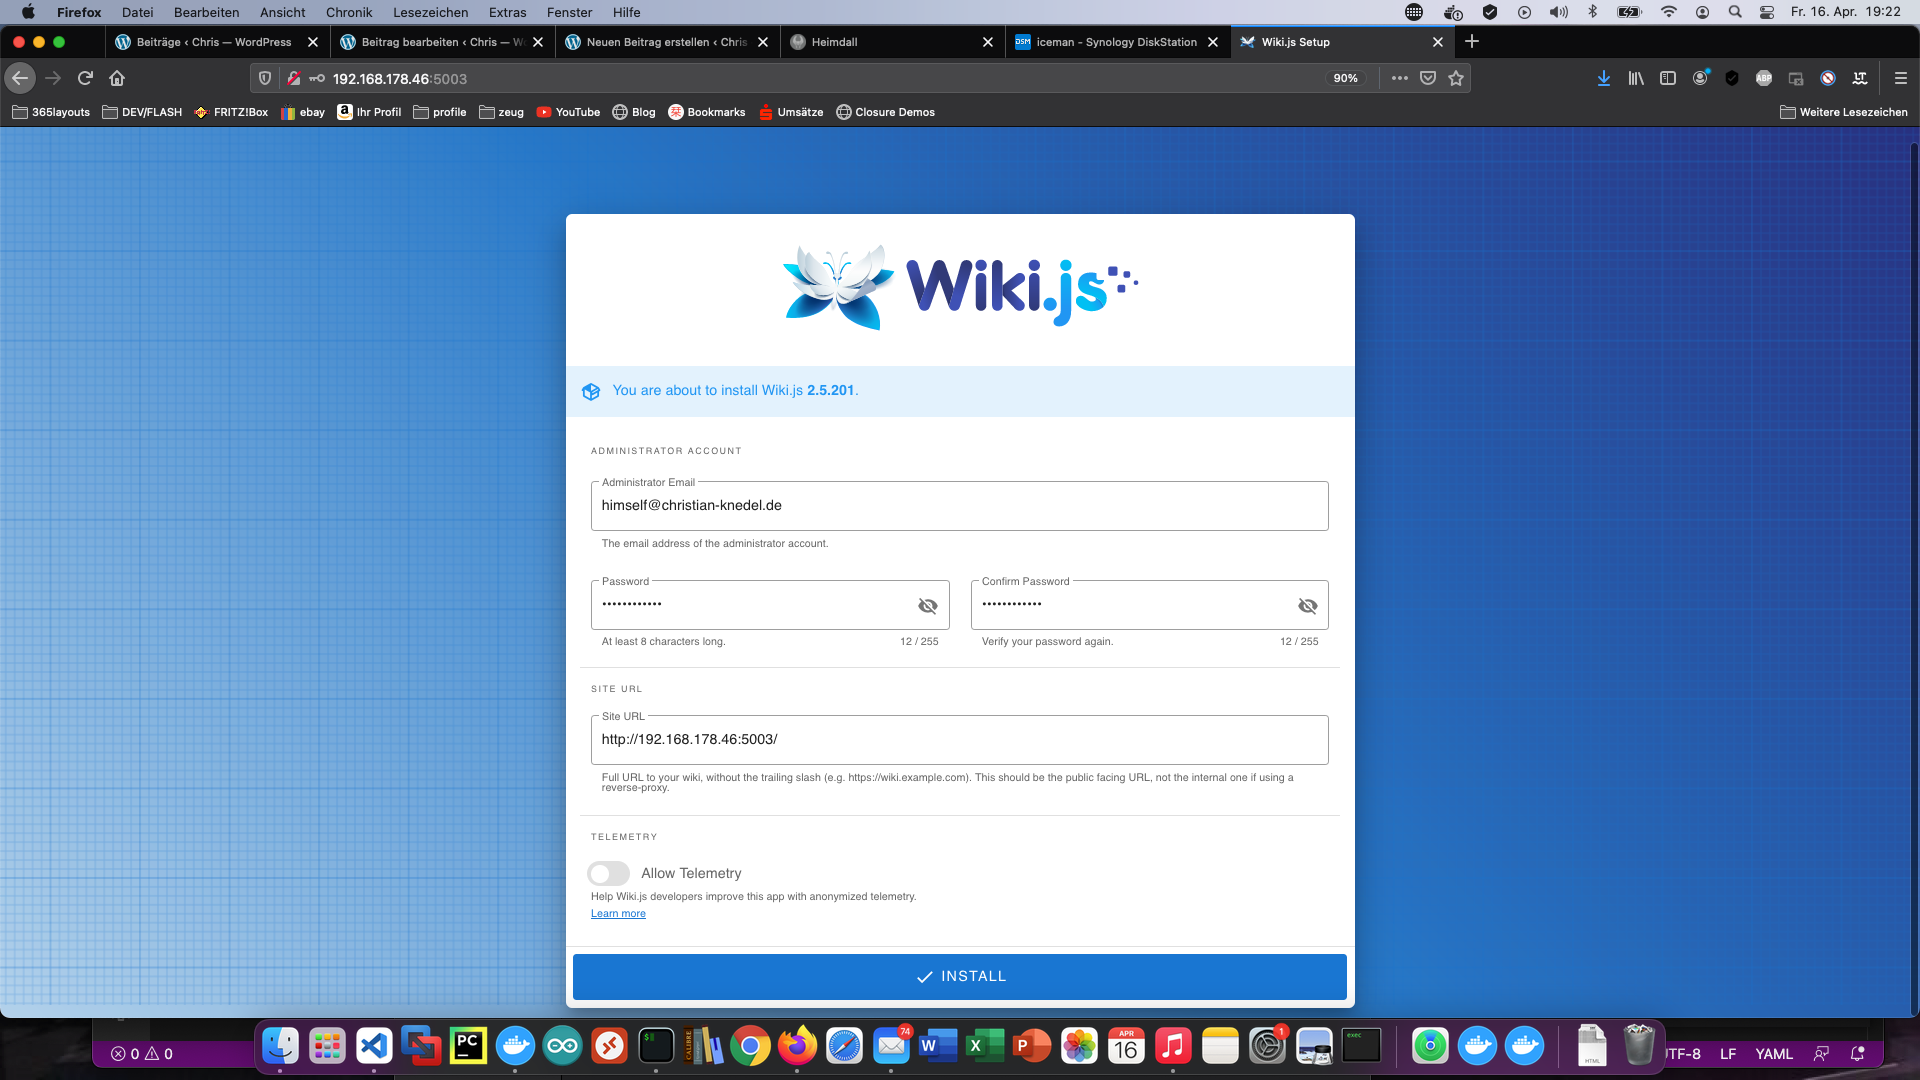
The container can now be started. I call the Wiki.js server with the Synology IP address and my container port/3000.