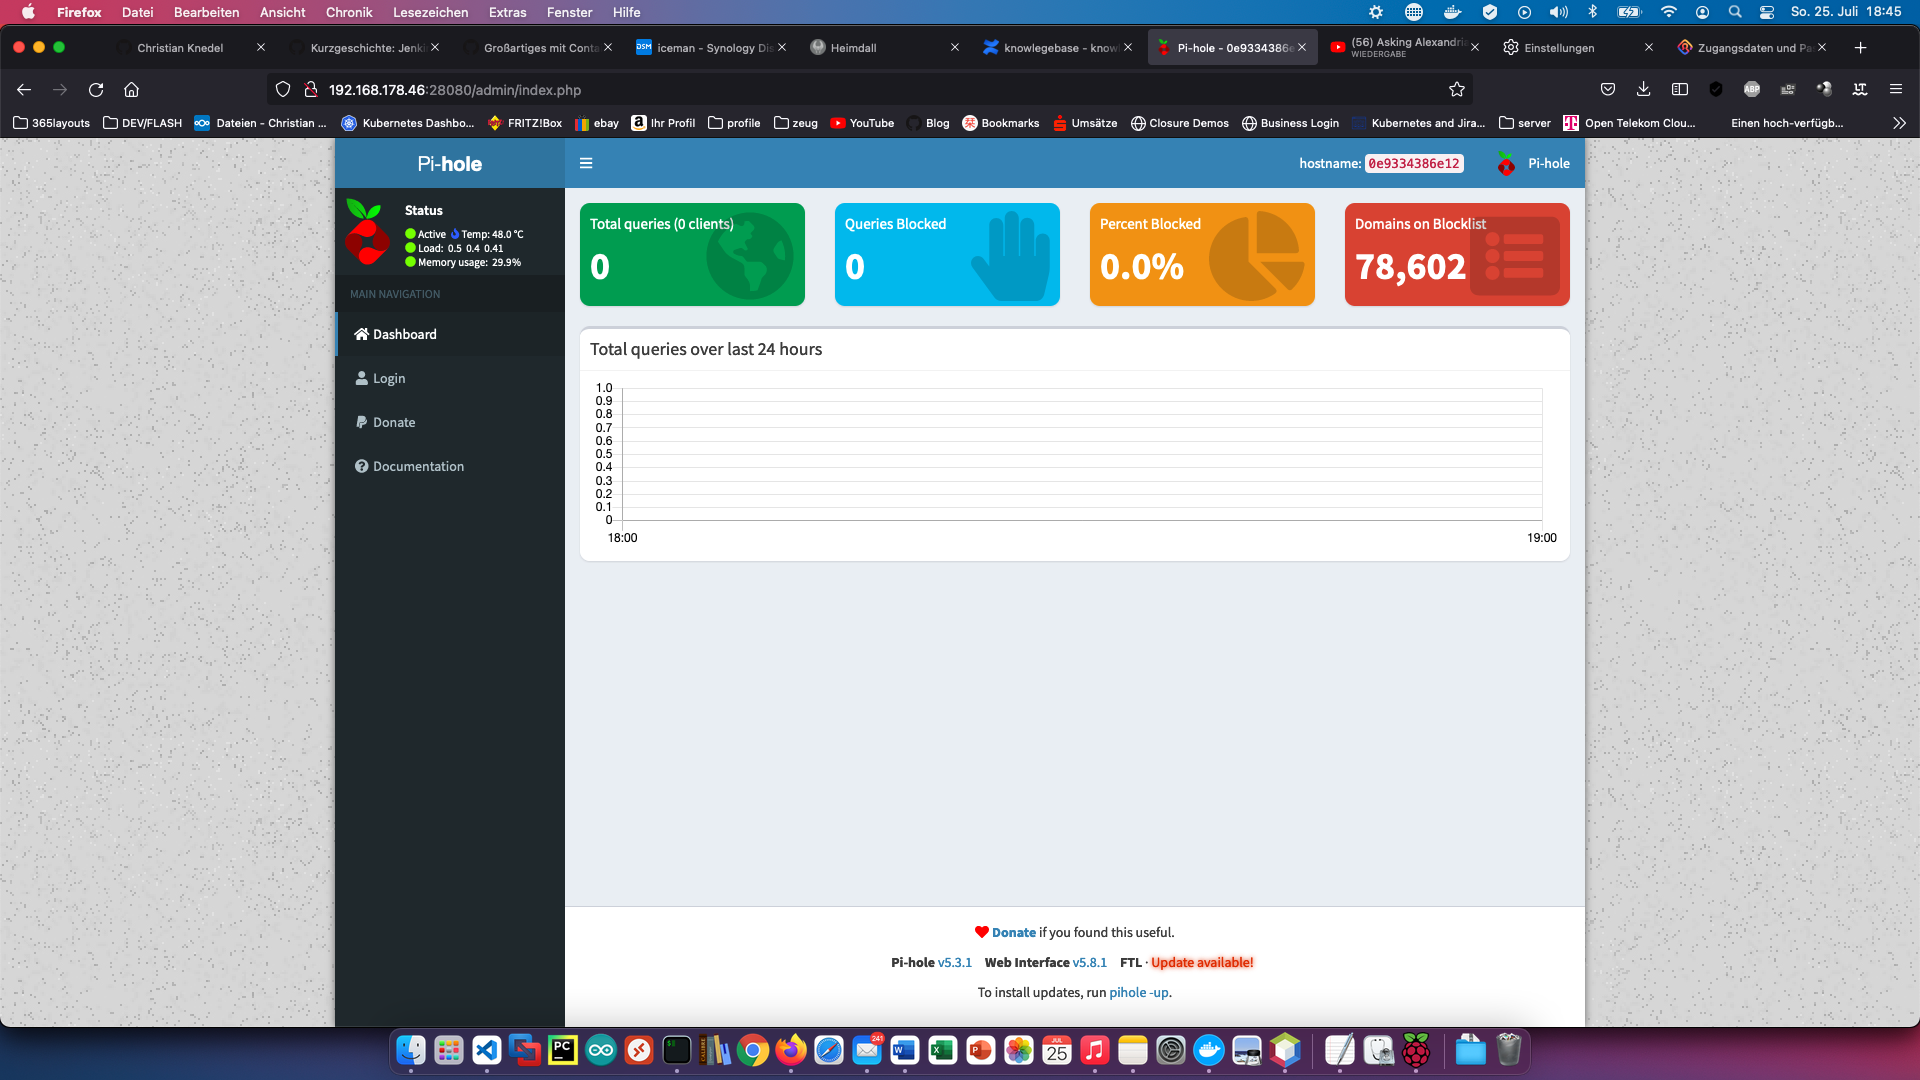
Today I show how to install a Pihole service on the Synology disk station and connect it to the Fritzbox.
Step 1: Prepare Synology
The first thing to do is to enable SSH login on Diskstation. To do this, go to the “Control Panel” > “Terminal
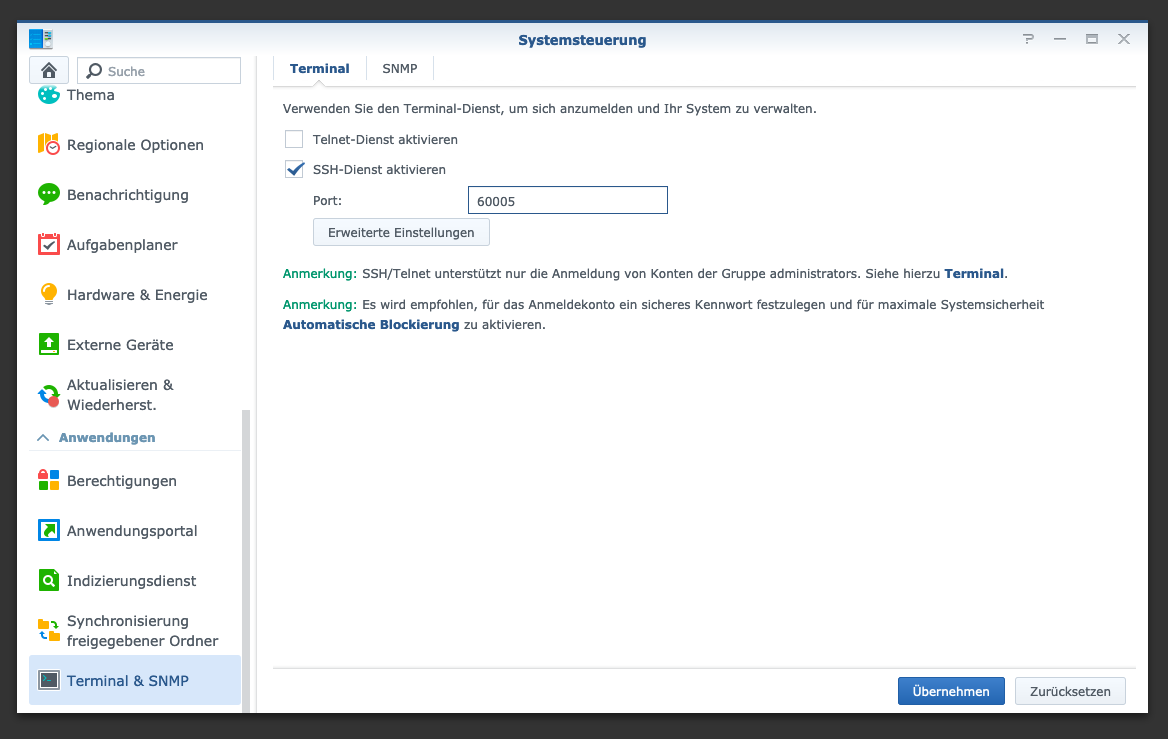
After that you can log in via “SSH”, the specified port and the administrator password (Windows users take Putty or WinSCP).
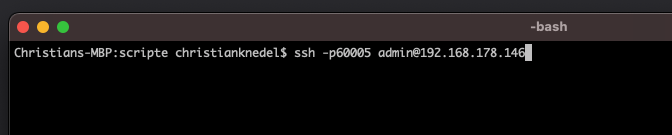
I log in via Terminal, winSCP or Putty and leave this console open for later.
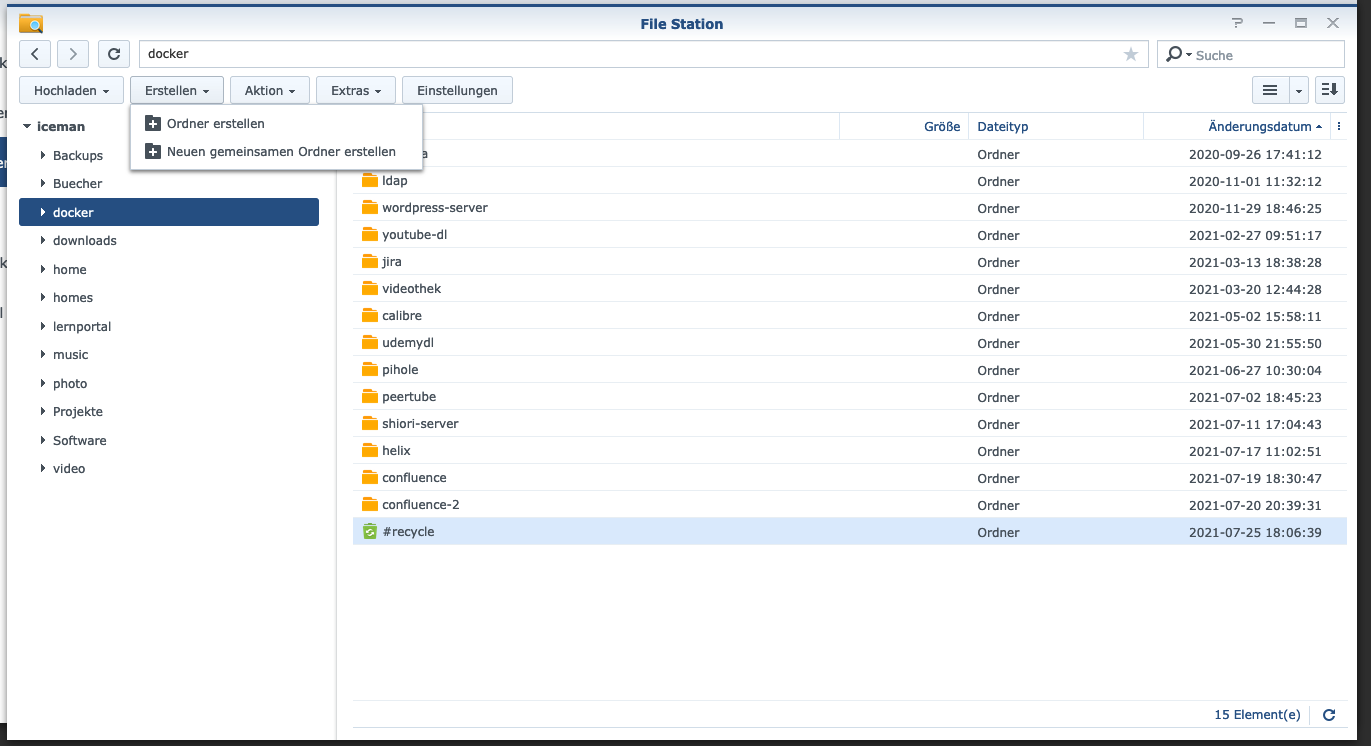
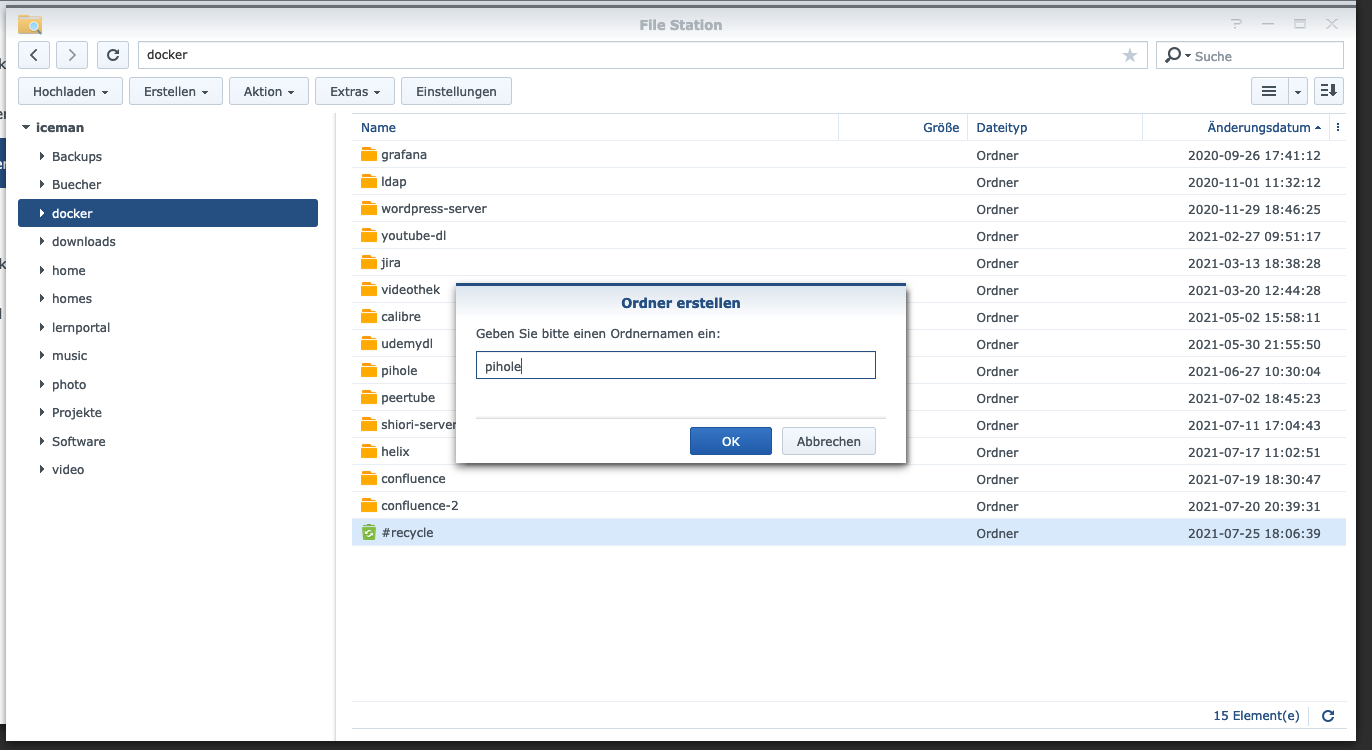
Step 2: Create Pihole folder
I create a new directory called “pihole” in the Docker directory.
Then I change to the new directory and create two folders “etc-pihole” and “etc-dnsmasq.d”:
$ cd /volume1/docker/
$ mkdir -p {etc-pihole,etc-dnsmasq.d}
version: "3"

services:
  pihole:
    container_name: pihole
    image: pihole/pihole:latest
    ports:
      - "53:53/tcp"
      - "53:53/udp"
      - "67:67/udp"
      - "8080:80/tcp"
    environment:
      TZ: 'Europe/Berlin'
      WEBPASSWORD: 'password'
    volumes:
      - './etc-pihole/:/etc/pihole/'
      - './etc-dnsmasq.d/:/etc/dnsmasq.d/'
    cap_add:
      - NET_ADMIN
    restart: unless-stopped
The container can now be started:
$ sudo docker-compose up -d

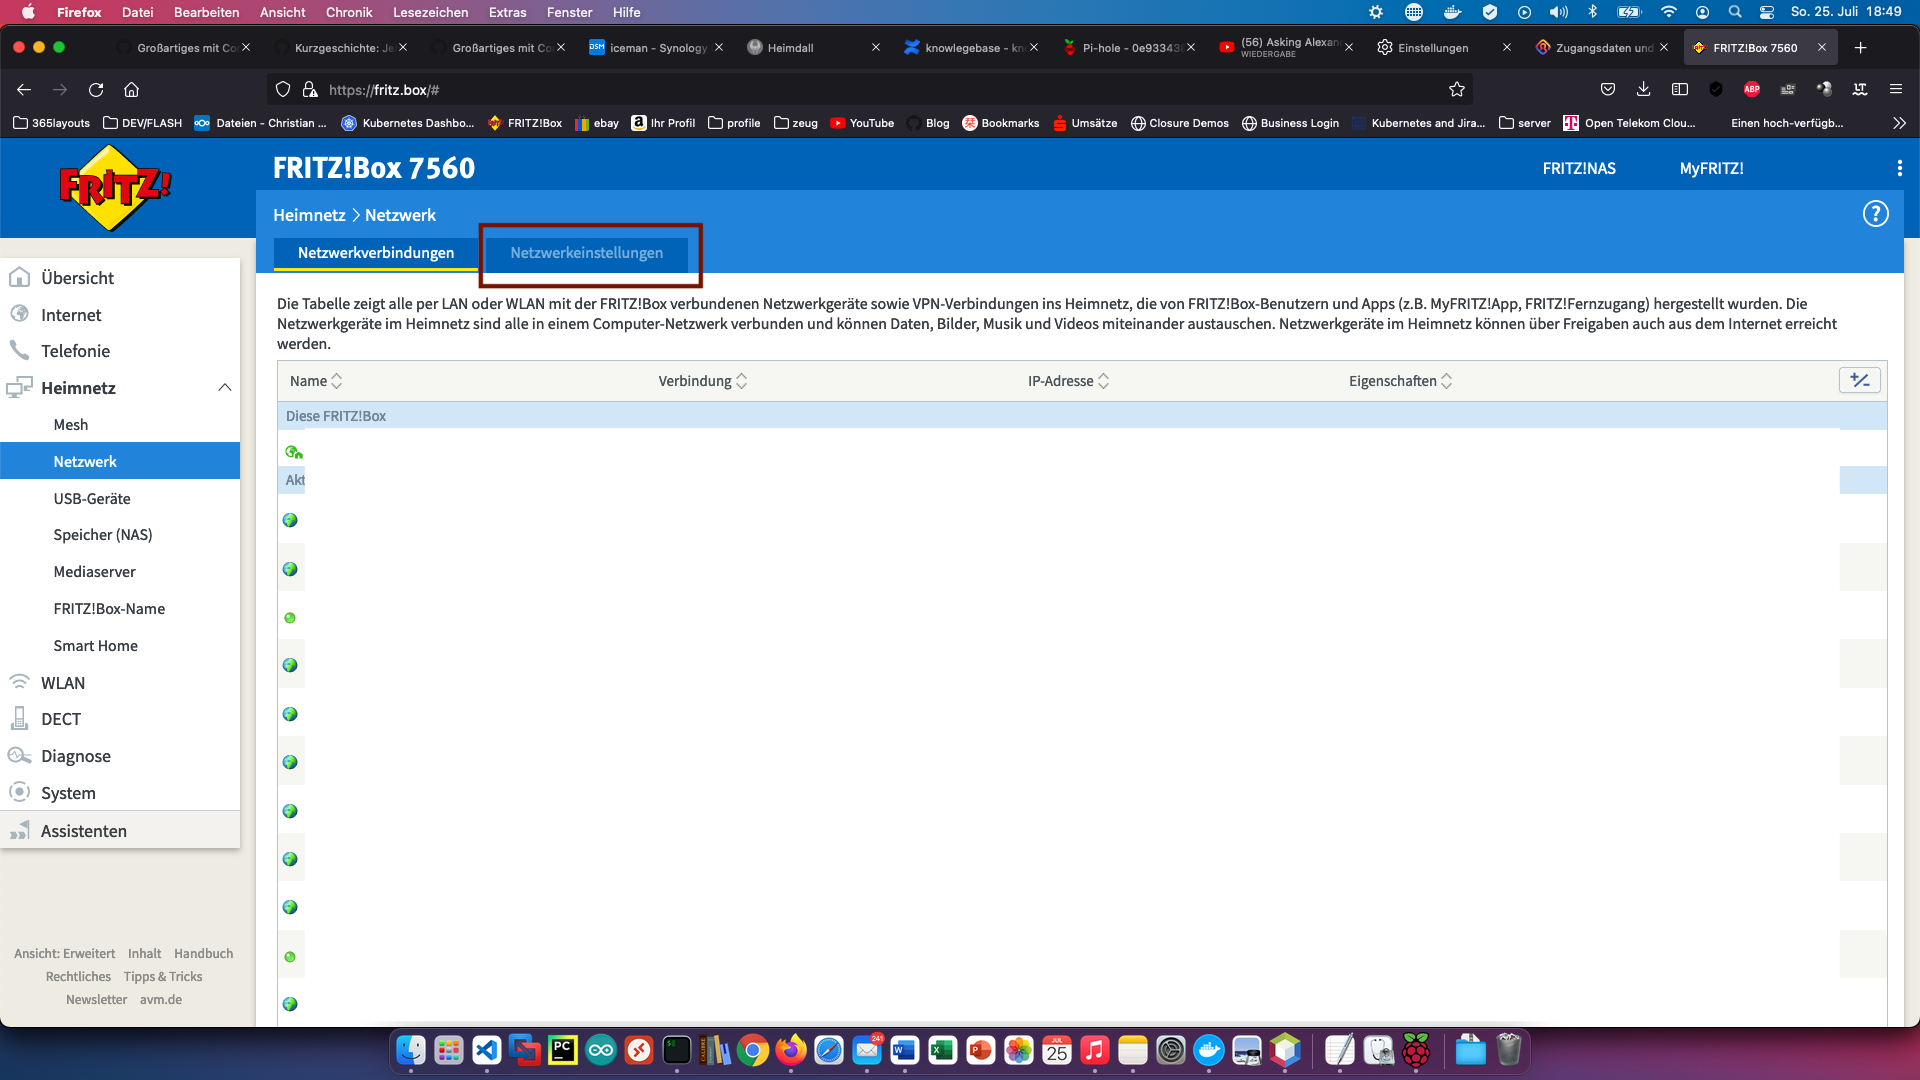
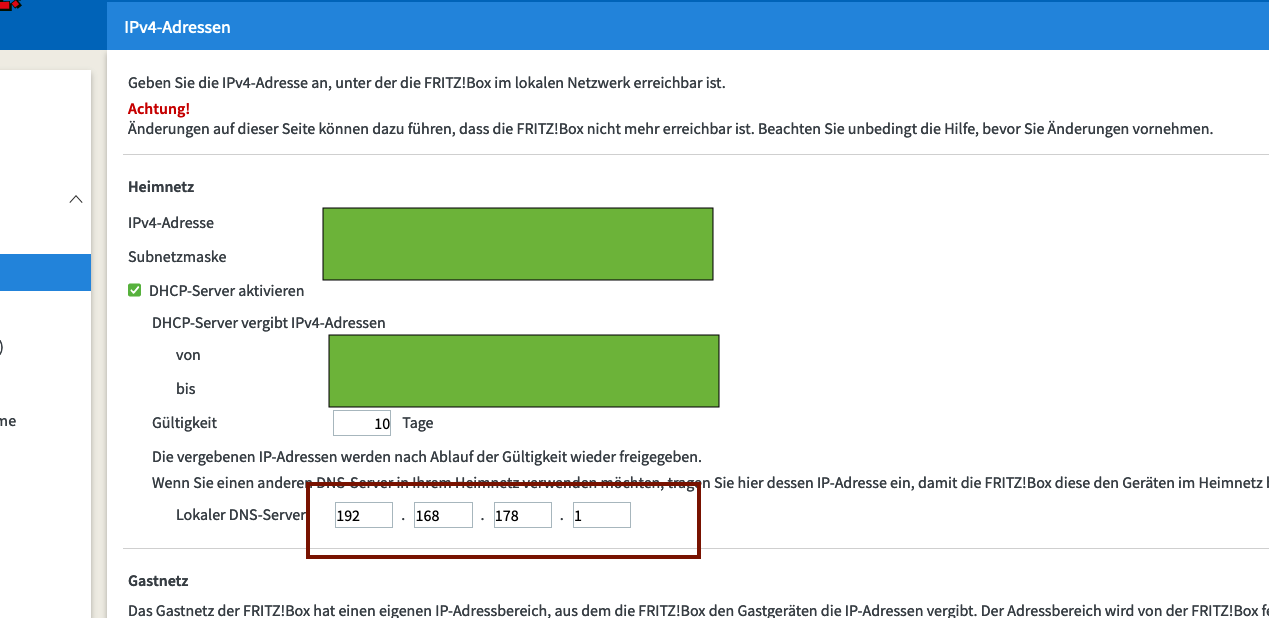
Now the DNS address can be changed in the Fritzbox under “Home Network” > “Network” > “Network Settings”.