
Learn how to make your Docker images available network-wide via a custom registry.
Installation
I create a new directory called “docker-registry” on my server:
$ mkdir docker-registry
version: '3'

services:
  registry:
    restart: always
    image: registry:2
    ports:
    - "5000:5000"
    environment:
      REGISTRY_STORAGE_FILESYSTEM_ROOTDIRECTORY: /data
    volumes:
      - ./data:/data
    networks:
      - registry-ui-net

  ui:
    restart: always
    image: joxit/docker-registry-ui:static
    ports:
      - 8080:80
    environment:
      - REGISTRY_TITLE=My Private Docker Registry
      - REGISTRY_URL=http://registry:5000
    depends_on:
      - registry
    networks:
      - registry-ui-net

networks:
  registry-ui-net:
More useful Docker images for home use can be found in the Dockerverse.
The start command
This file is started via Docker Compose. After that, the installation is accessible under the intended domain/port.
$ docker-compose -f registry.yml up -d
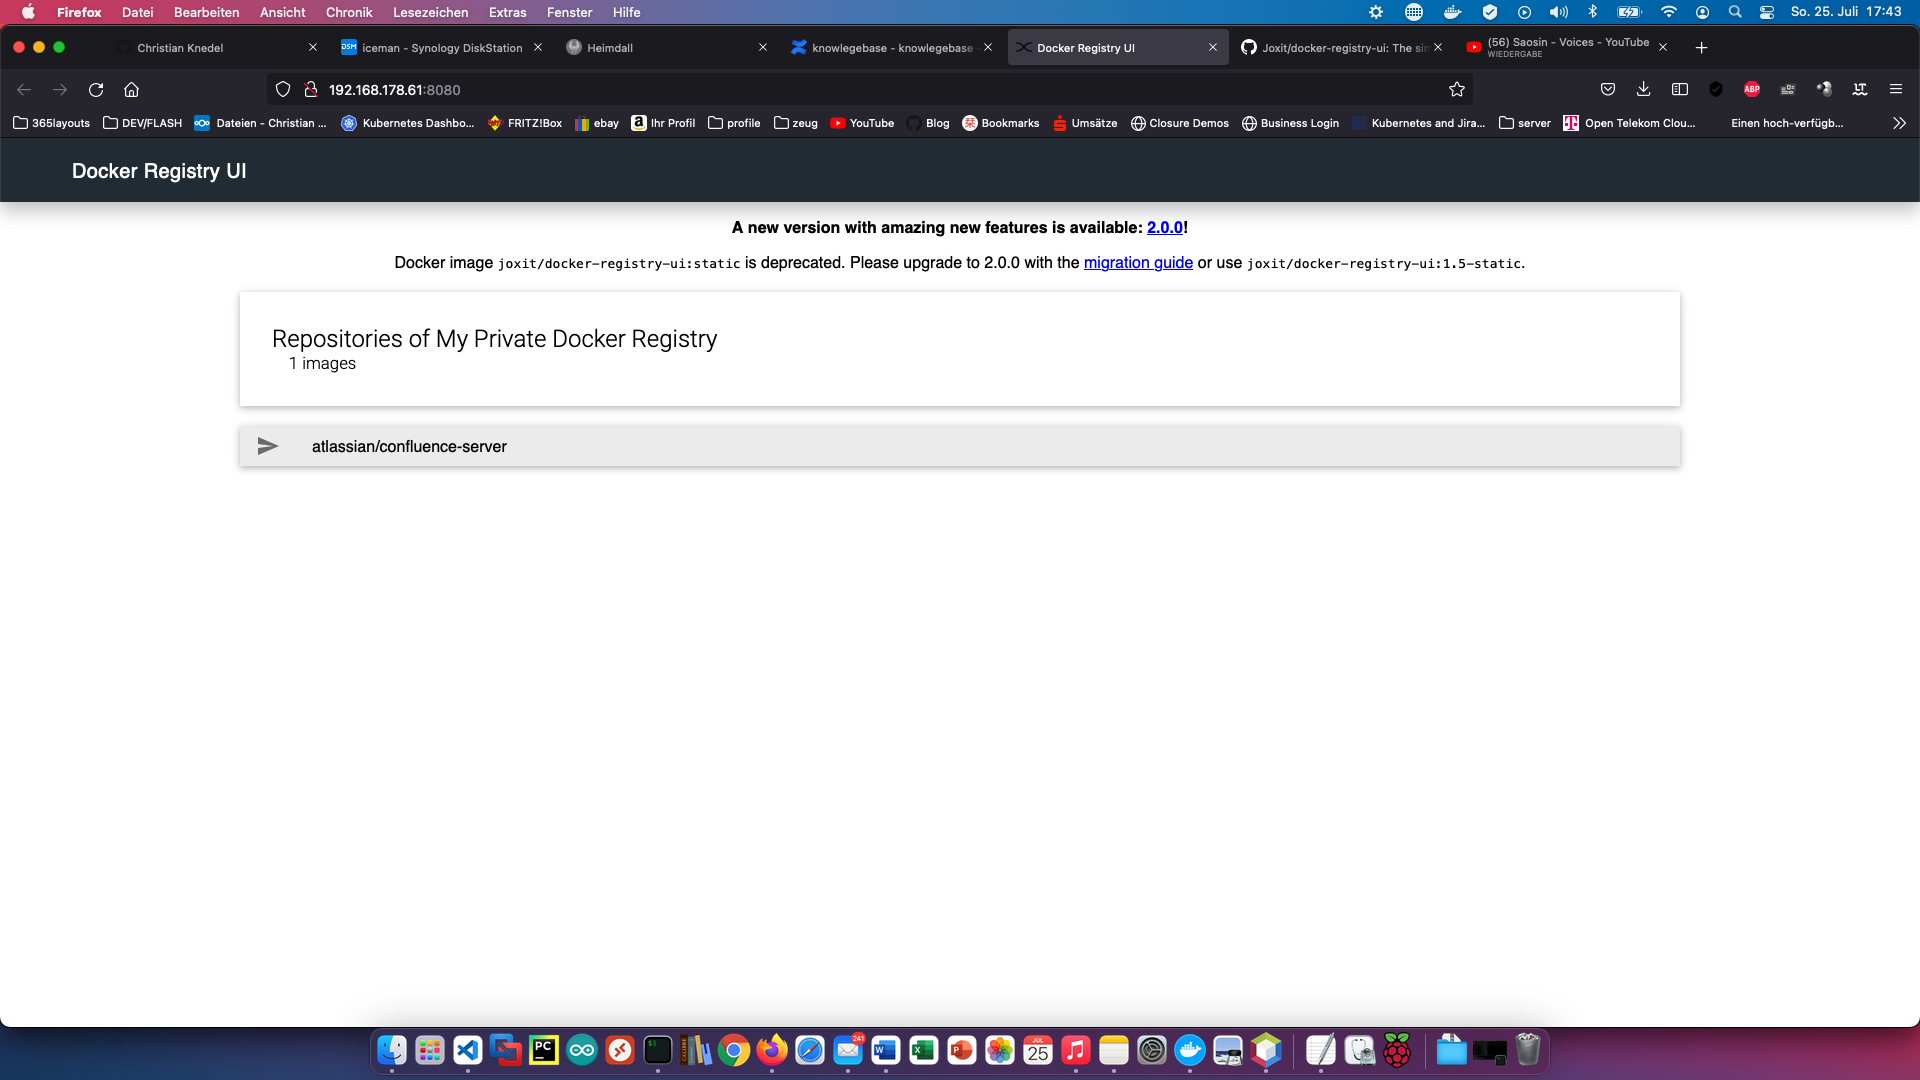
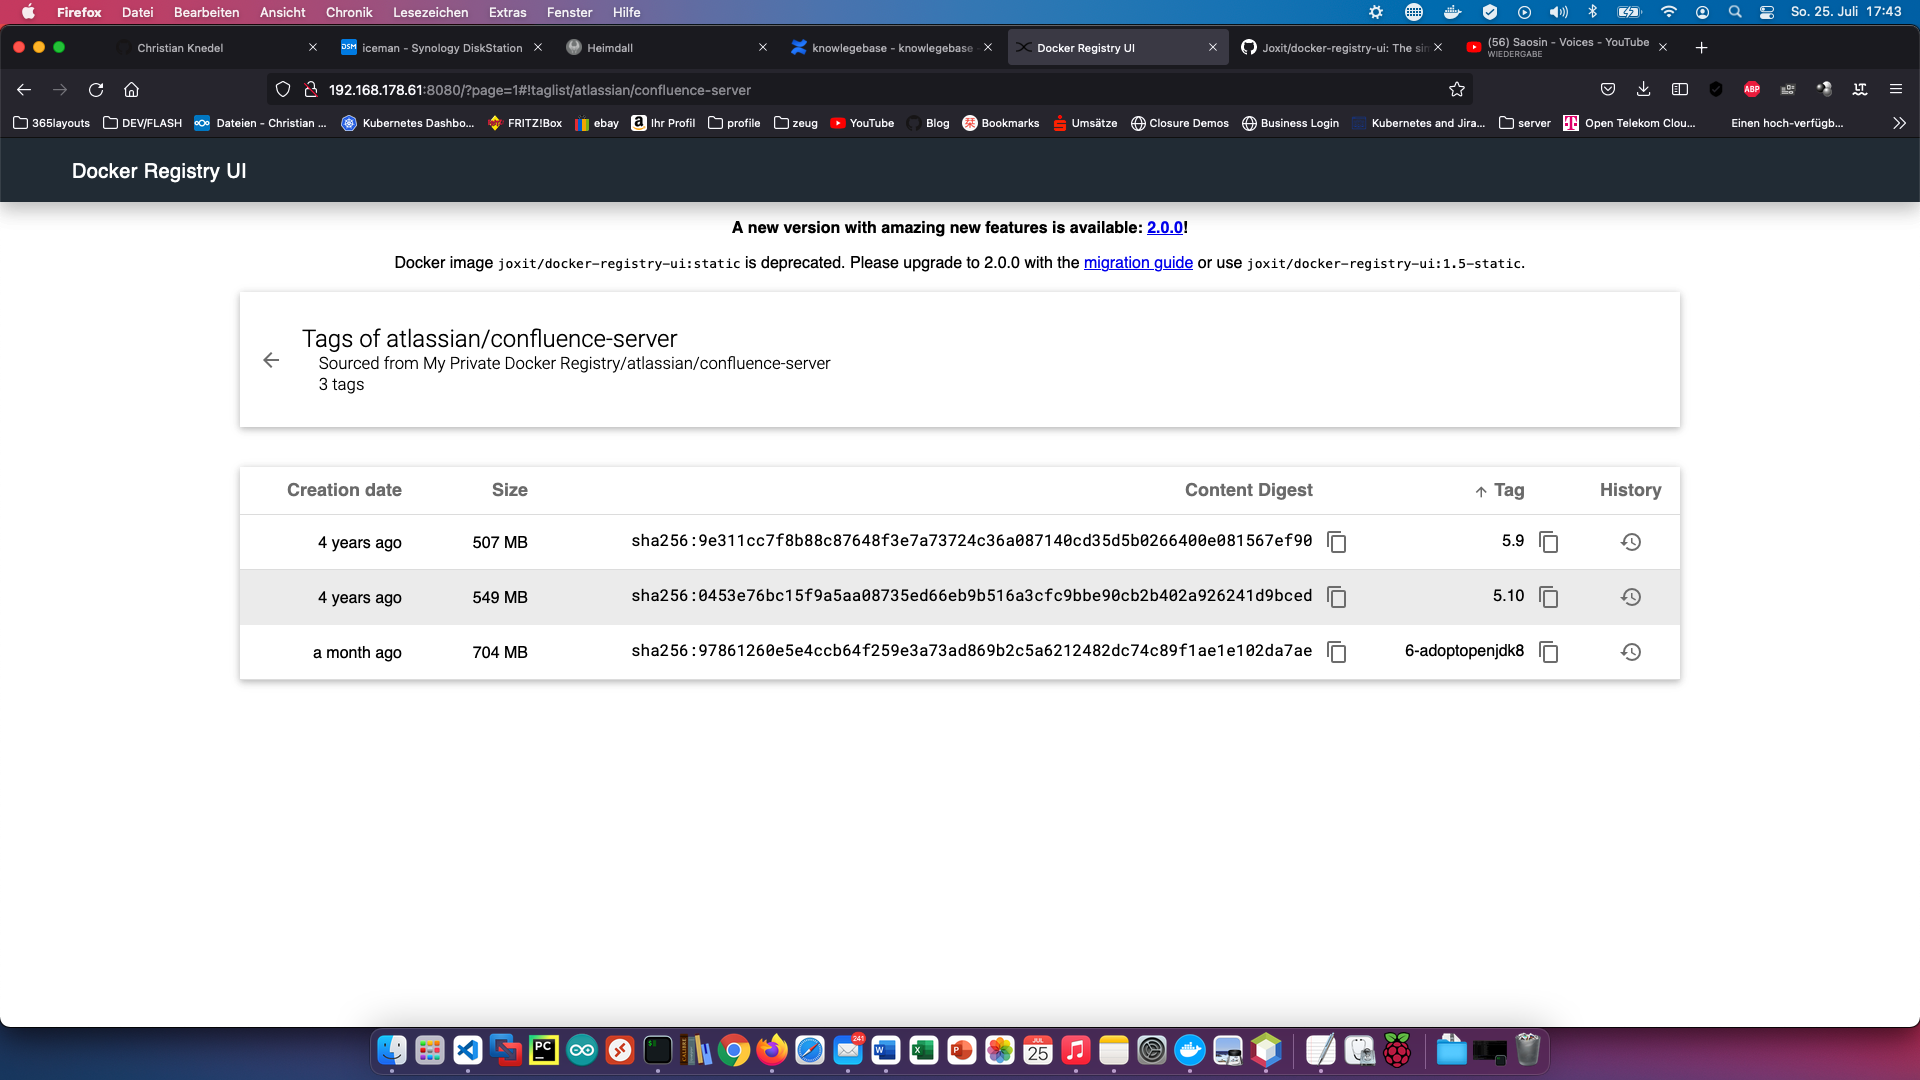
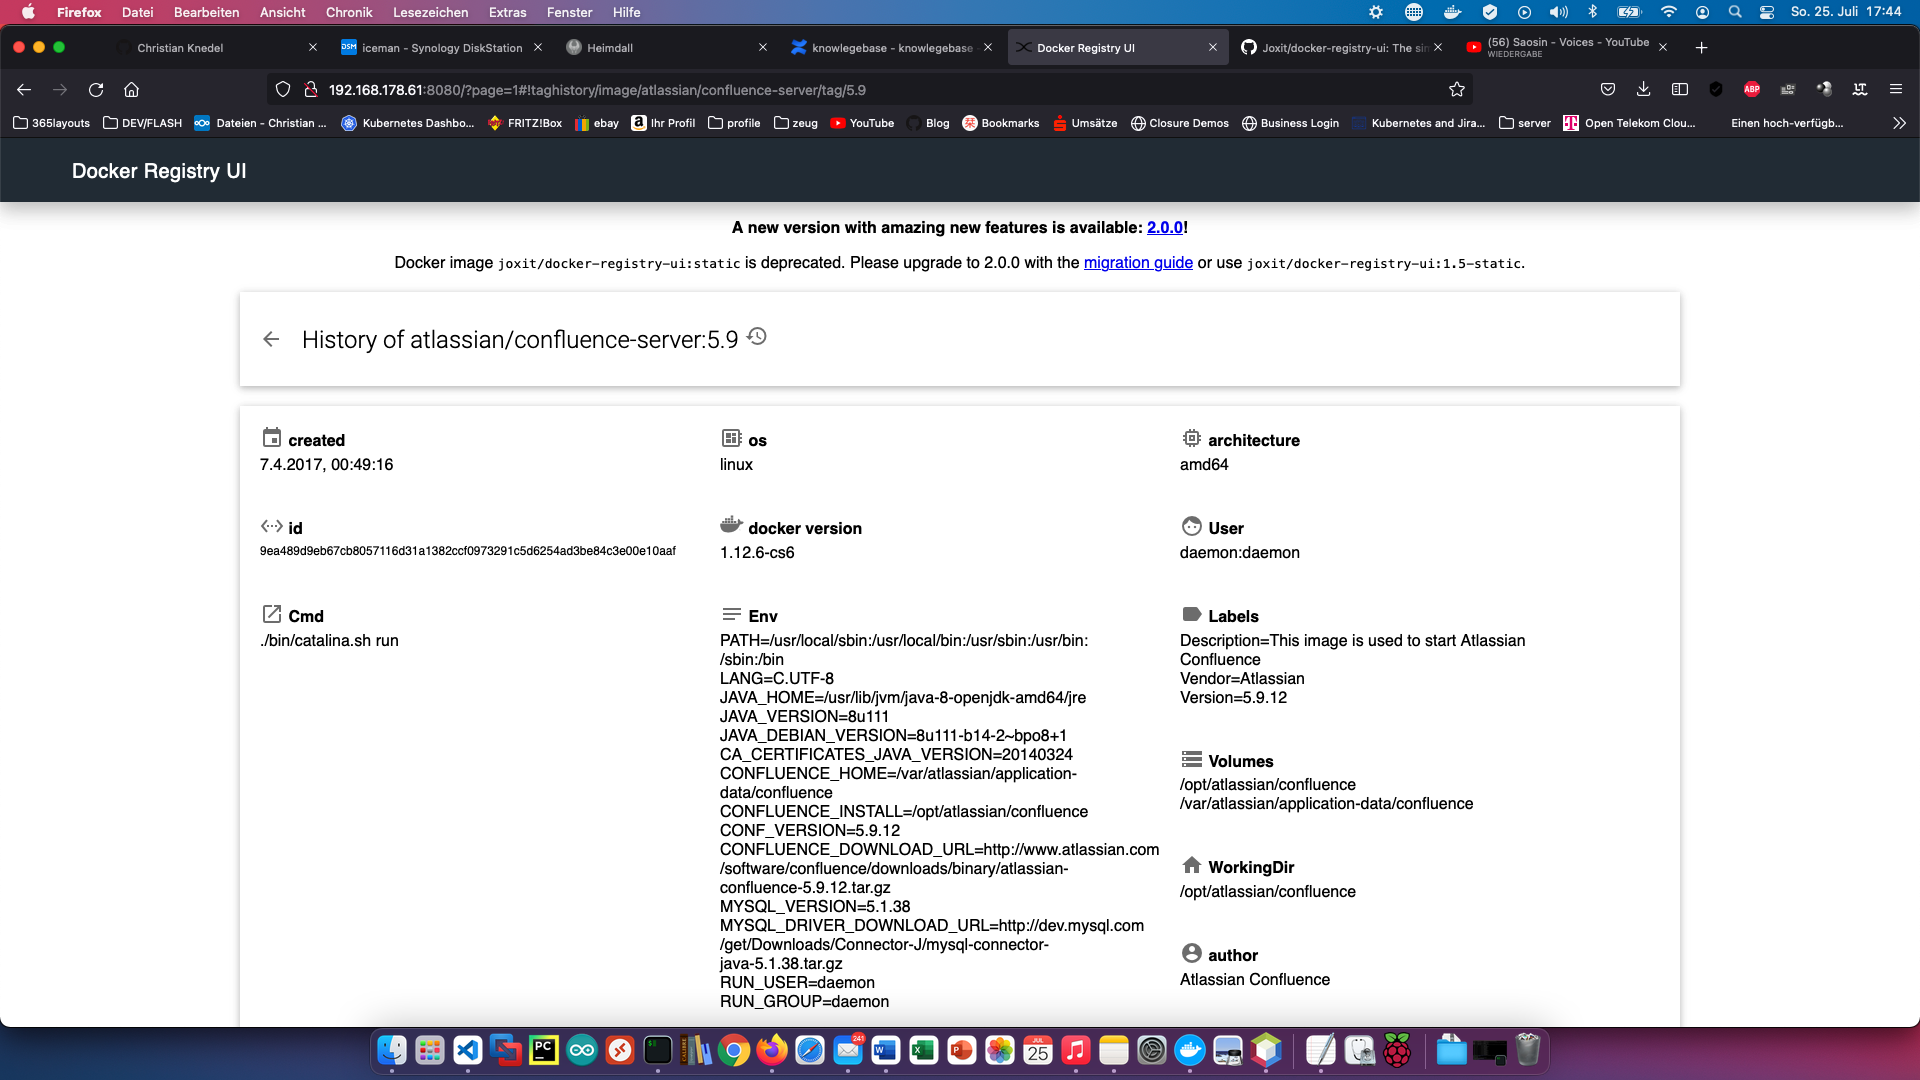
Now I can build, push and populate images from my registry:
$ docker build -t 192.168.178.61:5000/mein-image:version .
$ docker push 192.168.178.61:5000/mein-image:version
$ docker pull 192.168.178.61:5000/mein-image:version