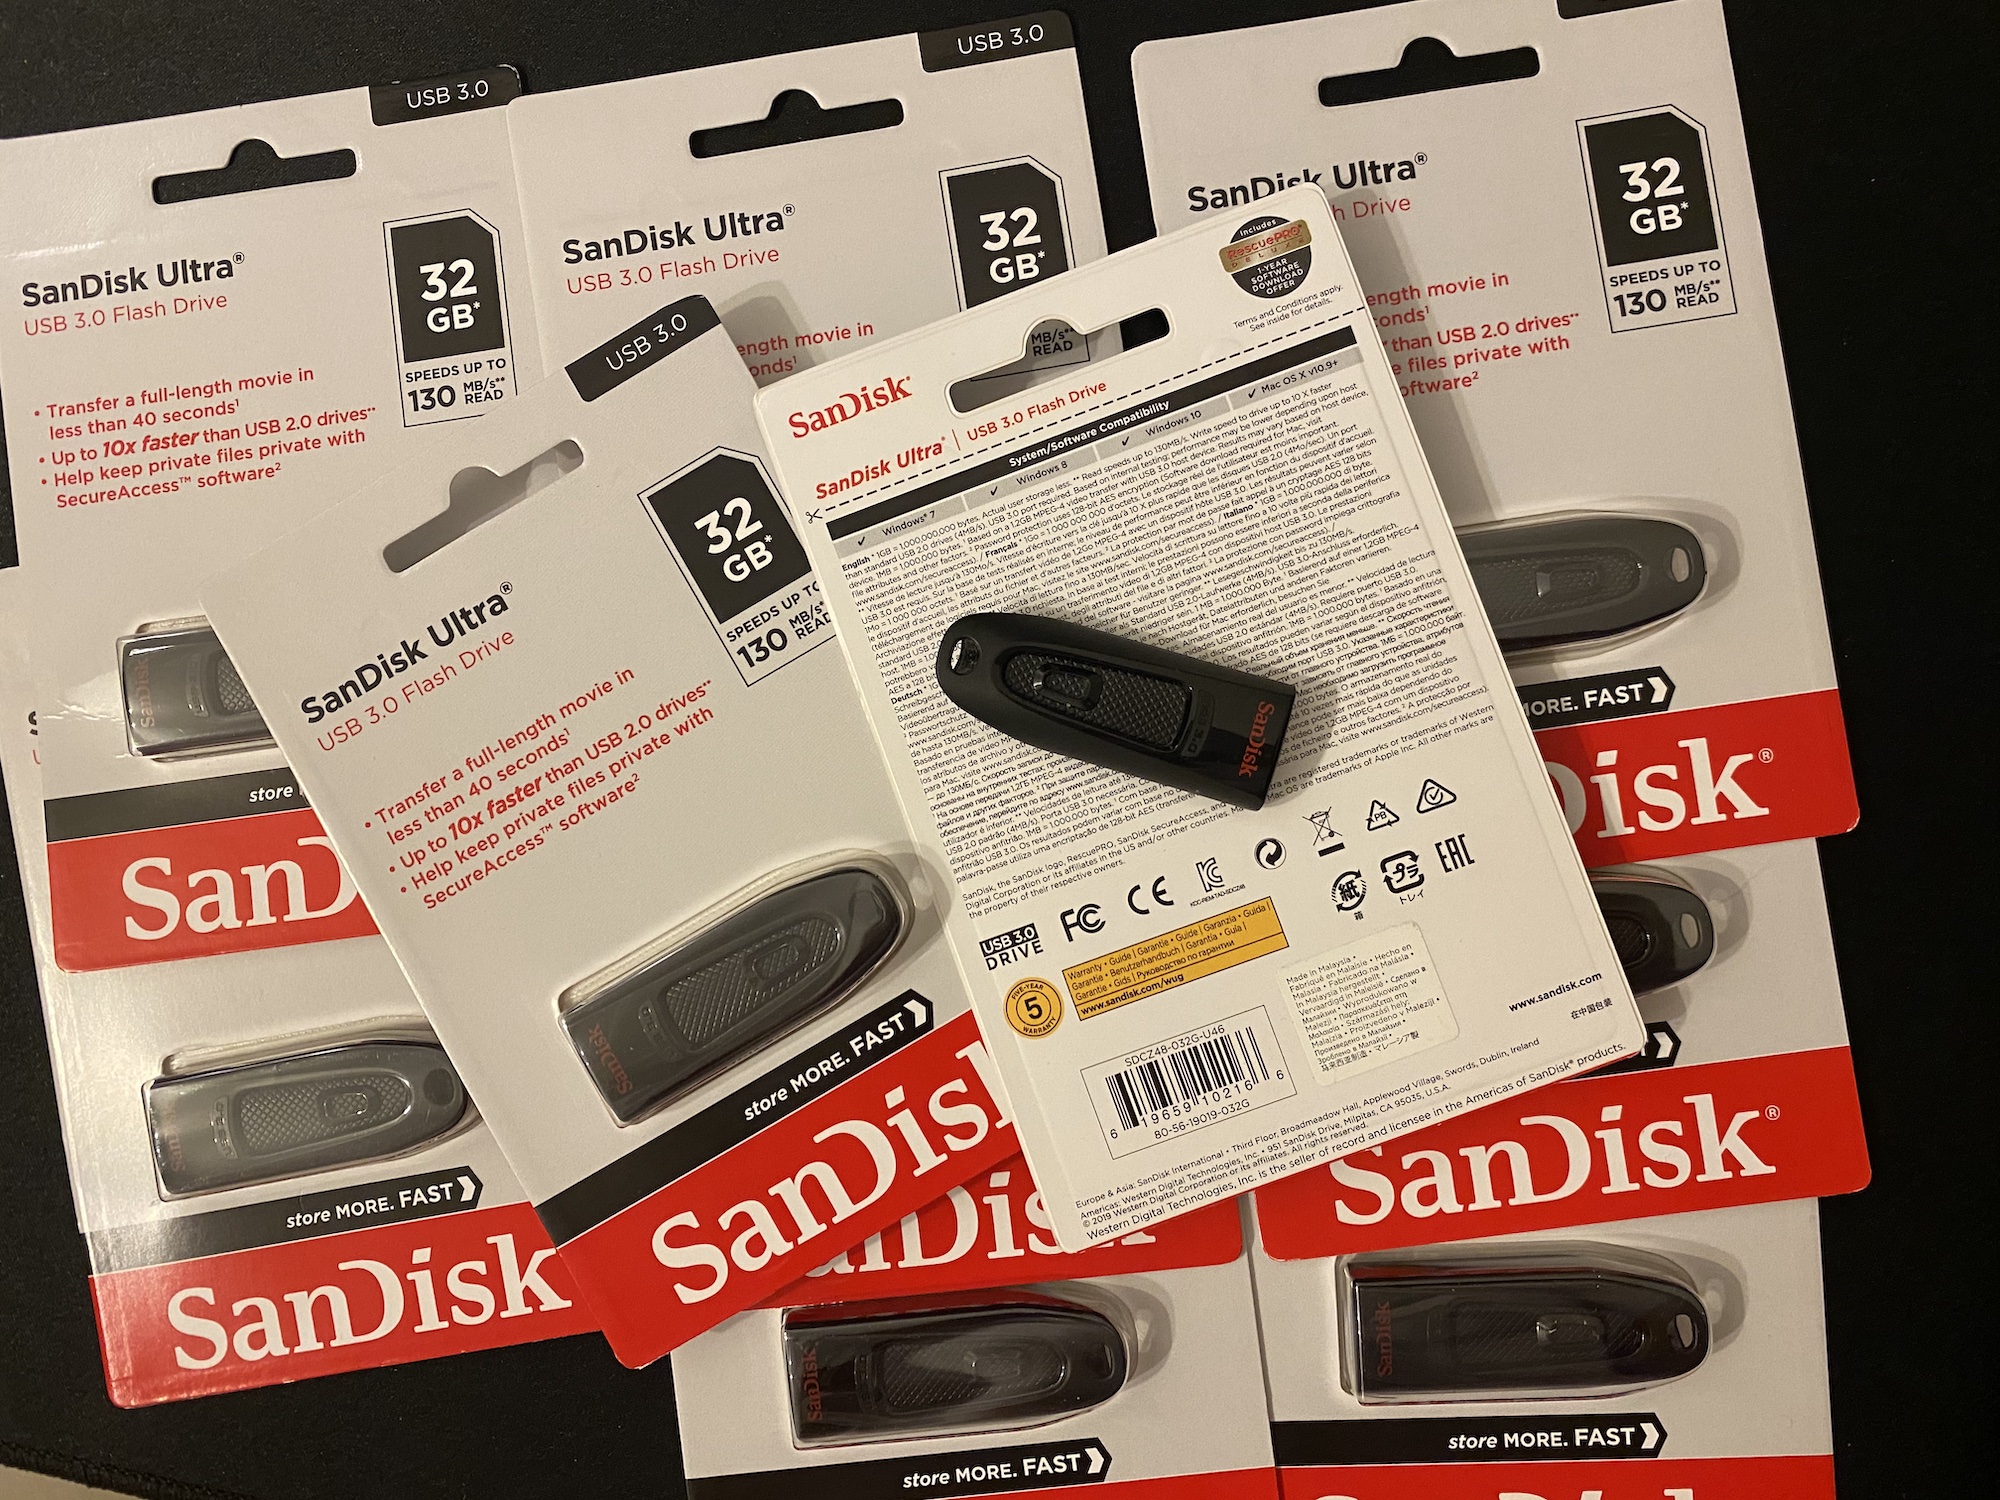
With ESXi the “intel NUC” can be divided into any number of computers. In this tutorial I show how I installed VMware ESXi on my NUC.Small preface: I recommend a BIOS update before the ESXi installation. Also, a 32GB USB flash drive is required. I bought a whole bundle for less than 5 euros each from Amazon.
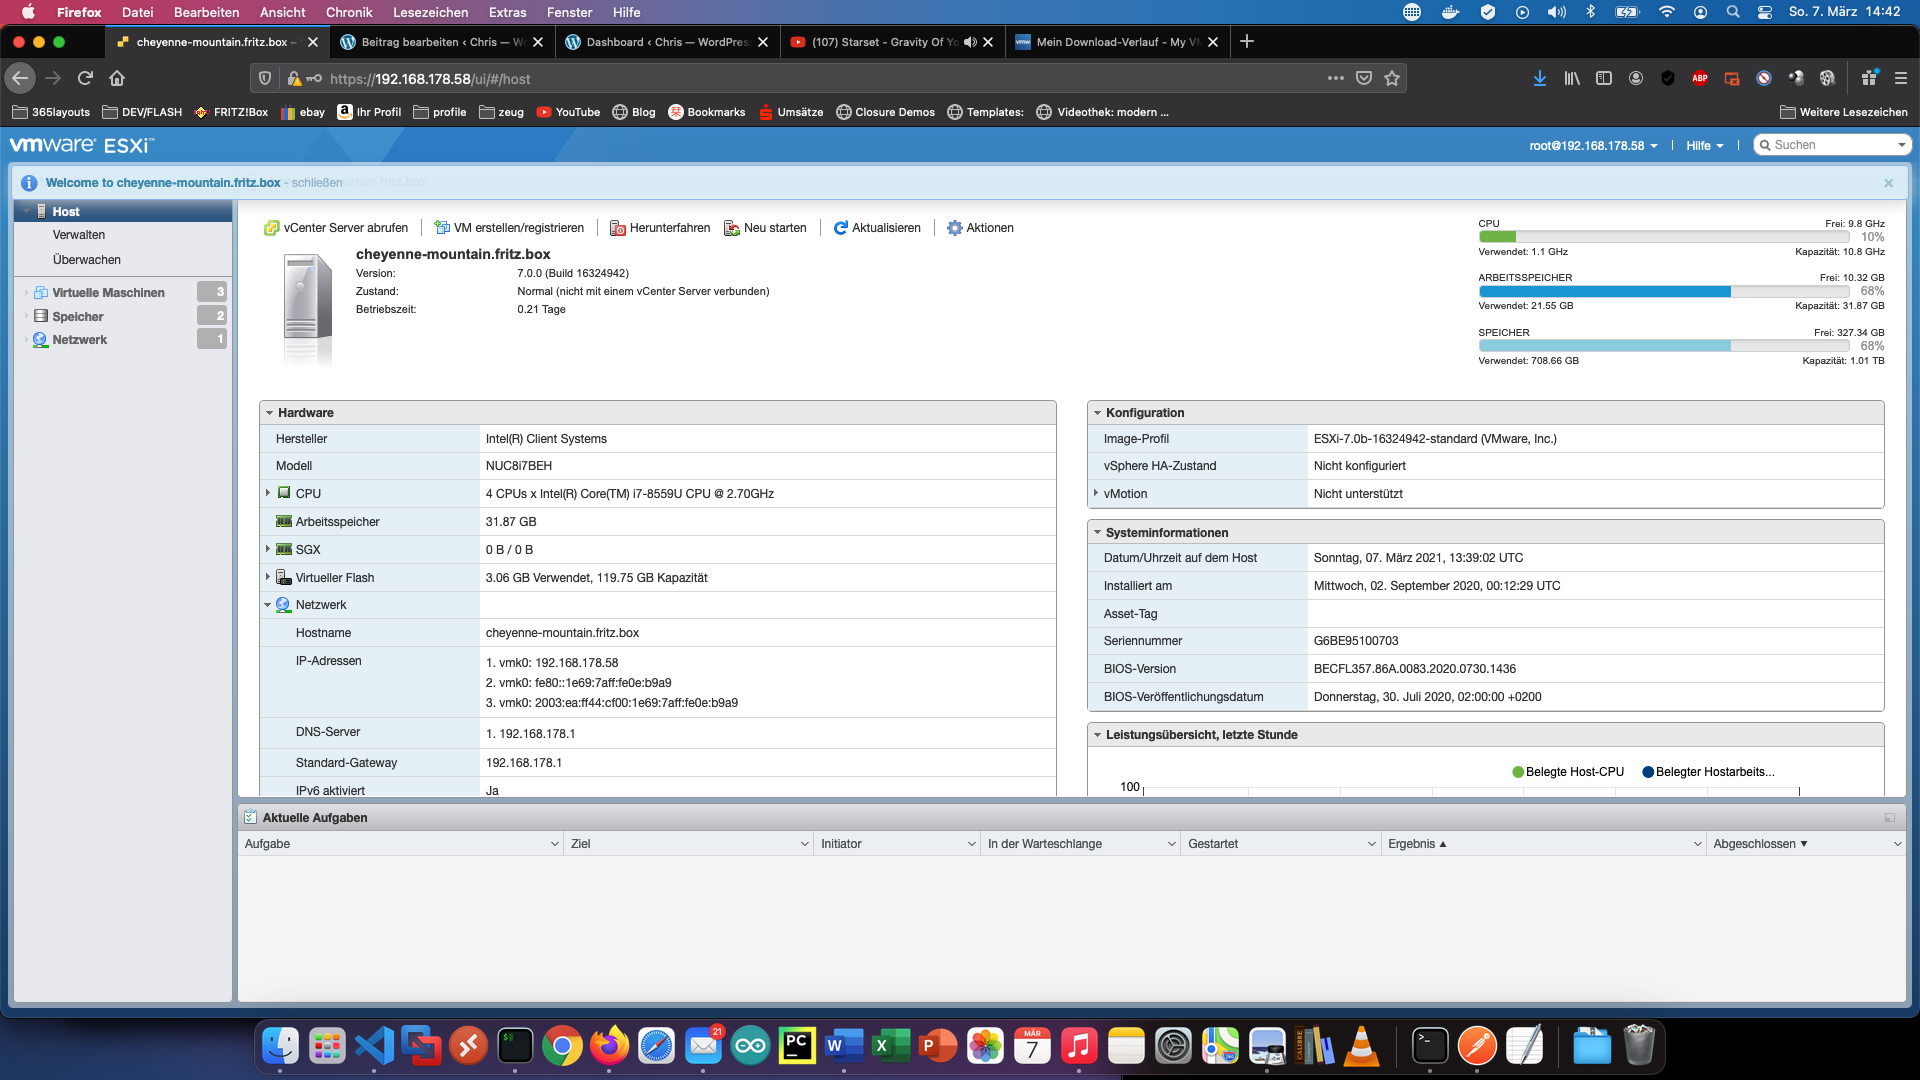
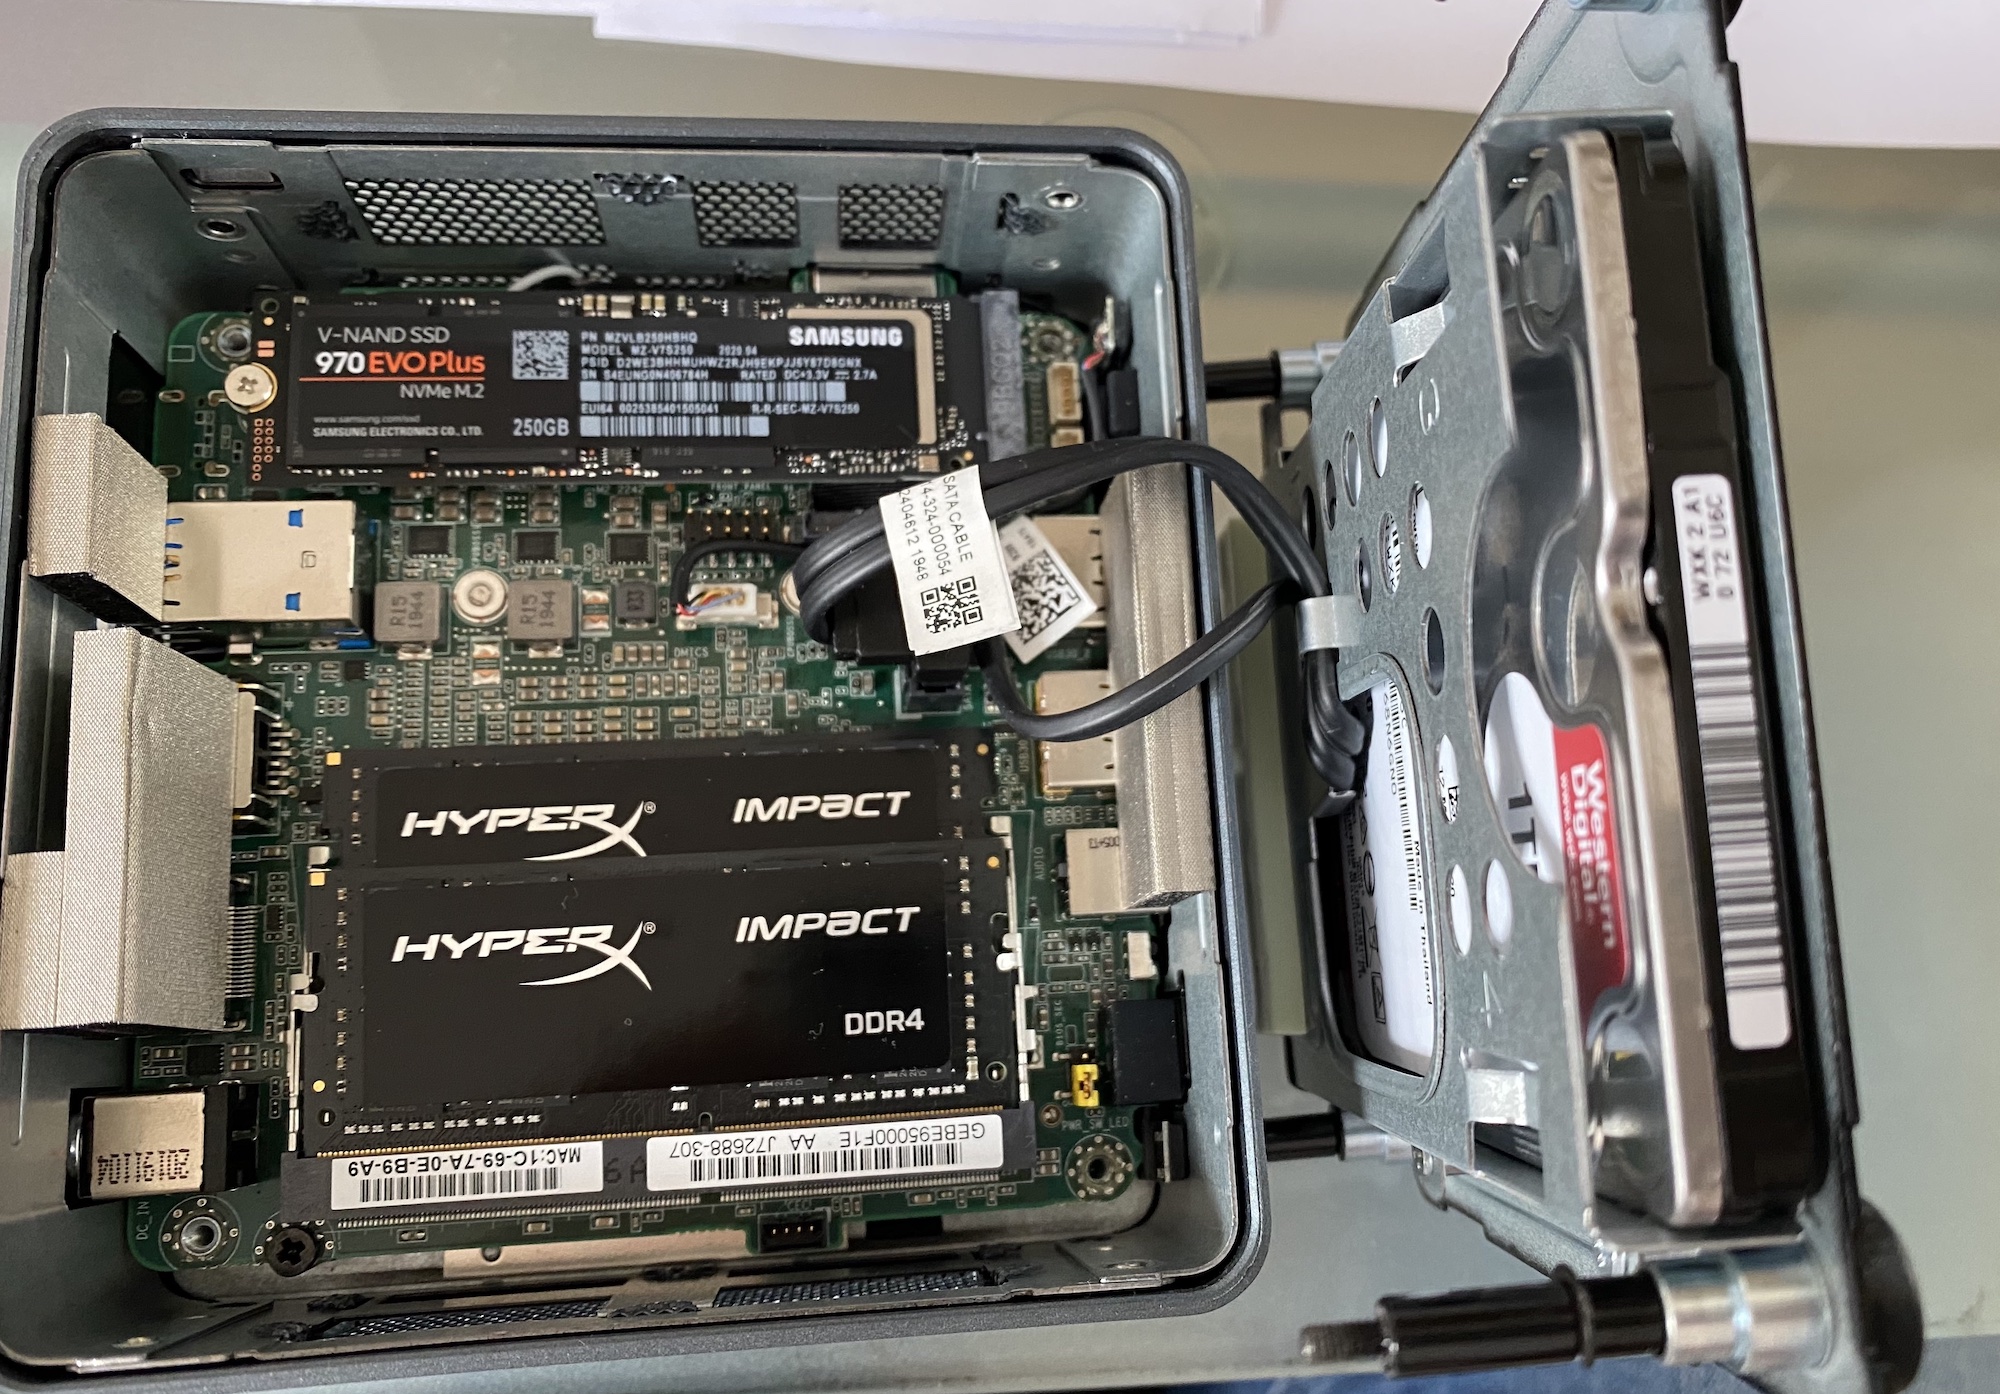
My NUC-8I7BEH has 2x 16GB HyperX Impact Ram, 1x 256GB Samsung 970 EVO M2 module and a 1TB 2.5-inch WD-RED hard drive installed.
Step 1: Find USB - Stick
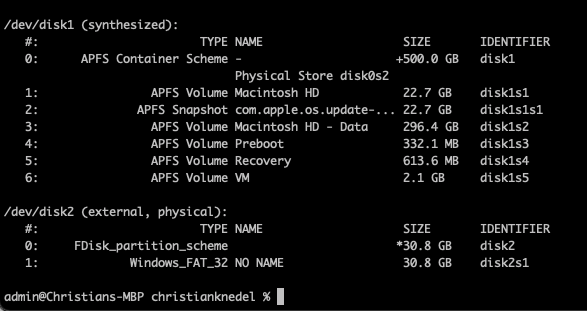
The following command shows me all drives:
$ diskutil list
Step 2: Prepare file system
Now I can use the following command to prepare the file system:
$ $ diskutil eraseDisk MS-DOS "ESXI" MBR disk2
Step 3: Eject USB stick
I use the “unmountDisk” command to eject the volume:
$ $ diskutil unmountDisk /dev/disk2

Step 4: Make stick bootable
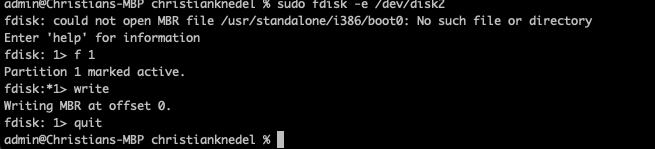
Now we enter the command “sudo fdisk -e /dev/disk2” and then enter “f 1”, “write” and “quit”, see:
Step 5: Copy data
Now I need to download the ESXi-ISO: https://www.vmware.com/de/try-vmware.html. After that I can mount the ESXi-ISO and copy the content to my USB stick.

When everything is copied, I search the file “ISOLINUX.CFG” and rename it to “SYSLINUX.CFG”. I also add “-p 1” to the line “APPEND -c boot.cfg”.
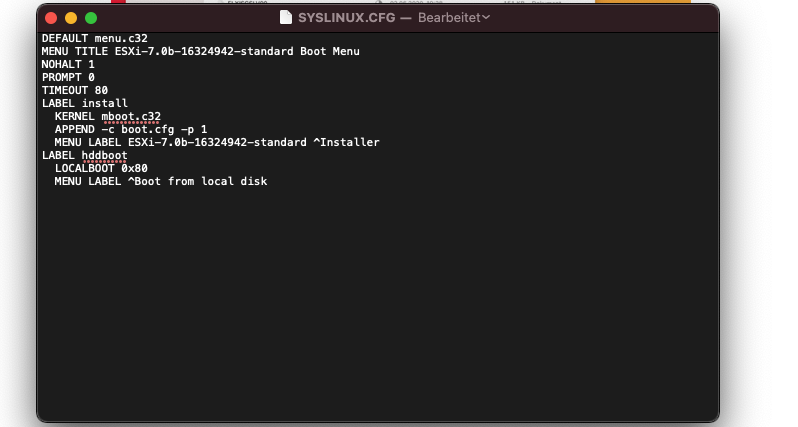
ertig! Now the stick is usable. Have fun!