Step 1: Prepare Synology
The first thing to do is to enable SSH login on Diskstation. To do this, go to the “Control Panel” > “Terminal
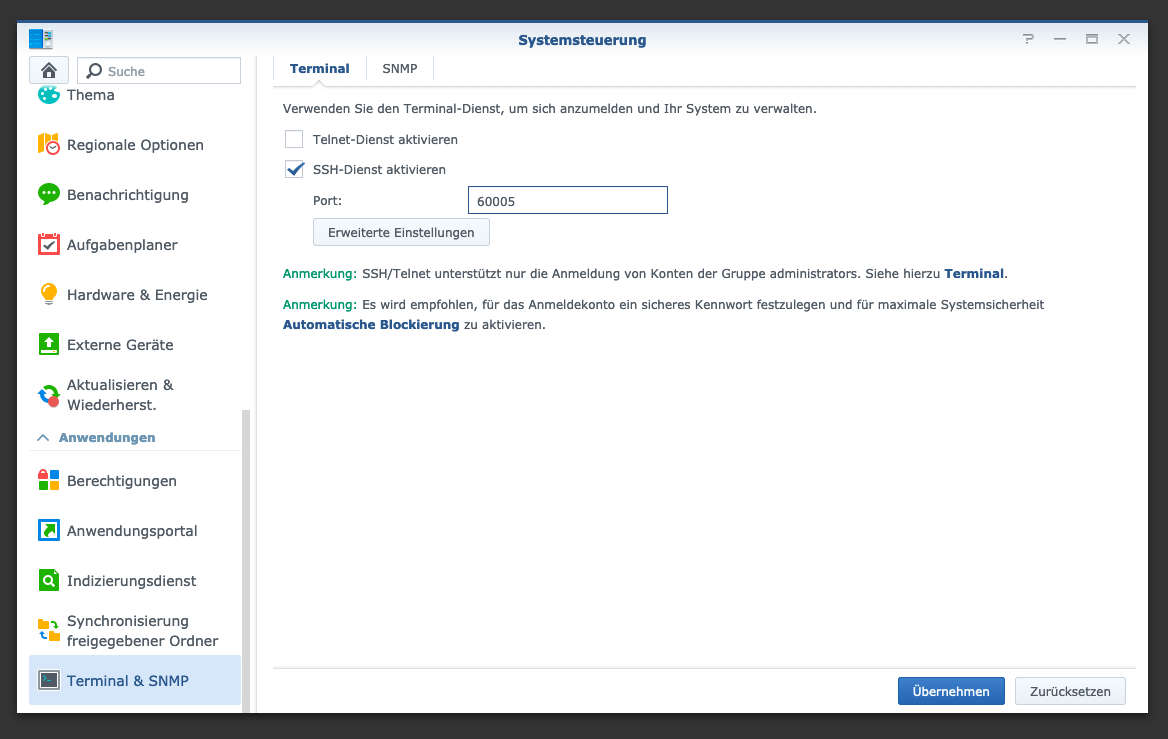
After that you can log in via “SSH”, the specified port and the administrator password (Windows users take Putty or WinSCP).
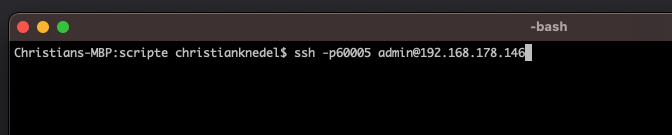
I log in via Terminal, winSCP or Putty and leave this console open for later.
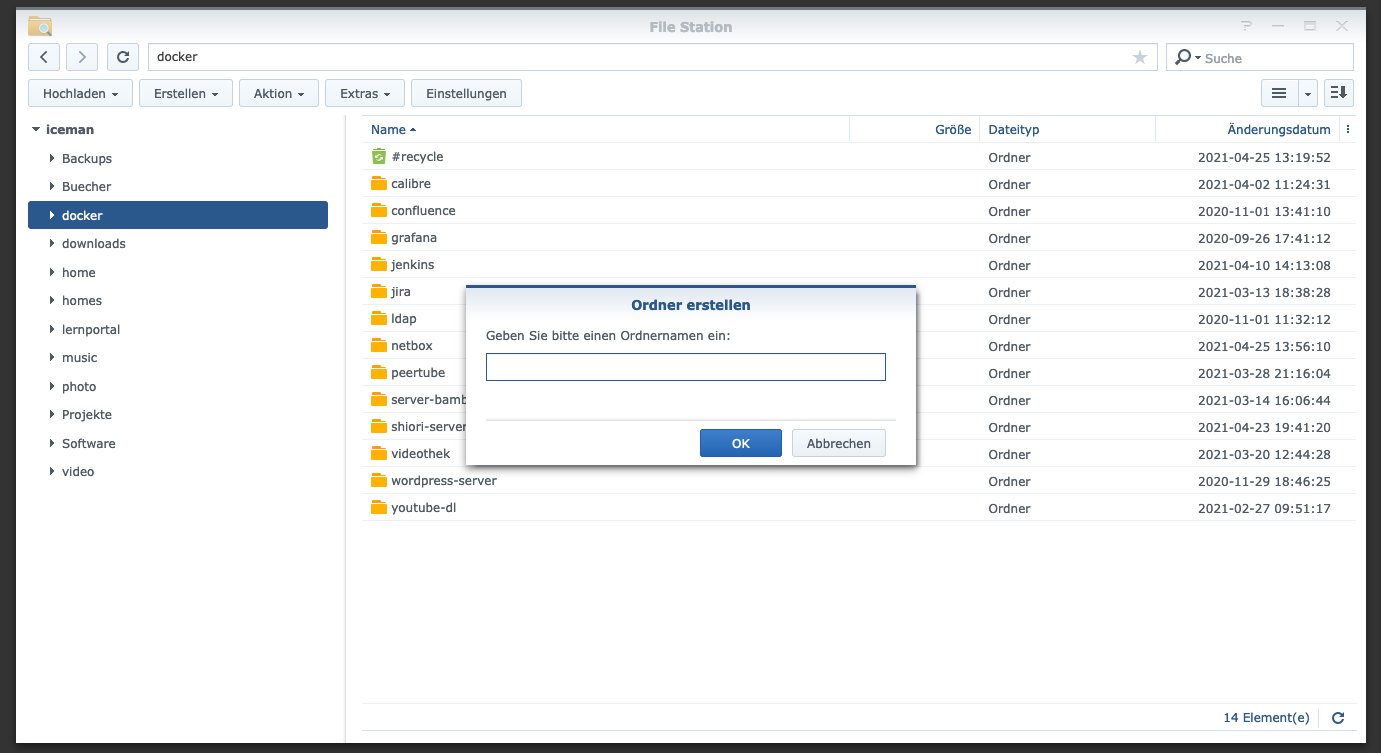
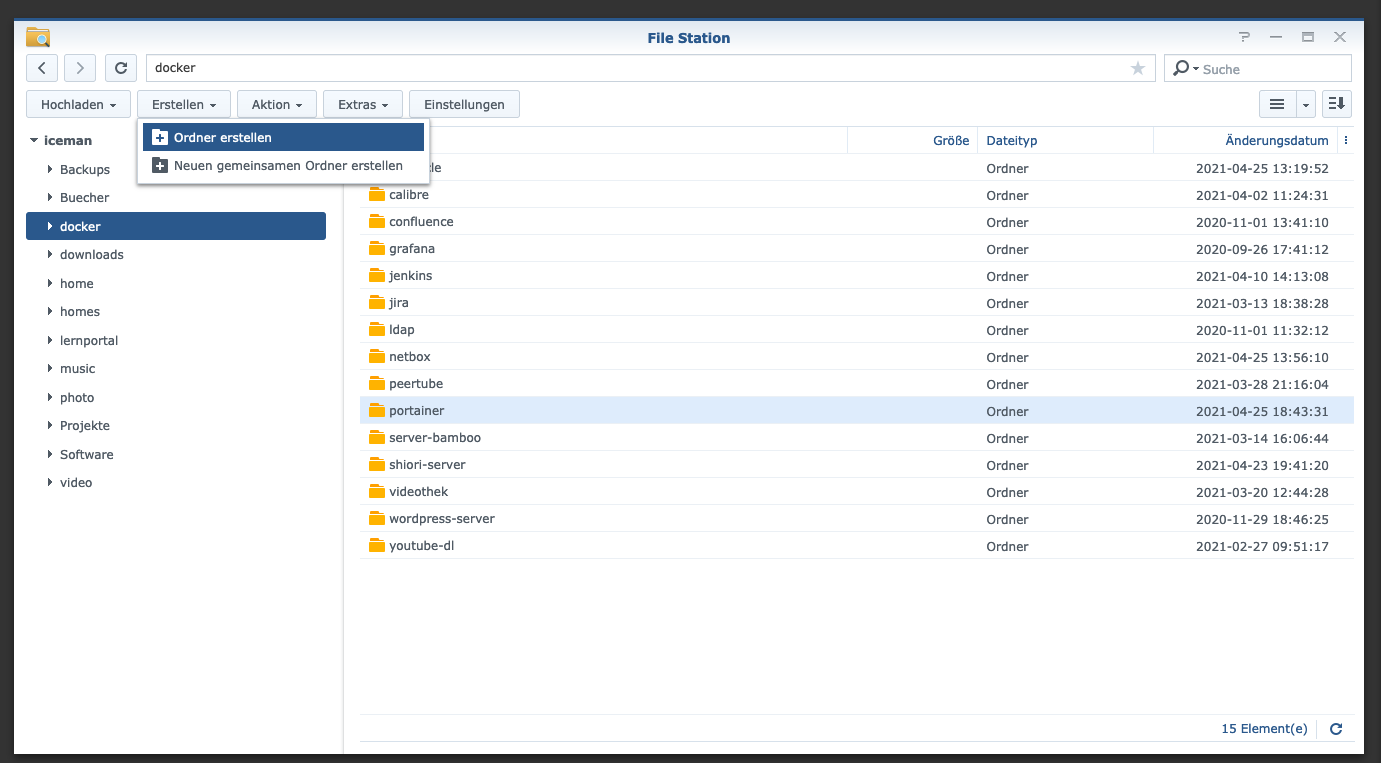
Step 2: create portainer folder
I create a new directory called “portainer” in the Docker directory.
Then I go to the portainer directory with the console and create a folder and a new file called “portainer.yml”.
$ cd /volume1/docker/portainer
$ mkdir portainer_data
$ vim portainer.yml
version: '3'

services:
  portainer:
    image: portainer/portainer:latest
    container_name: portainer
    restart: always
    ports:
      - 90070:9000
      - 9090:8000
    volumes:
      - /var/run/docker.sock:/var/run/docker.sock
      - ./portainer_data:/data
More useful Docker images for home use can be found in the Dockerverse.
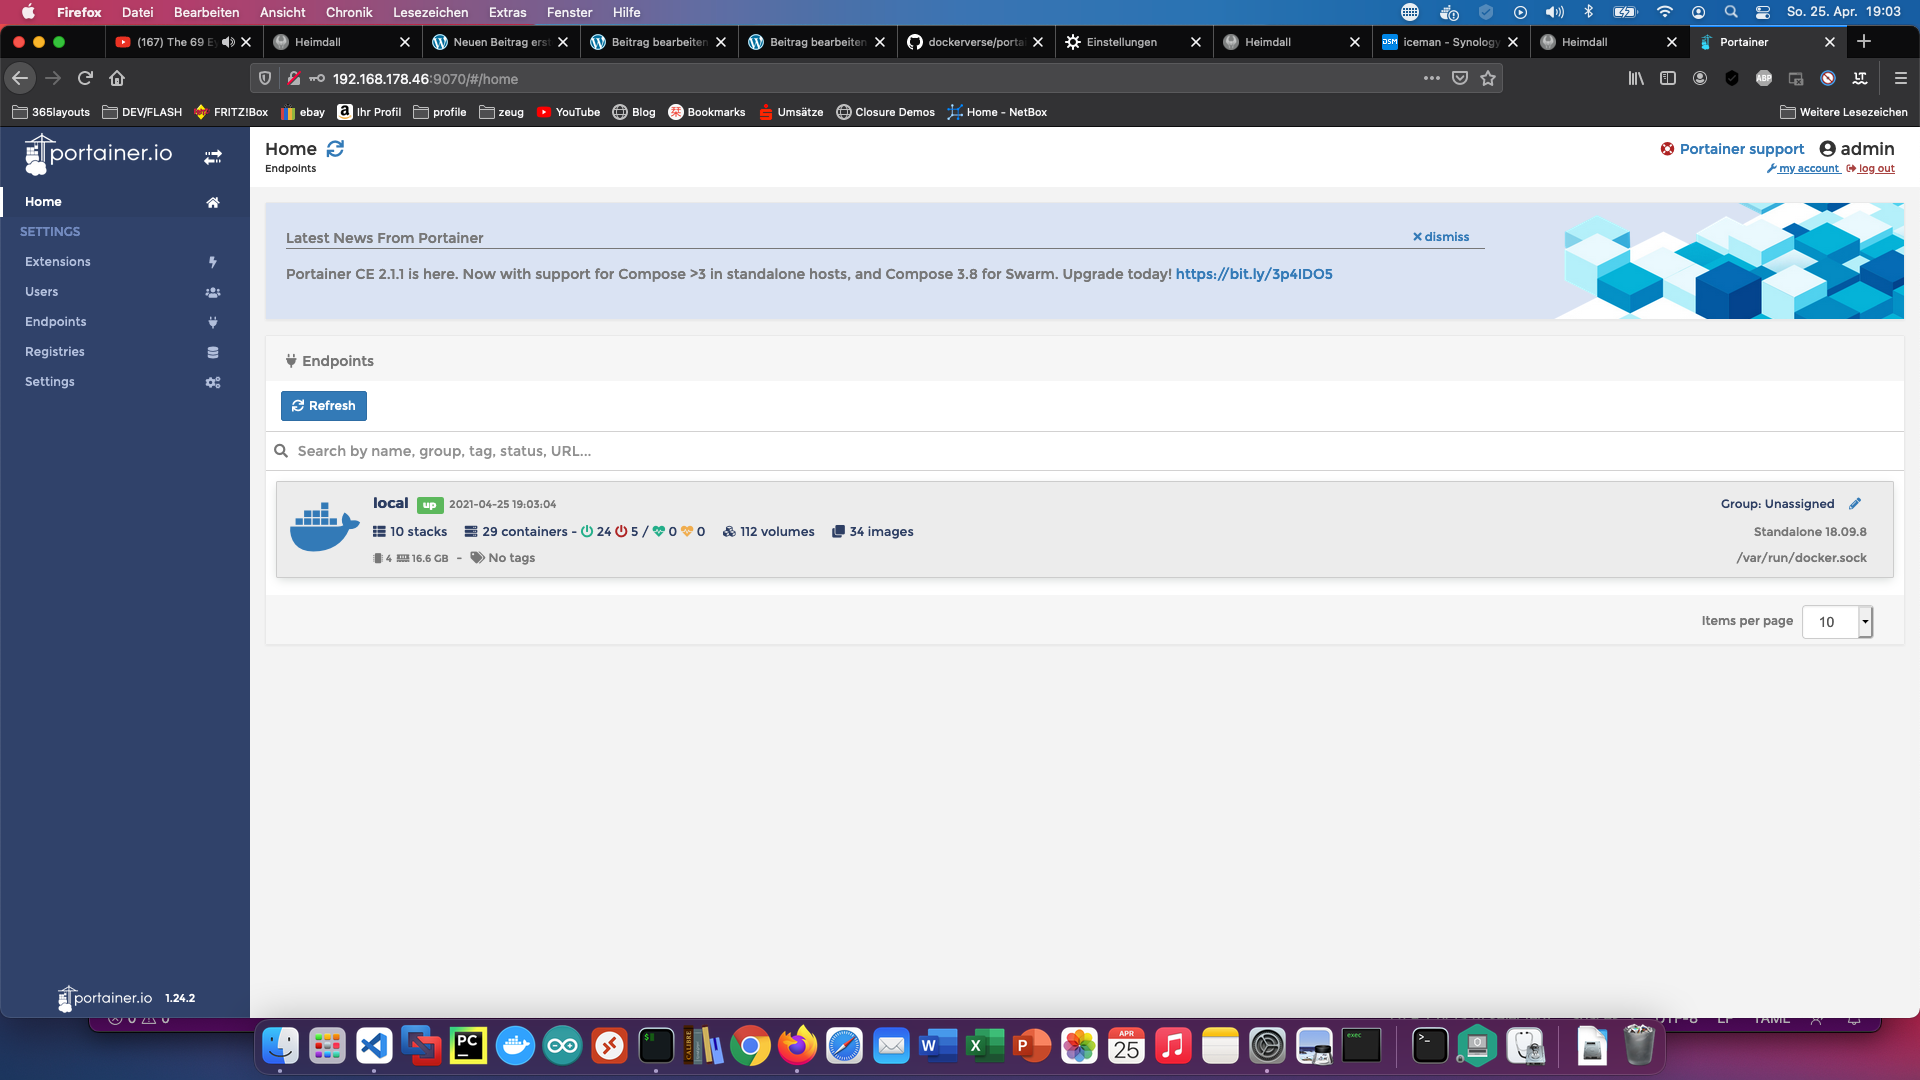
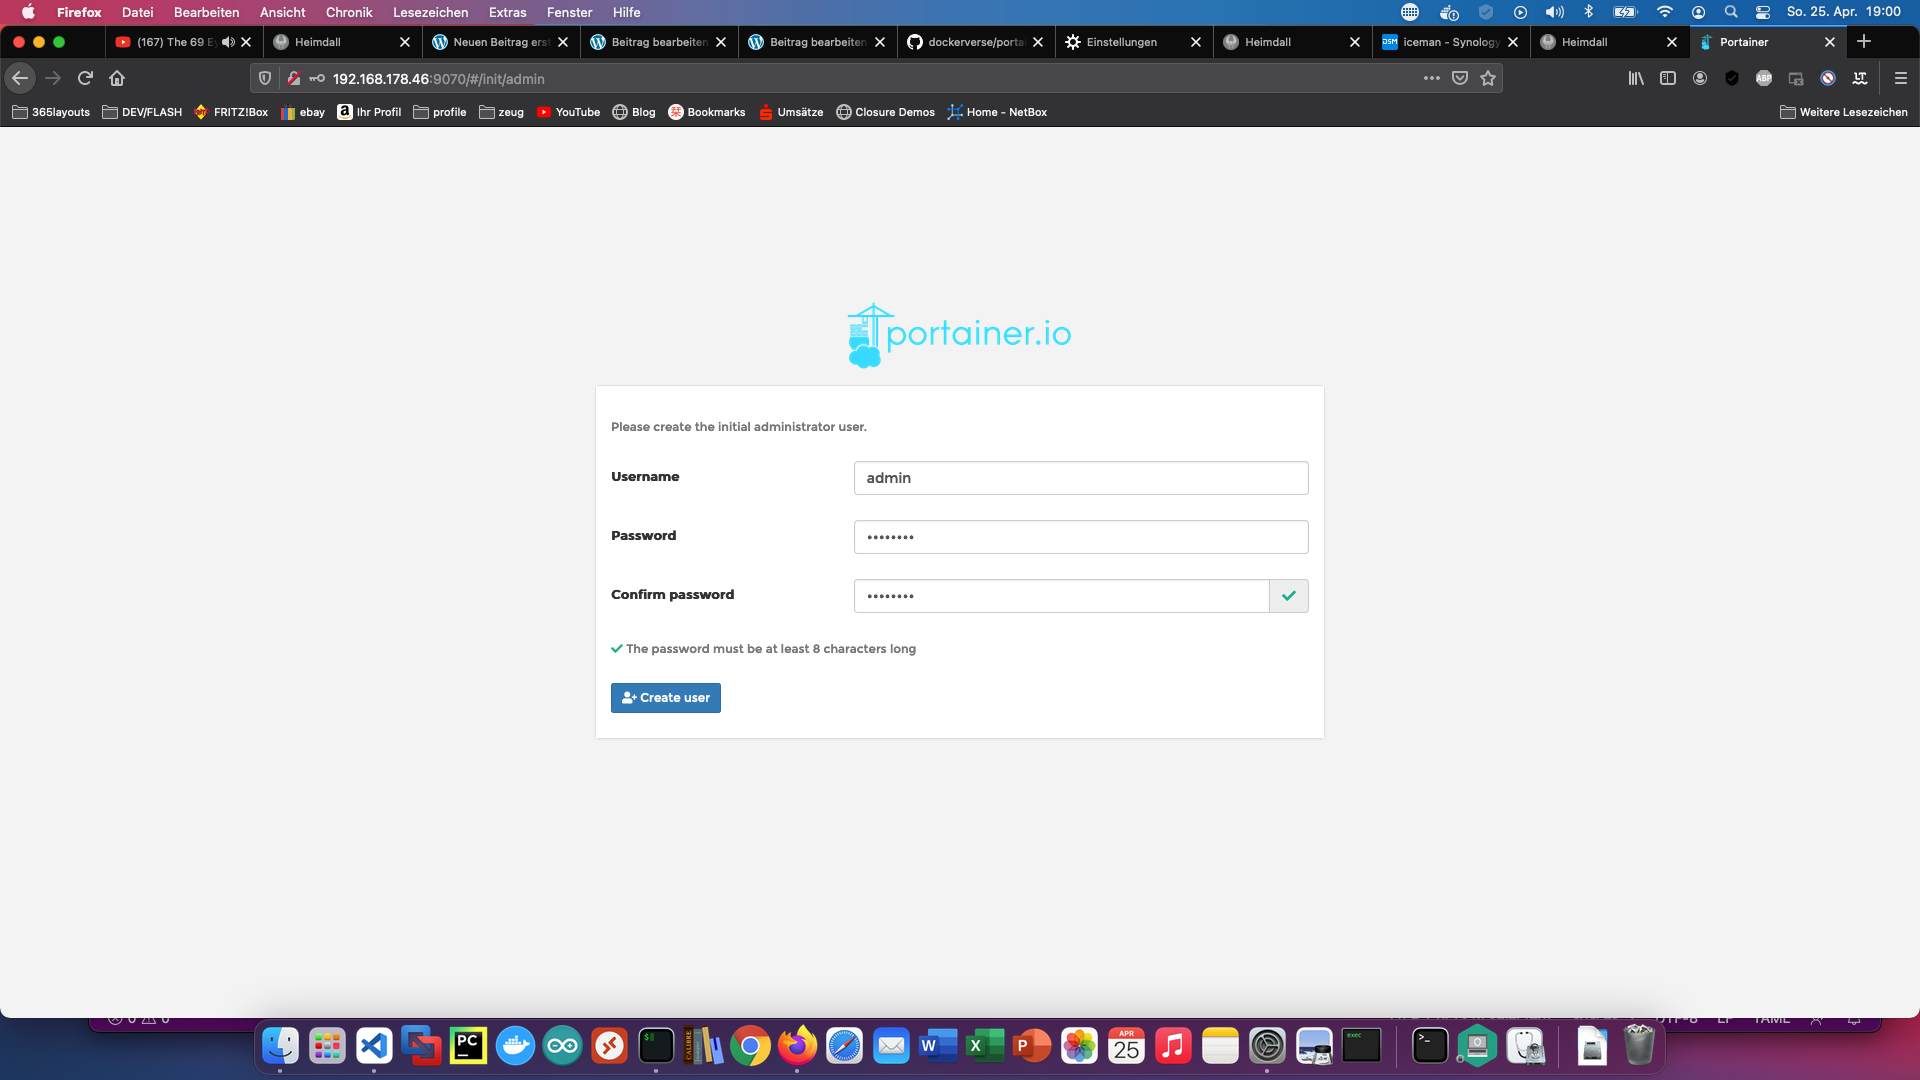
Step 3: Portainer start
I can also make good use of the console in this step. I start the portainer server via Docker Compose.
$ sudo docker-compose -f portainer.yml up -d
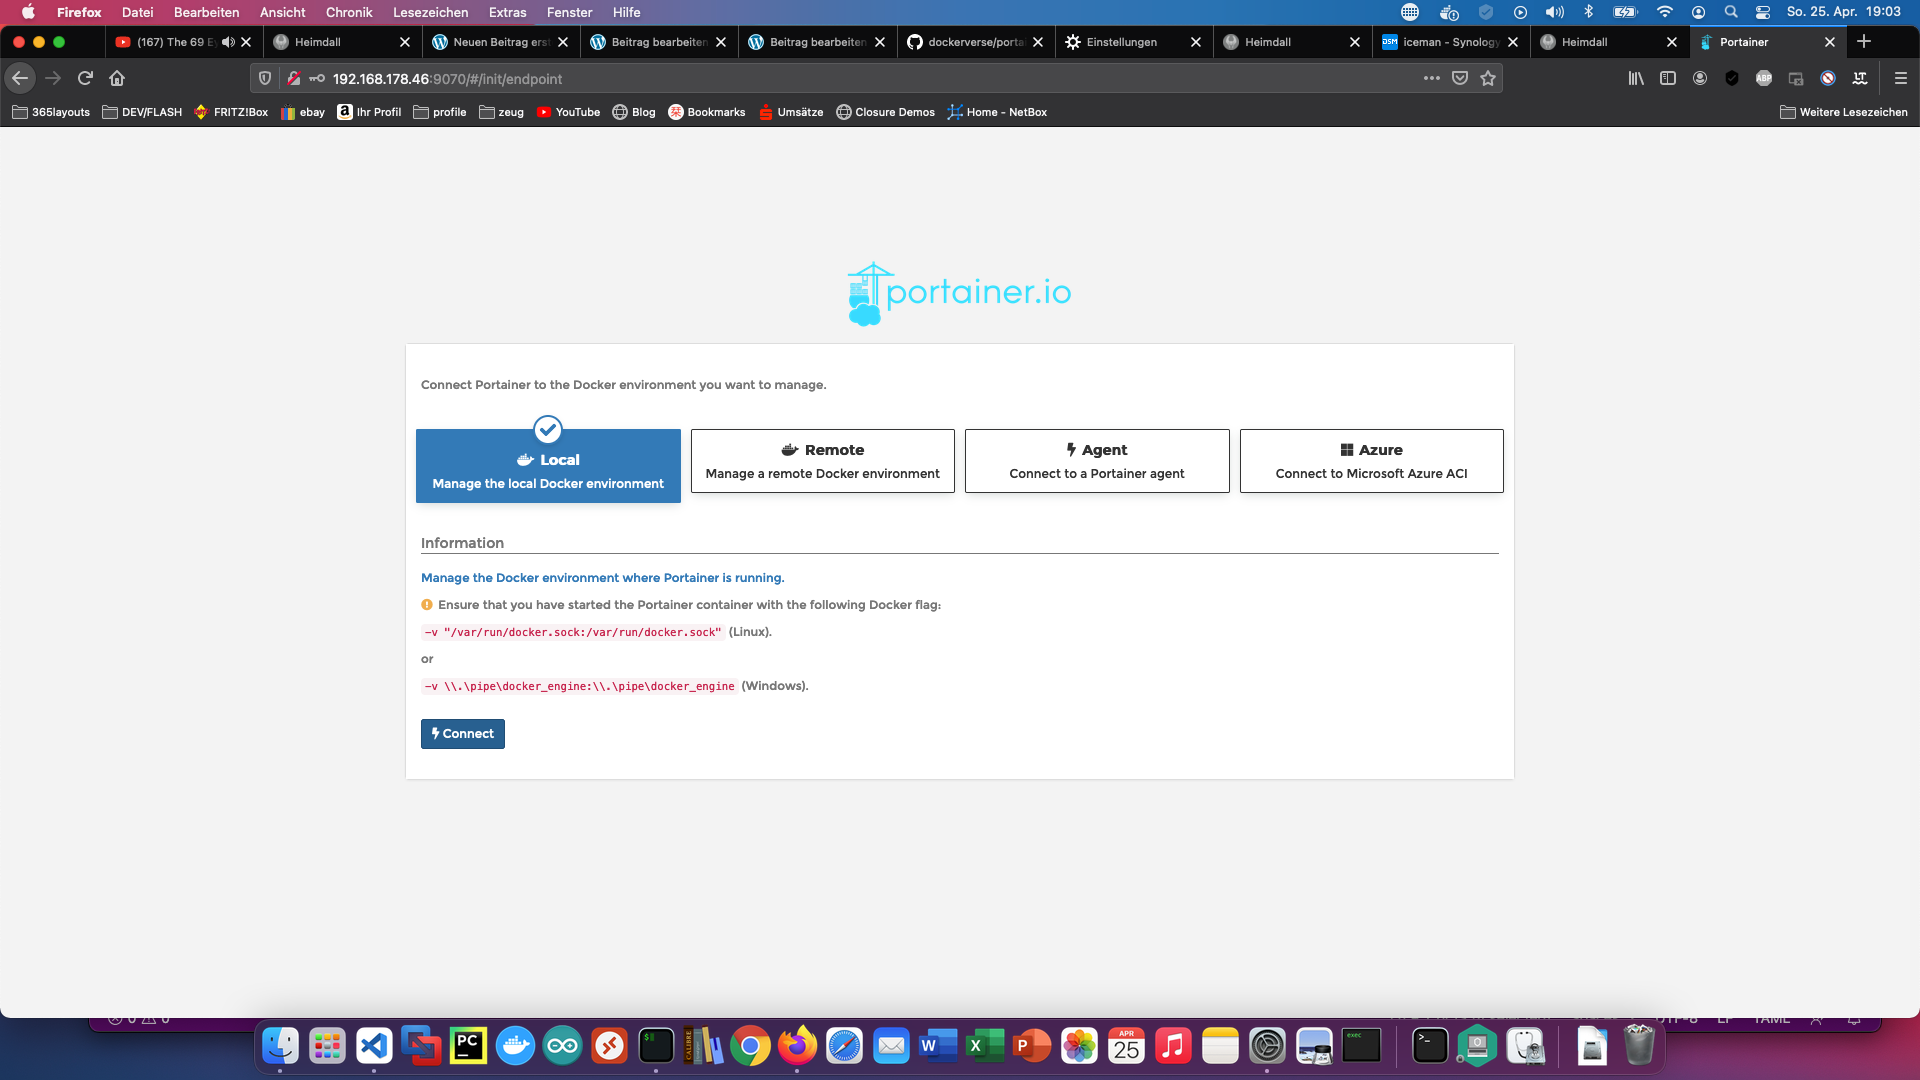
As you can see, everything works great!