


-
Difficulty level: Can be done by anyoneHere I show how I installed Gitlab and a Gitlab runner on my Synology nas. First, you need to install the GitLab application as a Synology package. Search for “Gitlab” in the “Package Center” and click “Install”. The service listens on port “30000” for me. If everything worked, I call my gitlab with http://SynologyHostName:30000 and see this picture: At the first login I am asked for the future “admin” password.
-
Difficulty level: Very athleticHow do I install a Gitlab runner as a Docker container on my Synology NAS? Step 1: Find Docker image I click on the “Registration” tab in the Synology Docker window and search for Gitlab. I select the Docker image “gitlab/gitlab-runner” and then select the tag “bleeding”. Step 2: Put image/image into operation: Hosts problem My synology-gitlab-insterlation always identifies itself by hostname only. Since I took the original synology-gitlab-package from the package-center, this behavior cannot be changed afterwards.
-
Difficulty level: Really challenging
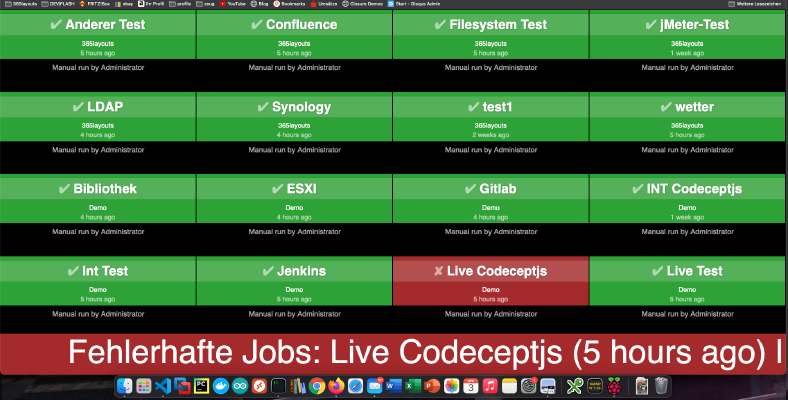 How to create a build monitor for Bamboo, Jenkins or Gitlab? I’ll figure it out by tonight! I have already written a similar Tutorial for Gitlab Issue Boards. The basis for this tutorial is the Raspberry imager and the “Raspberry Pi OS Lite” operating system. After the OS installation, the SD card can be inserted into the Raspberry. In my case this is a Raspberry Pi Zero. Step 1: Install Matchbox/Window Manager To run a Raspberry in kiosk mode, a window manager and a browser are needed.