


-
Difficulty level: Can be done by anyone
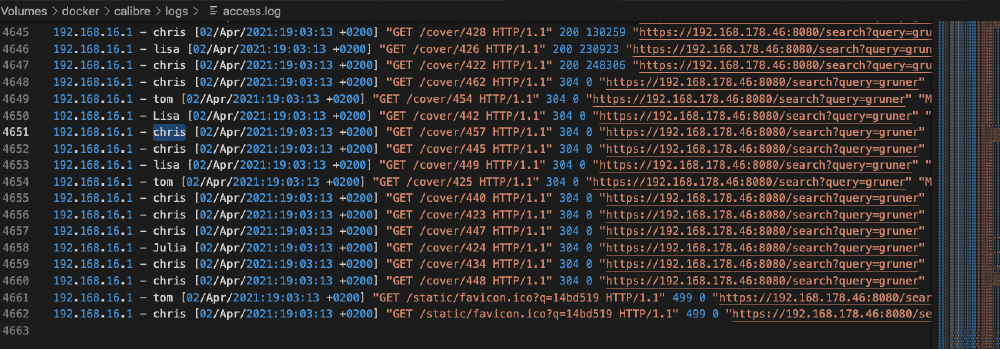 As a Synology Diskstation user, I run many services on my Homelab network. I deploy software in Gitlab, document knowledge in Confluence and read technical references via the Calibre web server. All network services communicate encrypted and are secured via a central user management.Today I show how I secured my Calibre service with SSL encryption, access logging and LDAP access restriction. This tutorial requires prior knowledge from “Cool stuff with Atlassian: Use all Atlassian tools with LDAP” and “Great things with containers: Running Calibre with Docker Compose”.
-
Difficulty level: It may take a little longer
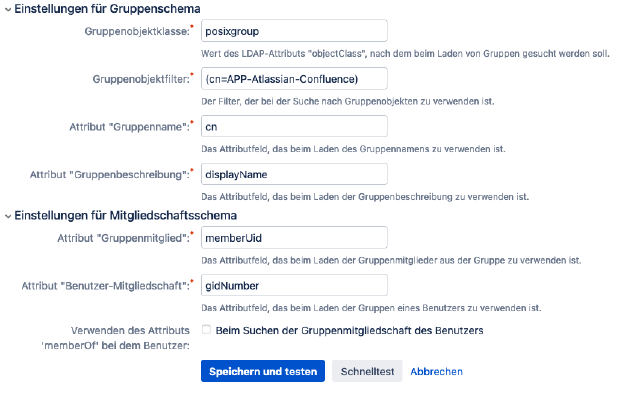 You can consider yourself lucky if you have your own Atlassian installation. Today I show how I connected Jira, Bamboo and Confluence to my LDAP server. Step 1: Install OpenLDAP I have OpenLDAP set up on my Synology NAS using this Docker compose file. ersion: '2' services: openldap: restart: always image: osixia/openldap container_name: openldap environment: LDAP_TLS: 'true' LDAP_TLS_CRT_FILENAME: '....pem' LDAP_TLS_KEY_FILENAME: '......pem' LDAP_TLS_CA_CRT_FILENAME: '......pem' LDAP_ORGANISATION: "365Layouts" LDAP_DOMAIN: "homelab.local" LDAP_BASE_DN: "dc=homelab,dc=local" LDAP_ADMIN_PASSWORD: ".
-
Difficulty level: It may take a little longerAfter my first tutorial about “Gitlab on Synology Diskstation”, I was asked several times if I still use this solution. Nope! In the meantime I have moved my Atlassian tools and the following GitLab installation to an intel NUC. Enclosed I show once my current Compose -file, which can of course also be run on a Synology diskstation.You can clearly see that I now use special setting for OpenLDAP, container registry, mail, certificates and logging.
-
Difficulty level: Not too easy and not too hard
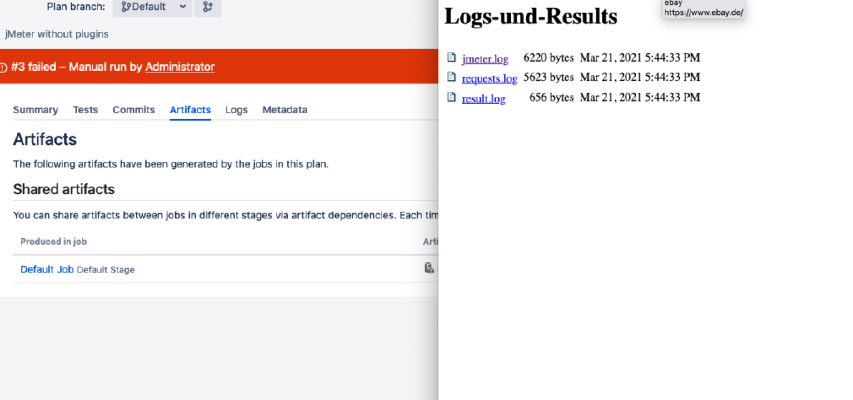 Today I am creating a jMeter test in Bamboo. Of course, you can also implement this test setup with Gitlab runners or Jenkins slaves. Step 1: Create jMeter test The first thing to do, of course, is to create a jMeter test. I downloaded jMeter from the following url https://jmeter.apache.org/ and started it with this command: x – + Terminal $ java -jar bin/ApacheJMeter.jar See:My demo test for this tutorial is intended to contain buggy and working samplers.
-
Difficulty level: It may take a little longer
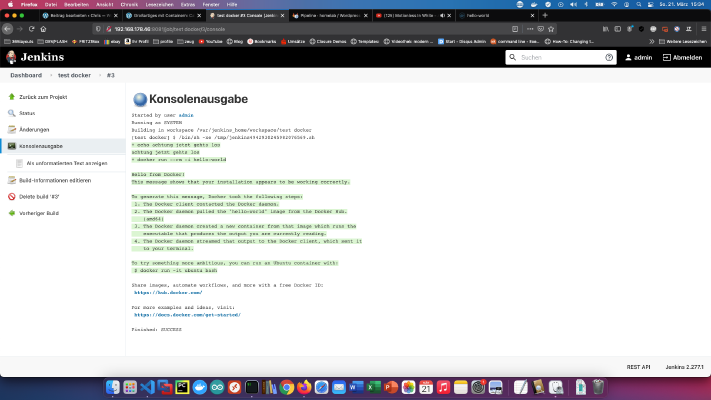 Step 1: Prepare Synology The first thing to do is to enable SSH login on Diskstation. To do this, go to the “Control Panel” > “Terminal After that you can log in via “SSH”, the specified port and the administrator password (Windows users take Putty or WinSCP). I log in via Terminal, winSCP or Putty and leave this console open for later. Step 2: Prepare Docker folder I create a new directory called “jenkins” in the Docker directory.
-
Difficulty level: Not too easy and not too hard
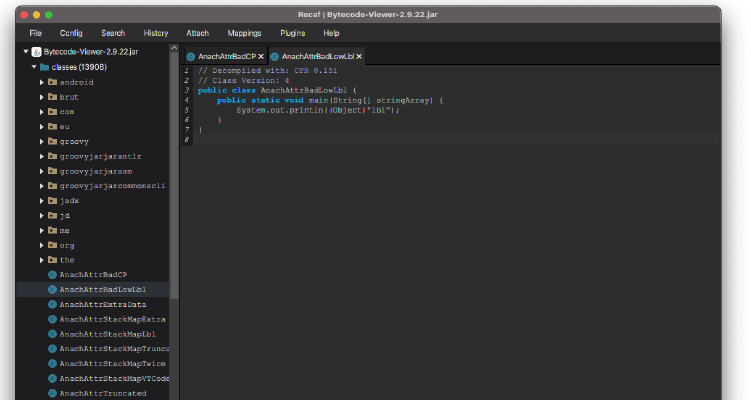 The other day I wanted to customize methods in a foreign Java library, so I was looking for a suitable tool. I looked a lot into bytecode editors and bytecode. But finally I ended up with Recaf and I am absolutely thrilled: https://github.com/Col-E/Recaf The tool can be found at the following address: https://github.com/Col-E/Recaf/releases. Decompiling, recompiling and manipulating libraries is child’s play with Recaf! It’s best to try it out right away.
-
Difficulty level: Can be done by anyone
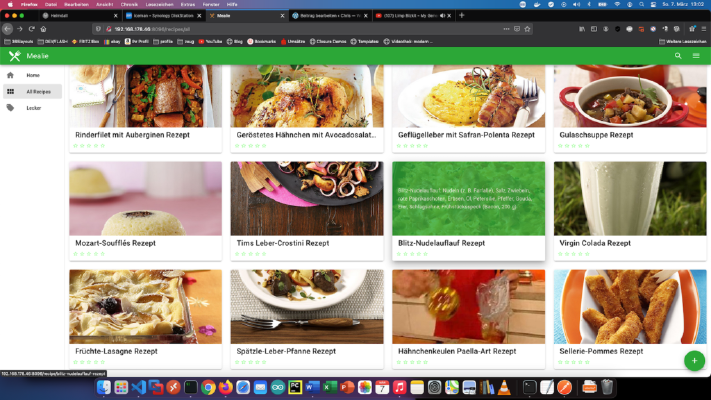 Collect all your favorite recipes in Docker container and organize them according to your needs. Write your own recipes or import recipes from websites, for example “Chef”, “Food Option for professionals Of course, as an experienced Synology user, you can log in right away with SSH and install the whole setup via Docker Compose file. version: "2.0" services: mealie: container_name: mealie image: hkotel/mealie:latest restart: always ports: - 9000:80 environment: db_type: sqlite TZ: Europa/Berlin volumes: - .diskstation Docker docker-compose docker-for-desktop rezepte Created
Sun, 07 Mar 2021 00:00:00 +0000 -
Difficulty level: Very athletic
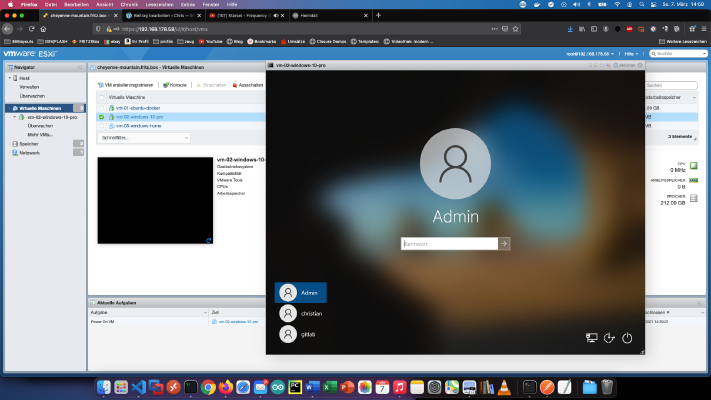 With ESXi the “intel NUC” can be divided into any number of computers. In this tutorial I show how I installed VMware ESXi on my NUC.Small preface: I recommend a BIOS update before the ESXi installation. Also, a 32GB USB flash drive is required. I bought a whole bundle for less than 5 euros each from Amazon. My NUC-8I7BEH has 2x 16GB HyperX Impact Ram, 1x 256GB Samsung 970 EVO M2 module and a 1TB 2.
-
Difficulty level: It may take a little longer
 The installation with Raspberry-Noobs is very easy! All you need is a RaspberryZeroW and a blank SD card. Step 1: Noobs installer Download the Noobs installer from https://www.raspberrypi.org/downloads/noobs/. Step 2: SD card Unzip this zip archive to the empty SD card. Done! Now you can connect the RaspberryPiZero to the TV. After that you will see the installation menu. If you have NoobsLite on the card, then you must first establish a WLAN - connection.
-
Difficulty level: It may take a little longer
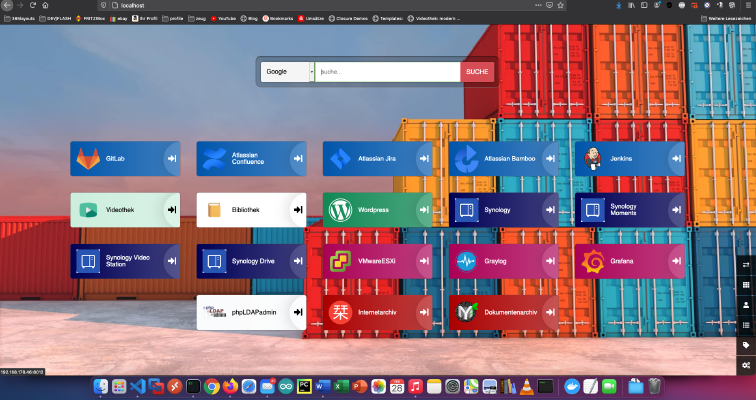 I run many services in my Homelab network, for example LDAP, Gitlab, Atlassian Bamboo, Atlassian Confluence, Atlassian Jira, Jenkins, WordPress, Grafana, Graylog ,ESXI/VMware, Calibre and many more. It’s easy to get lost in the shuffle. Step 1: Create working folder Use this command to create a temporary working folder: x – + Terminal $ mkdir /tmp/bilder Heimdall is a service that allows you to manage bookmarks via Dashboard.